Nighttime drawing has a specific kind of magic: the world gets quiet, your brain stops performing for other people, and your hand finally catches up to your taste.
And then… your eyes revolt.
If you’ve ever finished a late session with gritty eyes, a headache, or that weird “my vision is slightly drunk” blur when you look up, welcome to digital eye strain (DES). It’s real, it’s common, and it’s usually fixable, not with some mystical “anti-blue-light” sticker, but with a setup that stops treating your eyeballs like they’re industrial sensors. [1]
What follows is the practical, high-ROI playbook: settings you can change in minutes, plus accessories that actually earn their desk space.
The quick rescue plan (do this tonight)
If you do nothing else, do these six moves in this order:
- Turn on a dim lamp (not pointed at the screen). Ideally behind the monitor/tablet or off to the side so it lights the room, not the glass.
- Lower brightness until “white” stops feeling like a flashlight. (More on how to do this precisely.)
- Warm the screen at night (Night Shift / Night light / similar).
- Make UI bigger so your eyes stop squinting and “over-focusing.”
- Run a 20-20-20 loop (every ~20 minutes, look far away for ~20 seconds).
- Blink on purpose (seriously) and keep the air from becoming desert-dry.
These aren’t vibes. They map directly to the two big drivers of DES: dryness from reduced blinking and focus fatigue from near work, both made worse by bad lighting. [1]
What digital eye strain actually is (and what it isn’t)
Digital eye strain is an umbrella term for the cluster of symptoms that show up after long device use, dryness, burning, headaches, blurred vision, trouble refocusing, even neck/back fatigue from posture. [1]
Under the hood, DES is usually a combo of:
1) Ocular surface issues (aka dry, irritated eyes)
When you stare at screens, you blink less, and often blink incompletely. Your tear film gets patchy. The result feels like sandpaper eyes, stinging, watering, redness, or “tired eyes.” [1]
One review notes blink rate can drop dramatically during computer use (numbers vary by study, but the direction is consistent: down a lot). [1]
2) Focus fatigue (your “focus system” gets overworked)
Your eyes aren’t just cameras; they’re autofocus machines. Near work demands constant micro-adjustments, especially on pixel grids with sharp edges and bright contrast. The review literature describes extra load on the balance between accommodation (focus) and convergence (aiming both eyes inward). [1]
3) Lighting mismatch (your screen vs your room)
Nighttime is where people unintentionally create the worst possible viewing condition: a bright screen in a dark room. Your eyes keep adapting between “dark cave” and “mini sun.” That adaptation costs comfort. Even professional viewing standards warn against total darkness and emphasize a controlled surround with no light hitting the screen directly. [2]
Here’s the harsh truth: for most artists, the enemy isn’t “blue light.” It’s brightness + dryness + distance + posture. [3]
The best screen settings for nighttime drawing (ranked by impact)
Setting #1: Brightness (get this right and everything else gets easier)
You want your screen to feel like it “belongs” in your room, not like it’s punching a hole in it.
The “paper test” (fast, surprisingly reliable):
- Open a blank white canvas in your drawing app.
- Put a sheet of white paper next to the screen under your room light.
- Adjust screen brightness until the screen’s “white” is similar to the paper, not necessarily identical, just not wildly brighter.
This lines up with basic ergonomics advice: the screen shouldn’t be dramatically brighter than its surround, and glare should be minimized. [1]
iPad/iPhone bonus move: If minimum brightness still feels too bright, use Reduce White Point (it literally “reduces the intensity of bright colors”). [4]
Also, consider keeping Auto-Brightness enabled; Apple notes devices use an ambient light sensor to adjust brightness based on surroundings. [5]
Why this matters: lowering brightness directly reduces the “flashlight effect,” and indirectly reduces squinting, which can worsen dryness and fatigue. [1]
Setting #2: Color temperature at night (warm it up, but don’t pretend it’s “health magic”)
Warm modes are not a cure, but they can make nighttime use more comfortable.
- On Mac, Apple describes Night Shift as shifting the display to the warmer end of the spectrum, noting warmer colors are easier on your eyes in low light. [6]
- On iPhone/iPad, Apple similarly describes Night Shift as making the display easier on your eyes, with a slider for warmer/cooler. [5]
- On Windows, Microsoft’s Night light is explicitly positioned as reducing blue light output. [7]
Artist caveat (important): warm modes shift color. So treat them like a working mode, not a truth mode.
A practical workflow:
- Sketch / line / layout: warm mode ON.
- Final color decisions: warm mode OFF (and ideally under decent ambient light).
This is the “be comfortable most of the time, be accurate when it counts” approach, no purist suffering required. [5]
Setting #3: True Tone / adaptive color (comfort vs consistency)
Apple explains True Tone uses sensors to adjust the color and intensity of the display to match ambient light so images appear more natural. [8]
For drawing:
- If your goal is comfort and you’re not doing final color matching, True Tone can be nice.
- If your goal is consistent color, turn it off during color-critical work.
Apple also notes some accessibility settings can disable True Tone, and that Reference Mode (on supported iPads) disables True Tone and Night Shift. [5]
Setting #4: Dark mode (use it strategically, not religiously)
Dark mode is polarizing because it’s situational.
What the research tends to show (in plain terms):
- In bright environments, dark text on light backgrounds often wins for readability and visual performance (the “polarity effect”).
- In dim environments, dark mode can feel more comfortable because it reduces overall screen luminance, but it can also create “halation” (that glowy haze around bright text/icons). [9]
Practical artist take:
- Use dark mode for the UI chrome (menus, toolbars) if it reduces glare.
- But don’t force dark mode inside your canvas workflow if it hurts legibility (especially for text-heavy reference).
Your goal isn’t ideological consistency. It’s fatigue reduction.
Setting #5: Reduce glare and reflections (the silent killer)
Glare forces micro-squinting and constant adaptation, which compounds strain. [10]
Do these in order:
- Move the light, not the screen: keep lights from shining onto the display. [10]
- Angle the screen slightly so reflections bounce away from your eyes.
- If you still get reflections: consider anti-glare / matte.
But know the trade-off: anti-glare diffusion can reduce clarity, shift contrast/color a bit, and sometimes create a “sparkle” effect on bright areas. [11]
Setting #6: Flicker / PWM (only if you’re sensitive, but if you are, it matters)
Some displays dim using PWM (pulse-width modulation), which can introduce flicker. Not everyone notices it. Some people feel it as headache, nausea, fatigue.
- EIZO explicitly notes flicker can cause eye fatigue and describes “flicker-free” approaches. [12]
- Research literature discusses flicker’s potential effects on visual comfort and performance. [13]
Low-drama way to test: If your eyes feel worse at low brightness, try raising brightness a bit and reducing brightness elsewhere (Reduce White Point / room lighting) so you’re not living at “PWM torture levels.”
The room setup: make your screen stop being the only light source
Night drawing goes wrong when your screen becomes the entire environment.
Professional viewing guidance (broadcast/production) treats the surround as part of the image system, not decoration. ITU recommendations for critical monitoring include:
- neutral surround,
- low surround luminance,
- and avoiding light falling on the screen. [10]
You don’t need a studio suite. You need a dim surround.
Two big wins:
Win #1: Bias lighting (the “why didn’t I do this earlier” move)
Bias lighting = a light behind your monitor (or behind your drawing area) that brightens the wall around the display without reflecting on it.
CinemaQuest’s bias lighting fundamentals describe why total darkness is not recommended and outline best practices like keeping the light behind the screen and not directly visible. They also reference a classic guideline: keep bias lighting at 10% or less of the monitor’s calibrated white for dark-room viewing. [2]
Translation for artists:
- Put a dim, soft light behind the screen.
- Keep it low.
- Make it boring (no flashing RGB nonsense if your goal is comfort).
Win #2: Put a real light on your desk (but not in your eyes)
If you’re switching between tablet + keyboard + notes + phone, your eyes bounce between different distances and brightness levels. A desk lamp lets those objects exist without your pupils doing gymnastics.
Just keep the lamp positioned to avoid screen reflections. [10]
Accessories that actually earn their keep (ranked, with receipts)
S-tier: A dimmable bias light behind your monitor
This is the highest comfort-per-dollar move for most nighttime setups.
Why it works:
- reduces extreme contrast between screen and room,
- gives your eyes a stable surround to adapt to,
- doesn’t create screen glare when positioned behind. [2]
What to look for:
- dimmable,
- doesn’t flicker,
- easy to mount,
- “neutral-ish” color if you care about color work; warmer if you care purely about comfort.
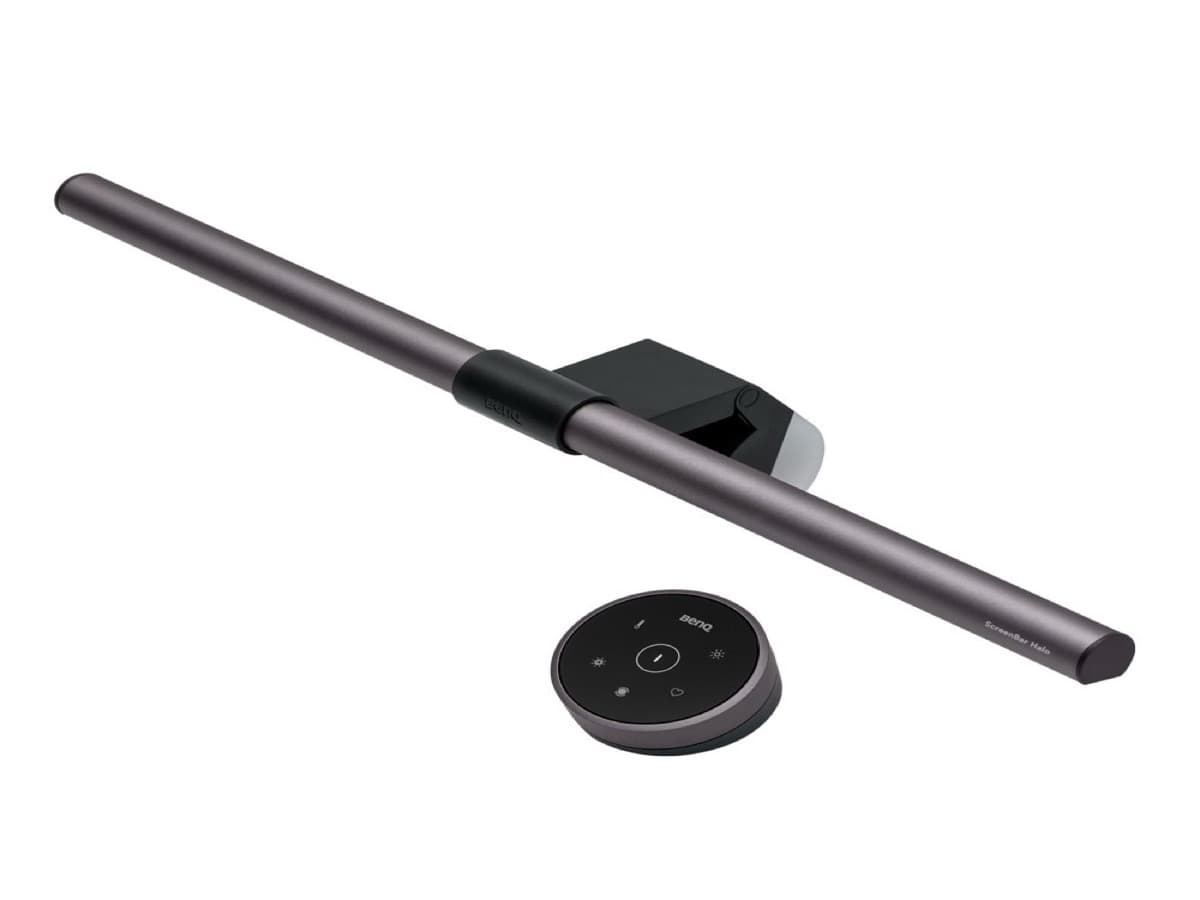
S-tier: Monitor light bar (or well-placed desk lamp)
Monitor light bars exist for a reason: they throw light down onto the desk while minimizing light hitting the screen. BenQ’s comparison content frames this as a reflection-control advantage (yes, it’s also marketing, but the geometry is real). [14]
If you don’t want a light bar, a desk lamp is fine, just place it so the beam doesn’t reflect into your eyes.
A-tier: Matte / anti-glare screen protector (for tablets), with clear warnings
Matte protectors can be genuinely helpful if reflections are a core trigger for you.
But: matte diffusion comes with trade-offs.
- HP notes common cons: reduced clarity, potential color/contrast loss, and possible “sparkle.” [11]
- Astropad (an iPad-focused creative tool company) also points out matte protectors can reduce perceived sharpness/brightness because they diffuse light. [15]
Who should buy one:
- You draw under unavoidable lights.
- You hate reflections more than you love razor sharpness.
Who should not:
- You’re extremely picky about crispness and color clarity on-device.
- You already draw in controlled lighting and reflections aren’t the issue.
A-tier: An actual ergonomic stand (yes, boring, yes, effective)
If your neck is tense and your shoulders are creeping upward, your “eye strain” is partly body strain.
DES reviews explicitly list neck/back symptoms alongside ocular symptoms, and they repeatedly emphasize ergonomics: viewing distance, screen height, posture. [1]
Get the screen positioned so you’re not curled into it like a question mark.
B-tier (sometimes A-tier): Correct vision correction
This is the unsexy one that saves careers.
The review literature notes people with uncorrected or under-corrected refractive errors are more susceptible because near work demands tighter focus/convergence balance. [1]
If you:
- squint a lot,
- get headaches in the same pattern,
- feel “fine” during the day but suffer at night,
…your setup might not be the only variable.
C-tier: Blue-light-blocking glasses (mostly marketing; occasionally useful)
Here’s the fair-but-blunt version:
A 2023 Cochrane review summary reports blue-light filtering spectacles probably make little to no difference to eye strain from computer use and didn’t find evidence of retinal protection; sleep effects were also unclear based on available trials. [3]
Also: the Cochrane summary notes blue light exposure from screens is tiny compared to daylight, and many blue-light lenses only filter a modest portion unless they’re noticeably amber. [3]
So when do they make sense?
- If you want an external ritual that reminds you it’s “wind-down time.”
- If you buy a strongly amber pair specifically for pre-bed use (but don’t pretend it’s fixing your drawing ergonomics).
For eye strain relief, your money is usually better spent on lighting and screen brightness. [3]
D-tier: “Anti-radiation” stickers, magic screen gizmos, and other desk clutter
If it doesn’t change:
- brightness,
- glare,
- distance,
- breaks,
- dryness,
…it’s probably not changing your symptoms.
The underrated habit stack: breaks, blinking, and refocusing
This section sounds like boring wellness content until you realize it’s the core mechanism.
Blink (because your eyes are not self-lubricating robots)
Blinking maintains the tear film. Screen use reduces blink rate and can worsen ocular surface symptoms. [1]
A practical trick: Every time you hit a natural pause (undo, new layer, export), do three slow full blinks.
20-20-20 (because your focus system needs distance)
The 20-20-20 rule shows up repeatedly in DES guidance: regular breaks + looking at distance objects reduces strain. [1]
Don’t make it sacred. Make it automatic:
- tie it to a timer,
- or tie it to a recurring action (every time you flip canvas, every time you change brush sets).
Fix the “distance trap”
A review recommendation often cited: screens around ~20 inches from the eyes, screen slightly below eye level, etc. (Exact numbers vary by setup, but the principle is stable: don’t hunch into a 15cm viewing distance for hours.) [1]
Tablets invite face-planting. Fight that with a stand.
Blue light at night: the part that does matter (sleep, not eye damage)
Two truths can coexist:
- Blue light from screens isn’t the main cause of eye strain for most people. (That’s dryness + focus + lighting.) [3]
- Light at night, especially blue-weighted light, can affect sleep and circadian timing.
Harvard Health summarizes research showing blue light at night can suppress melatonin more strongly than other wavelengths and shift circadian rhythms. [16] A well-cited lab study comparing evening e-reader vs printed book found the light-emitting device condition delayed circadian phase and suppressed melatonin, with worse next-morning alertness. [17]
So if you draw late and then can’t sleep:
- dim the screen,
- warm it up,
- reduce room light intensity,
- and consider ending with low-stimulation work (cleanup, exporting, brush organizing) instead of high-arousal “final boss rendering.”
Device-specific “best settings” cheat sheet
iPad (Procreate-style workflow)
Comfort mode (sketch/line):
- Auto-Brightness ON (if it behaves for you). [5]
- Night Shift ON, warmer side. [5]
- True Tone ON if it feels better. [5]
- Reduce White Point if minimum brightness is still too hot. [4]
Accuracy mode (final color pass):
- Night Shift OFF. [5]
- True Tone OFF for consistency. [8]
- Do a quick check under decent ambient light.
(Apple notes Reference Mode on supported iPads disables brightness adjustments and disables True Tone/Night Shift, which is exactly the “accuracy mode” concept, just more strict.) [5]
Mac
- Night Shift: Displays settings → Night Shift; Apple explicitly frames warmer colors as easier on eyes at night. [6]
- True Tone: useful for comfort, not for strict color consistency. [8]
Windows
- Enable Night light (Windows display settings) to reduce blue light. [7]
- Increase scaling / text size if you’re squinting (simple, effective).
- If you suspect flicker sensitivity, test different brightness levels and consider a flicker-free display. [12]
Pen displays (Wacom/Huion/XP-Pen style)
Your big wins are still:
- reduce glare,
- add bias lighting,
- match brightness to room,
- raise the display so you’re not craning down for hours. [10]
Pen displays often encourage worse posture because you lean in like you’re carving marble. Use a stand.
A “serious artist” nighttime setup that doesn’t destroy you
If you want one “default” that works for most people:
- Room: dim lamp on + bias light behind monitor (not total darkness). [2]
- Screen brightness: paper test baseline (white ≈ paper). [1]
- Warm mode: ON for most of the session, OFF for final color checks. [6]
- Glare control: no light aimed at screen; consider matte only if reflections are unavoidable. [10]
- Break system: timer + 20-20-20 + deliberate blinking. [1]
It’s not glamorous. It’s also the difference between “I can draw nightly for years” and “my eyes feel like they’re aging in dog years.”
Final note (the only one you need)
If you implement the brightness + lighting changes and you still get consistent headaches or persistent blur, don’t waste months “optimizing settings” as a procrastination ritual. People with under-corrected vision are more susceptible, and sometimes the fix is boringly simple. [1]
Sources
- [1] pmc.ncbi.nlm.nih.gov
- [2] www.cinemaquestinc.com
- [3] www.cochrane.org
- [4] support.apple.com
- [5] support.apple.com
- [6] support.apple.com
- [7] support.microsoft.com
- [8] support.apple.com
- [9] pmc.ncbi.nlm.nih.gov
- [10] www.itu.int
- [11] Anti-Glare Screen Protectors: Do They Work?
- [12] www.eizoglobal.com
- [13] www.tandfonline.com
- [14] www.benq.com
- [15] Are Paper-Feel and Paperlike Screen Protectors Worth It?
- [16] www.health.harvard.edu
- [17] pubmed.ncbi.nlm.nih.gov
Recommended gear
BenQ ScreenBar Halo
amazon.comPro: Reduces desk glare at night
Con: Premium price for a light
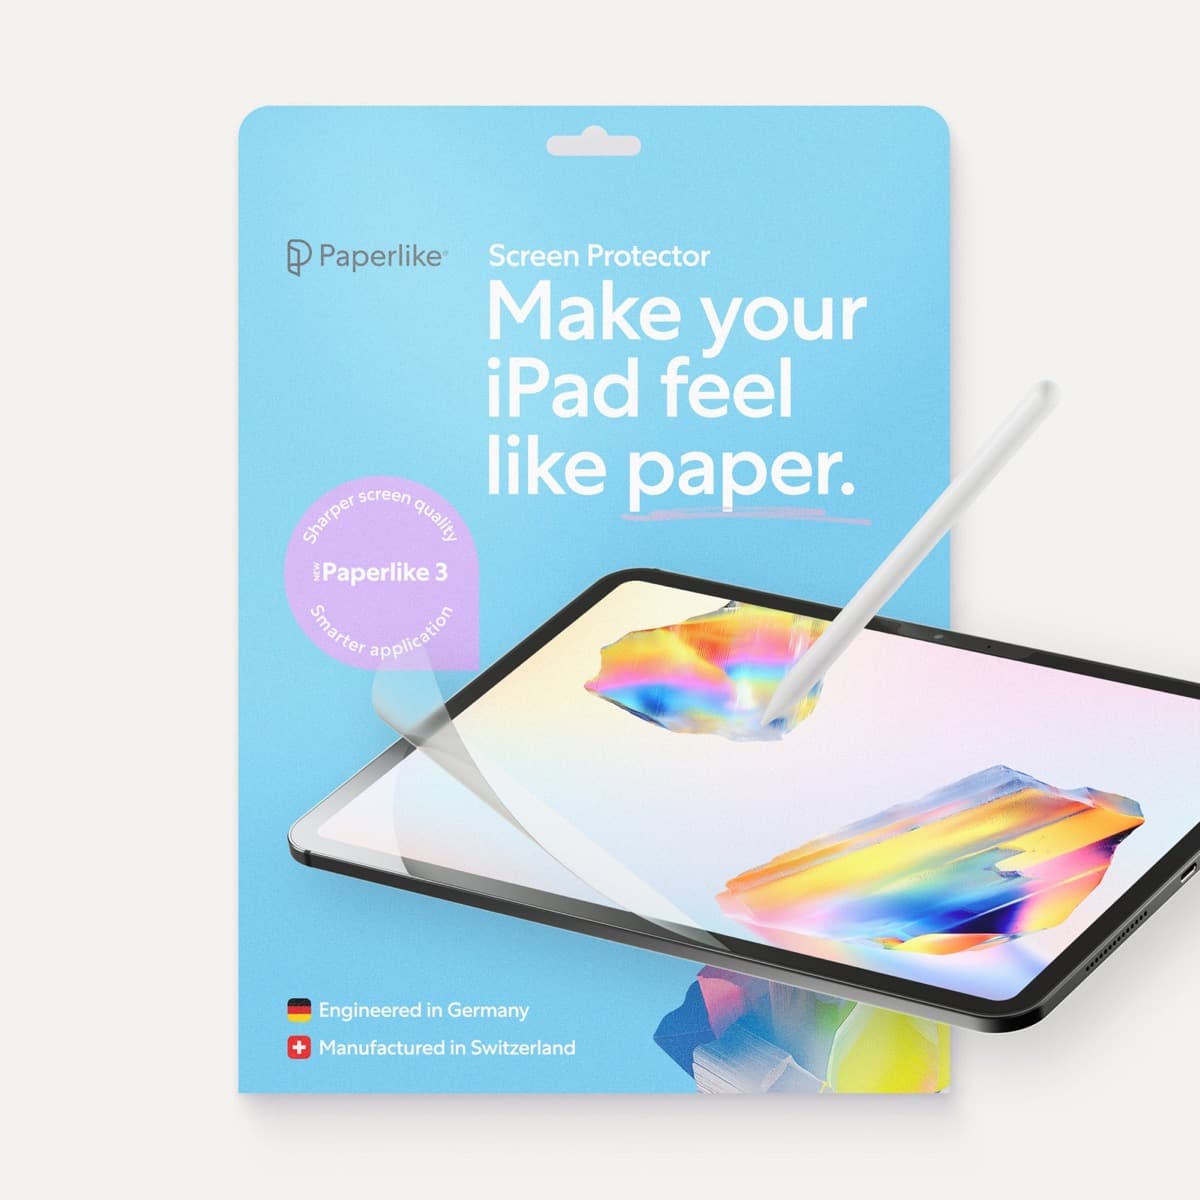
Paperlike 3 (11-inch, 2-pack)
amazon.comA strong surface-feel upgrade for drawing control. Clarity tradeoff is real and should be expected.
Pro: Adds controlled paper-feel friction
Con: Slightly reduces perceived display sharpness
11-inch fit only. Confirm generation before checkout.
Satechi R1 Stand
amazon.comPro: Affordable and stable
Con: Less reach than arm mounts
Universal stand. Works with most iPad sizes.
Elevation Lab DraftTable
amazon.comPro: Excellent drawing angle support
Con: Takes desk space
Check supported iPad dimensions before buying.
Parblo Drawing Glove
amazon.comPro: Improves glide on glass
Con: Does not fix software rejection
Related buying picks
More in this collectionComparison
Best iPad Stand Setup for Couch vs Desk Drawing (2026)
This buyer comparison focuses on comfort and stability. Pick your stand style by posture and session length, not by looks.
Buyer guide
Best Portable iPad Stands for Cafe and Travel Drawing (2026)
Portable iPad stands for artists should prioritize stability on small tables, quick setup, and low packed weight.
Buyer guide
Saving Your Neck: The Best Adjustable iPad Stands for Long Drawing Sessions
You can draw on an iPad anywhere, which is exactly how your neck ends up paying rent.