You can draw on an iPad anywhere, which is exactly how your neck ends up paying rent.
The iPad’s superpower (portability) is also its ergonomic trap: the moment your canvas lives flat on a desk or on your lap, your head tips forward, your shoulders creep up, and your session quietly turns into a low-grade endurance sport. If you’ve ever stood up after a two-hour Procreate sprint and felt like your spine is “buffering,” you already know the plot.
A good iPad stand doesn’t just hold the iPad. It changes the geometry of your body so your default posture stops being “vulture over a glowing rectangle.” That’s the entire game.
What actually “saves your neck” (and what doesn’t)
Ergonomics has a simple, slightly annoying truth: the best posture is the next posture. Static is the enemy, whether you’re hunched, “perfect,” or trying to cosplay as an IKEA diagram. [1]
Still, there are two big levers you can pull that make long drawing sessions dramatically easier:
1) Reduce neck bend by bringing the screen up into your visual zone
The Queensland Department of Education’s tablet ergonomics guide gives a surprisingly clear target: aim to position the tablet just below your field of vision (around <30° relative to your line of sight), at a comfortable viewing distance (45-70 cm). [1]
OSHA’s workstation guidance aligns with that idea for monitors: top of the screen at or just below eye level, with head/neck balanced. [2]
2) Tilt helps, but it shifts load elsewhere
A controlled study comparing tablet writing at 0° vs 30° tilt found that tilting reduced neck flexion and neck discomfort, but also increased activity in the upper trapezius on one side (translation: your shoulders may start doing more work). The same paper also notes that even at 30° tilt, neck flexion could still exceed a “low risk” cutoff, meaning tilt alone is often not enough. [3]
So the real win is usually a combo:
- Tilt to reduce the “looking straight down” angle
- Height to bring the whole screen closer to your natural gaze
- Support so your arms aren’t hanging in midair like you’re conducting an orchestra
That’s why the “best” stand depends on how you draw.
The 4 stand archetypes (and which one matches your life)

There are basically four species of iPad stands that matter for artists:
-
Drafting-board stands Low to mid height, high stability, angles optimized for drawing pressure. Best when: you’re doing heavy Pencil work at a desk and want zero wobble.
-
Drawing-surfaces (big frames around the iPad) Less about height, more about turning the iPad into something your hands can rest on. Best when: you hate “edge grip” and want lap-friendly comfort.
-
Arm stands (clamp/base + articulating arm) These are the neck-savers when you truly need eye-level positioning, especially for reference, video calls, Sidecar, etc. Best when: you want your iPad up near monitor height.
-
Foldable “origami” folios + compact travel stands Not a full workstation, but they make “flat on table” less brutal. Best when: you draw in coffee shops / travel / move around.
The picks that actually matter for long drawing sessions
I’m going to be blunt about a thing many reviews dodge: “adjustable” is cheap. “Stable under Pencil pressure” is expensive. Lots of stands can hold an iPad at a cute angle for Netflix. Far fewer can handle linework without vibrating your stroke into an accidental Impressionist phase.
1) Best “I draw for hours” desk setup: Elevation Lab DraftTable V2
If you want one product that’s unapologetically built for drawing sessions, DraftTable’s entire personality is: doesn’t move when you press on it.
Elevation Lab claims it’s “engineered to be rock solid at all positions,” has an extra-wide angle range, folds thin, and the Pro Kit includes an ArmRest (to reduce fatigue) plus a desk-locking PencilStand. It’s also listed at 2.1 lbs with dimensions 11.2" × 9.6" × 1.5" on their site. [4]
Amazon’s listing adds V2-specific tweaks like camera-bump indentations, bigger front lip, stronger hinges, and a “premium heavy steel & composite” build. [5]
Why it’s great for your neck (within its limits):
- It meaningfully increases tilt (less head-down angle)
- It’s stable enough that you’re not “micro-tensing” your neck/shoulders to control wobble (a sneaky fatigue source)
The harsh part: DraftTable is tilt-first, not height-first. If your main problem is that your iPad is too low, DraftTable alone won’t magically bring it to eye level. It’s best when paired with better chair height, or when your workflow lets you keep your neck more neutral even while looking downward.
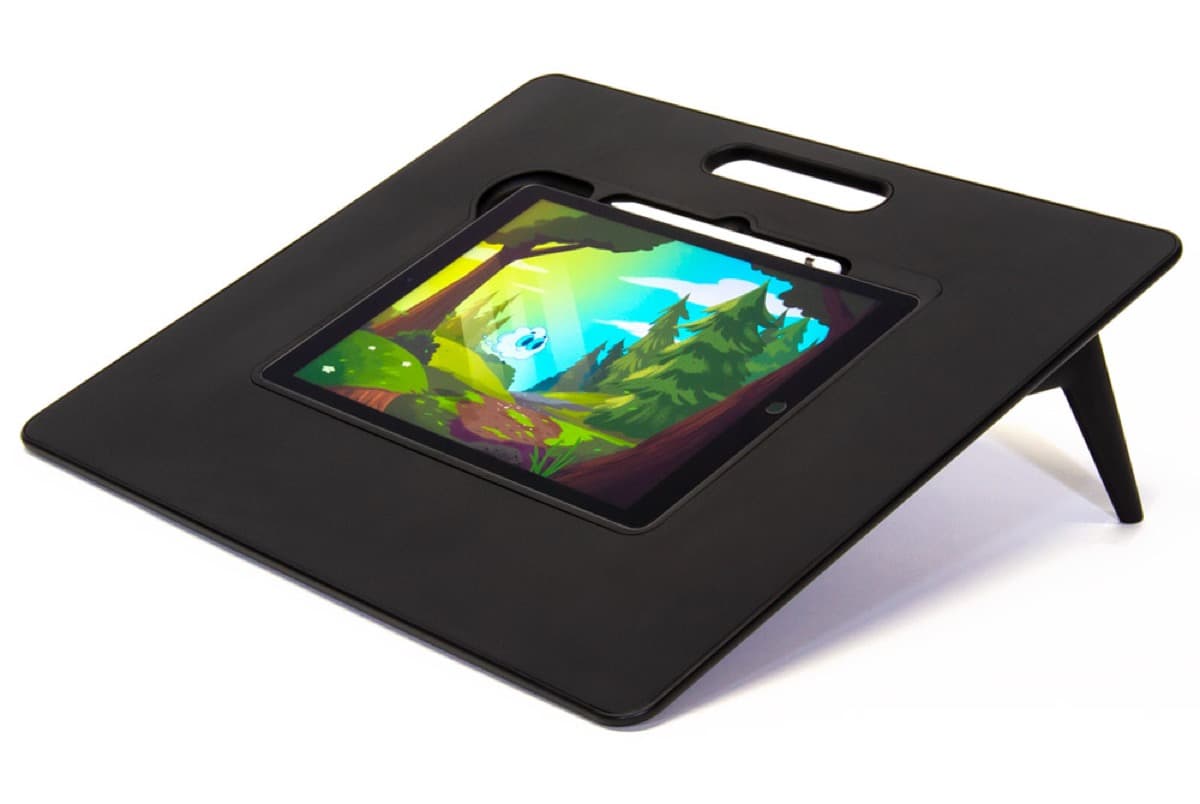
2) Best “turn my iPad into paper” drawing surface: Sketchboard Pro 2
Sketchboard Pro 2 is for people who want the iPad to feel less like a slippery slab and more like… something you can actually work on.
Key features (from the product listing):
- A flat, smooth surface around the iPad (so your hand has somewhere to go)
- Magnetic legs with 20-72° angles
- Works landscape, portrait, and “vertical like an easel”
- A charging port cutout
- “Upgradeable centerpiece” if you change iPad sizes
- 3.4 lbs and 17.25 × 15.75 inches [6]
Why it’s great for long sessions: It’s not just about neck angle. It’s about reducing hand/forearm awkwardness so your shoulders don’t creep upward over time.
The harsh part: It’s a desk object. You can move it, but 3-4 lbs plus a big footprint means you’re not casually sliding this into a tote like it’s a folio case.
3) Best “I draw on the couch/bed and refuse to stop” option: Astropad Darkboard
Darkboard is a different philosophy: comfort first, especially away from the desk.
Astropad describes Darkboard as an ultralight drawing surface that cushions your arms/wrists; it includes a foldable stand with a 30° “Easel Setup” and a “Vertical Setup,” and it’s designed to be used in your lap. They also list weight at 1.4 lbs (635 g) and emphasize that the iPad stays secure in a protective cradle. [7]
Creative Bloq’s writeup makes the “why” click: the big surrounding area gives your arms somewhere to rest, it can sit at a comfy 30° angle, and it can fold down flat for lap use, basically making the iPad feel closer to a dedicated pen display workflow. [8]
Why it’s great for your neck: If you’re a couch-drawer, Darkboard reduces the “iPad perched on knees → neck fully folded” problem by giving you a stable lap platform and workable angles. It’s not eye-level, but it’s a huge upgrade over “naked iPad on thighs.”
The harsh part: Marketing pages will call things “ergonomic” the way smoothie shops call things “detox.” Darkboard is legitimately more comfortable, but it still can’t cheat physics: couch sessions still trend toward neck flexion unless you consciously prop the whole thing higher.
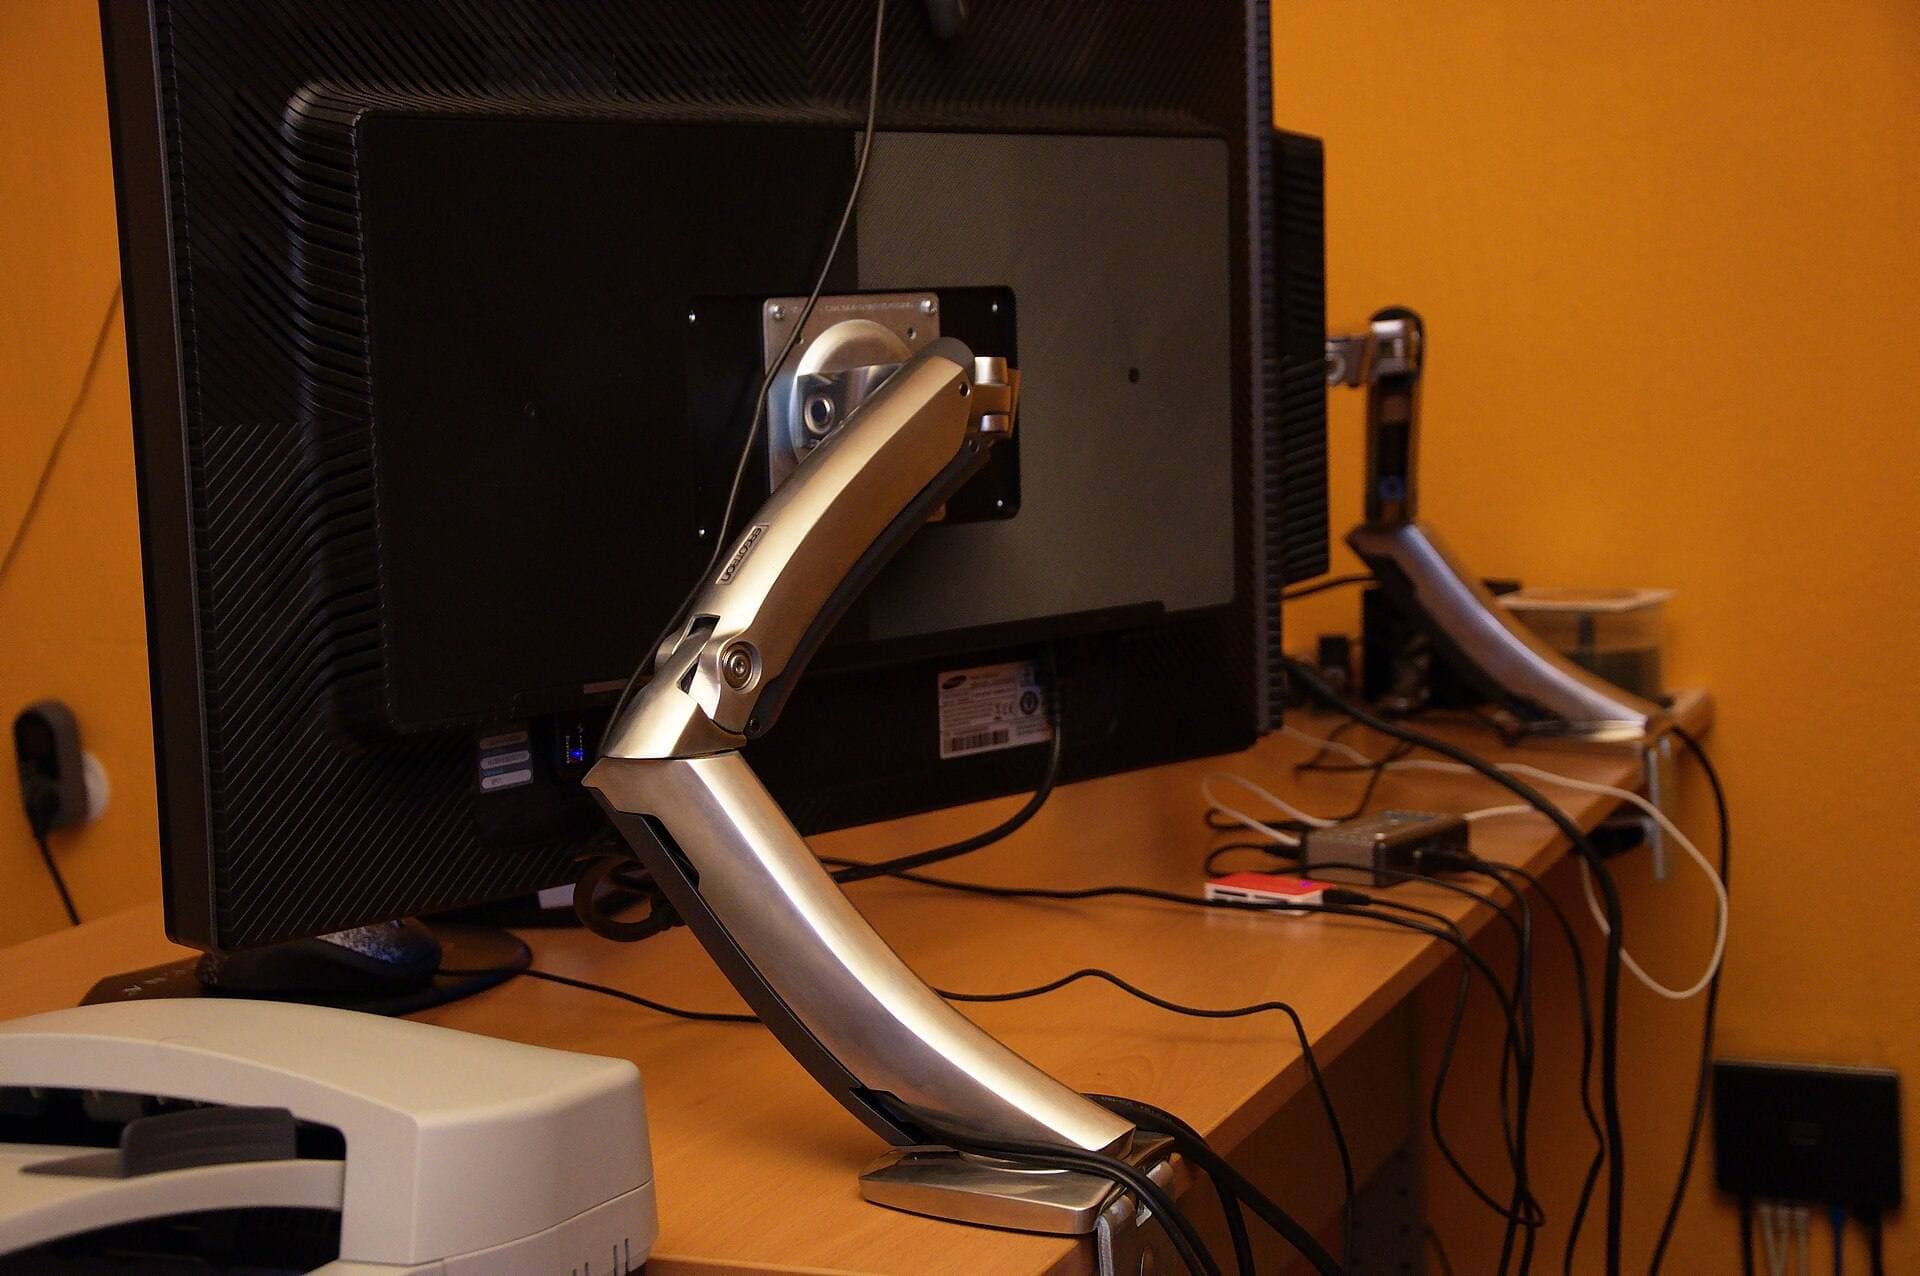
4) Best true eye-level positioning (and the real neck saver): Articulating arms
If your #1 pain point is neck bend, the most effective move is simple:
Get the screen higher. Not “two inches higher.” Higher enough that your head stops tipping forward.
This is where arm stands win. But they come with a trade-off: drawing pressure can introduce wobble if the arm isn’t stiff enough.
Twelve South HoverBar Duo
HoverBar Duo is popular because it’s both flexible and relatively simple: it includes a weighted desktop base and an adjustable clamp so you can move the same arm between locations. Apple’s listing says it supports height adjustment “from desk level to two feet in the air” with a flexible arm and 360-degree movement. [9]
Twelve South’s own specs list:
- iPad clip max width 220 mm
- clip minimum height 127 mm
- clamp width range 10-34 mm
- fully extended arm length 15 inches [10]
Where it shines for artists: Use it as an eye-level reference display (Pinterest boards, storyboard frames, color script, anatomy, client notes) while your iPad (or second device) stays at a drawing-friendly tilt. Or, if you draw very lightly, you can draw on it, but the best use case is often “neck-friendly positioning for viewing,” not “Cintiq replacement.”
KUXIU magnetic stands (Pro MAX line)
KUXIU is the “this is overengineered and I respect it” option.
MacRumors tested multiple models and explains the key differentiator: magnetic attachment with integrated charging through the iPad’s Smart Connector, delivering up to 18W, leaving USB-C free. They also describe the X36 model’s stiff joints (good for stability, but you may need two hands and should avoid adjusting with the iPad mounted). [11]
MacRumors details are unusually specific (good sign):
- Works with 2018+ iPads with Smart Connector
- X36 has multiple joints and long reach; clamp supports desks up to 1.97 inches thick
- The trade-off for stability is stiffness and some workflow quirks: iPadOS may treat it like a keyboard is attached (on-screen keyboard behavior). [11]
Why it’s great for neck + desk setups: You can position the iPad like a “floating” secondary display and keep it powered, cleanly.
The harsh part: Stiff joints are not “premium feel” if they make you nervous about your tablet detaching mid-adjustment. MacRumors explicitly warns about repositioning with the iPad mounted. [11]
5) Best “portable but still helps” case-style stand: MOFT Float Folio
If you travel or move around, a stand that’s always attached has a huge behavioral advantage: you actually use it.
9to5Mac notes the Float Folio’s multiple supported angles plus two “floating” height modes (for example: 3.6" elevation for 12.9" iPad Pro in one mode, 2.3" in another; plus a 60° landscape mode and a 20° mode on some models). [12]
MOFT’s own product messaging emphasizes “lifting screens to eye-level height” in a slim form factor. [13]
Why it’s good (for what it is): It’s not a drafting table. It’s not an arm. But it prevents the worst-case posture of “flat on table,” and the tiny elevation adds up during long sessions, especially if you’re otherwise stuck in laptop-mode posture.
The harsh part: “Eye-level” here is marketing vocabulary. A few inches of lift is helpful, but it’s not the same as a true eye-height setup like a clamp arm.
A few underrated options worth considering
These aren’t the “headline” picks, but they matter depending on your constraints:
LAB22 Infinity Adjust Stand (premium desk stand)
B&H lists 5-90° tilt plus 360° pivot, and it’s explicitly built for iPad Pro sizes (11" and 12.9" variants depending on model). [14] If you want a desktop stand that feels like an object (not a gadget), LAB22 is in that sculptural “this belongs next to nice monitors” tier.
Satechi R1 (good value adjustable hinge stand)
Satechi’s R1 is basically “surprisingly capable hinges for normal money.” The product details mention a 270° mount hinge plus 180° base hinge to adjust height/angle. [15] Real-world reviews often praise adjustability, with the occasional complaint that stability depends on how tall/vertical you set it. [16]
IKEA HAVREHOJ (shockingly practical budget stand)
IKEA’s listing says the height adjusts between 20-32 cm, with adjustable angle, cork to protect the device, plus little quality-of-life touches like a headphone hook and tray. [17] If you want “cheap, functional, and doesn’t look like gamer plastic,” it’s a strong pick.
GAOMON GMS01 (simple, affordable “artist tilt” stand)
GAOMON describes a 14.5-45° adjustment designed to reduce neck/shoulder tension and improve viewing angle for drawing/typing. [18] This is more “tilt helper” than “neck miracle,” but for a desk on a budget it’s decent.
StarTech ARMTBLTDT (utility arm; desk or wall mount)
StarTech’s page describes a universal stand supporting 4.7" to 12.9" devices, with pivots and 360° rotation, and a weight capacity around 1 kg / 2.2 lb. [19] This is more industrial than pretty, but sometimes that’s exactly what you want.
The most honest buying advice: choose based on how you draw
Here’s the clean decision tree:
If you draw hard (linework, pressure, long sessions)
Pick a drafting-board stand first (DraftTable / Sketchboard) and treat eye-level as a secondary goal. Reason: stability beats everything. Wobble causes tension you don’t notice until you do.
If your neck is the limiting factor
Pick an arm (HoverBar / KUXIU / StarTech-style) and accept that you may want a second surface for “heavy drawing.” Reason: height is the real neck lever. [1]
If you draw everywhere (bed/couch included)
Pick a drawing surface frame (Darkboard) or a folio stand (MOFT) and optimize for consistency, the setup you’ll actually use. [7]
Quick setup tweaks that punch above their weight
These are small changes that matter more than buying your third stand:
- Raise the whole workstation before you over-tilt. If you tilt too steep without arm support, shoulders start doing extra work (exactly the trade-off seen in tablet-tilt research). [3]
- Support your elbows. The moment your elbows float, your neck and traps start “helping.” (That’s not help.)
- Rotate positions every 20-45 minutes. The tablet posture study observed discomfort increasing with time and noted a notable increase around ~20 minutes in their setup. [3]
- Don’t chase “perfect posture.” Chase “less bad by default.” That’s the only sustainable approach. [1]
Bottom line
If you want the shortest path to fewer aches:
- DraftTable V2 is the “I draw seriously” stability pick. [4]
- Sketchboard Pro 2 is the “make the iPad feel like paper” comfort + angles pick. [6]
- Darkboard is the “I draw everywhere” lap-friendly comfort pick. [7]
- HoverBar Duo / KUXIU are the “true neck saver via height” picks, best used as eye-level reference or a secondary screen, with some caveats about workflow and adjustment feel. [9]
- MOFT Float Folio is the “always with you” improvement that prevents the worst posture. [12]
If you only take one idea: your stand should change your default posture without demanding constant willpower. That’s what “saving your neck” actually means.
Sources
- [1] An ergonomic guide to computer tablet use
- [2] eTools : Computer Workstations | Occupational Safety and Health Administration
- [3] pmc.ncbi.nlm.nih.gov
- [4] www.elevationlab.com
- [5] www.amazon.com
- [6] www.amazon.com
- [7] astropad.com
- [8] www.creativebloq.com
- [9] www.apple.com
- [10] twelvesouth.eu
- [11] www.macrumors.com
- [12] 9to5mac.com
- [13] www.moft.us
- [14] www.bhphotovideo.com
- [15] www.amazon.com
- [16] www.digitec.ch
- [17] www.ikea.com
- [18] gaomon.net
- [19] www.startech.com
Recommended gear
Sketchboard Pro (11-inch)
amazon.comPro: Stable sketchboard-style setup
Con: Bulky for travel
Built around 11-inch iPad sizes.
Elevation Lab DraftTable
amazon.comPro: Excellent drawing angle support
Con: Takes desk space
Check supported iPad dimensions before buying.
Satechi R1 Stand
amazon.comPro: Affordable and stable
Con: Less reach than arm mounts
Universal stand. Works with most iPad sizes.
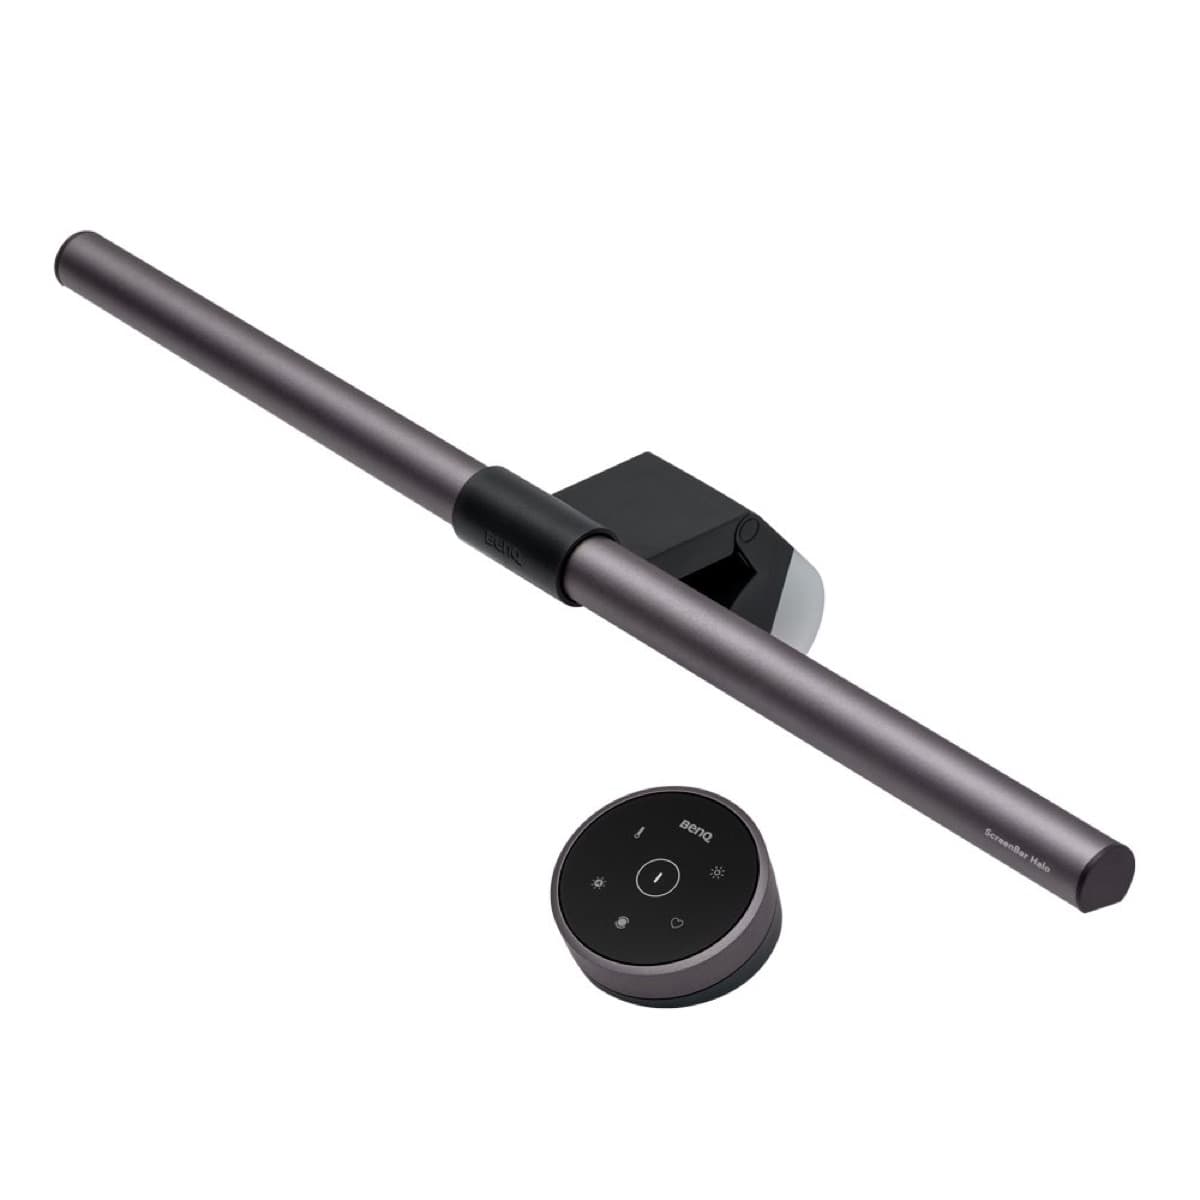
BenQ ScreenBar Halo
amazon.comPro: Reduces desk glare at night
Con: Premium price for a light
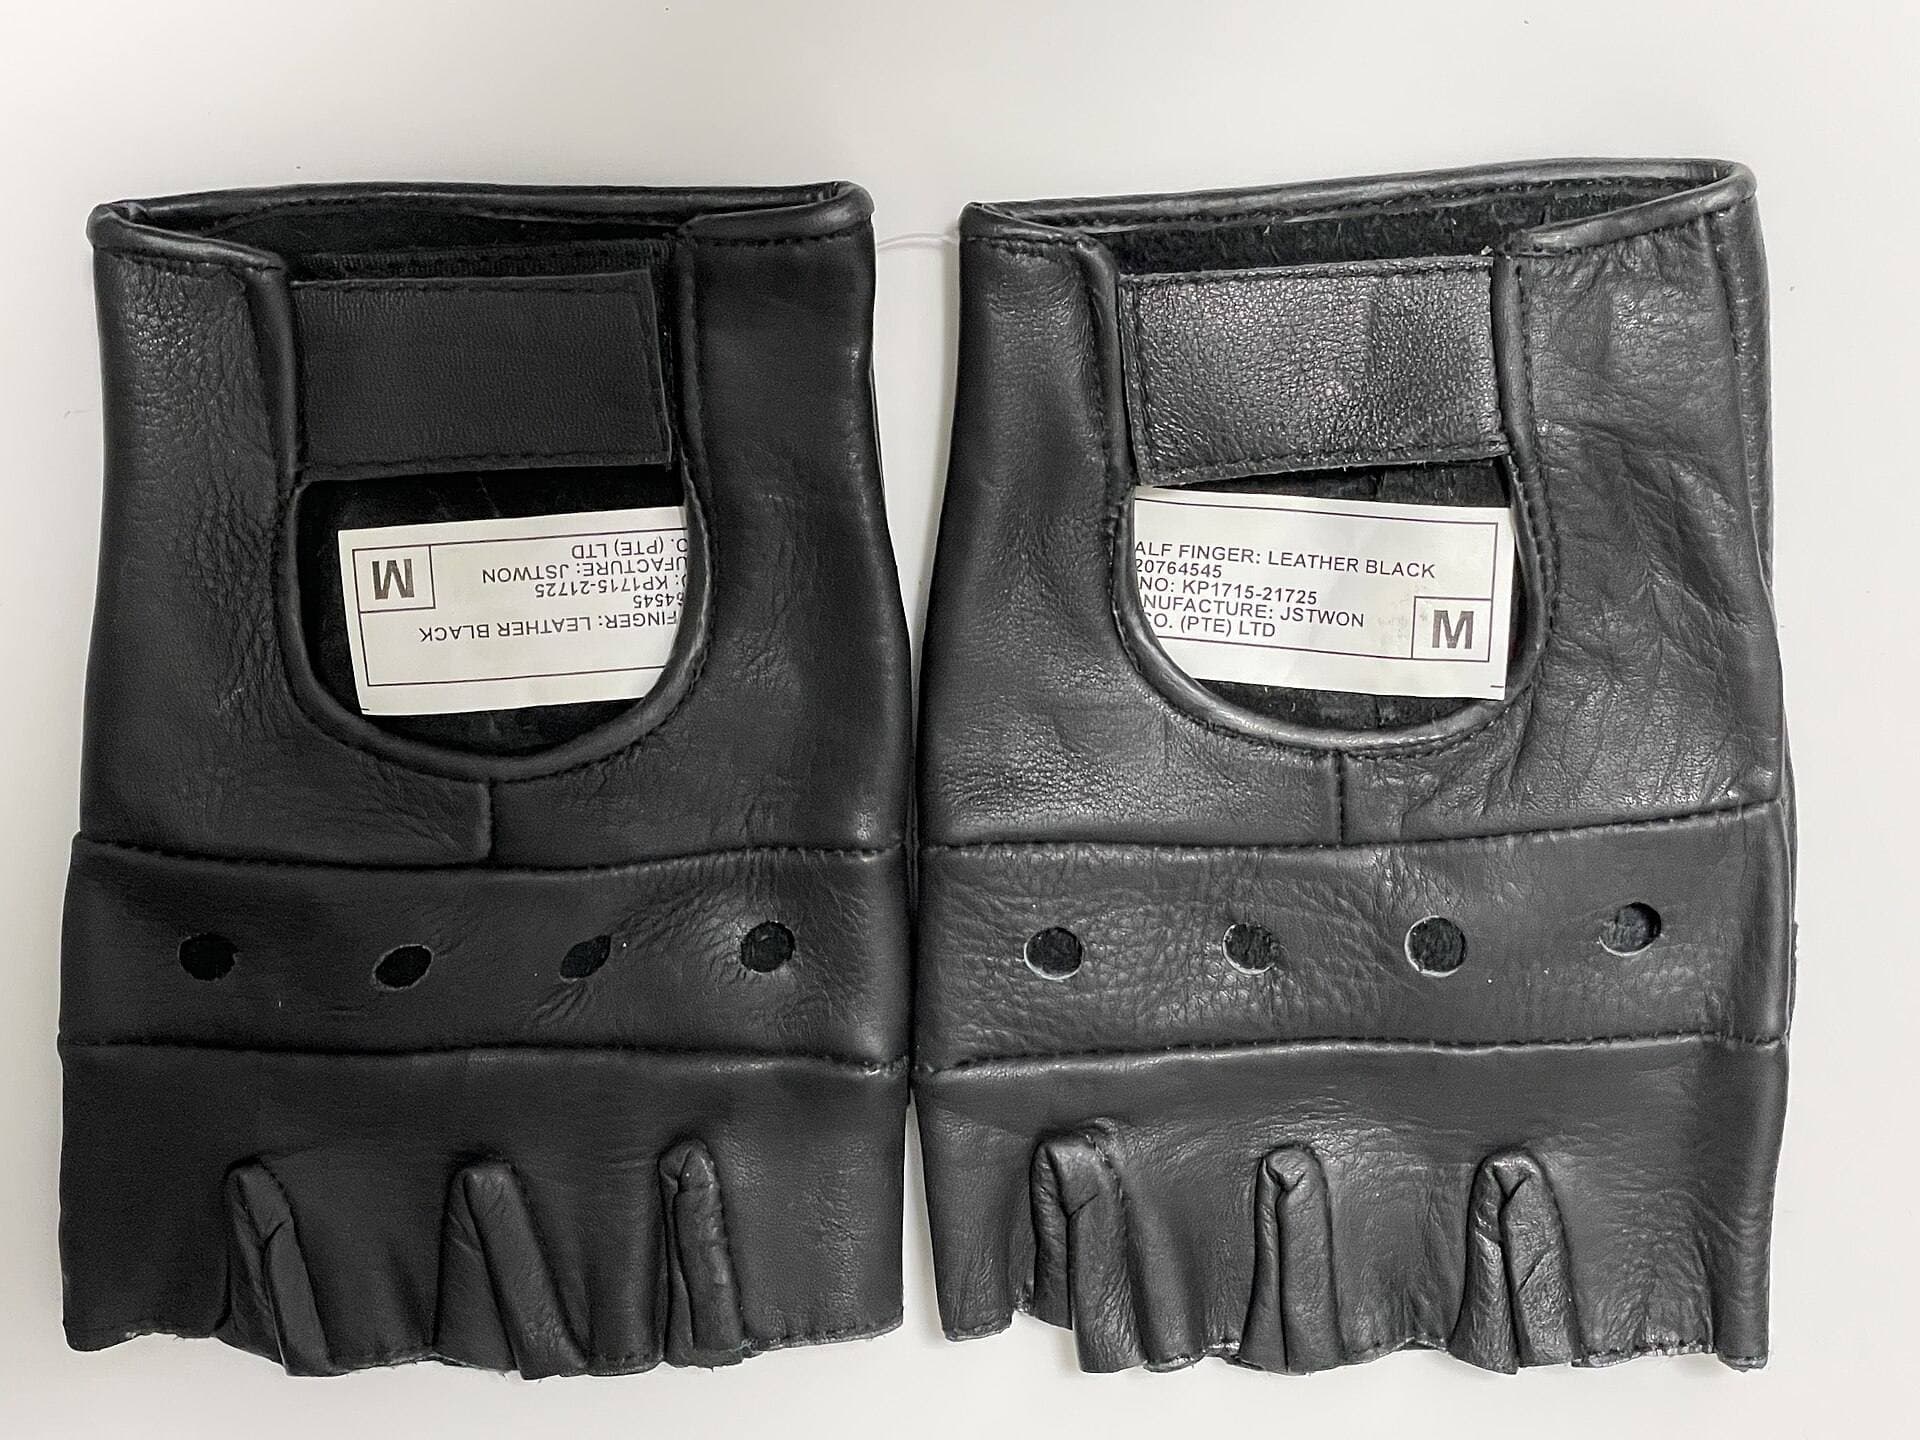
Parblo Drawing Glove
amazon.comPro: Improves glide on glass
Con: Does not fix software rejection
Related buying picks
More in this collectionBuyer guide
Best Portable iPad Stands for Cafe and Travel Drawing (2026)
Portable iPad stands for artists should prioritize stability on small tables, quick setup, and low packed weight.
Comparison
Best iPad Stand Setup for Couch vs Desk Drawing (2026)
This buyer comparison focuses on comfort and stability. Pick your stand style by posture and session length, not by looks.