
Most budget mistakes happen before the first sketch.
People buy a premium Pencil first, then discover it does not fit their iPad, or they stack accessories before they know their real bottleneck. If your goal is to spend less and still get smooth drawing sessions, the order matters more than any single product. Buy for compatibility first, then maintenance, then comfort upgrades only when you can name the exact problem they solve.
The budget bundle in one sentence
For most buyers, the smartest Apple Pencil budget bundle is:
- one compatible Pencil model,
- one official tip replacement strategy,
- one stable charging routine,
- and zero extra accessories until your first 30 days of real use reveal a specific pain point.
That keeps your cost low while protecting the two things that actually affect output quality: reliable input and consistent feel.
Step 1: choose the right Pencil tier for your iPad
Start with your exact iPad model, then match the Pencil. Do not reverse this.
Apple lists current compatibility on its support pages and product pages.[1][2] Use those pages before checkout because compatibility changes across generations.
Practical buying rule
- If you mostly sketch, annotate, and take notes: Apple Pencil (USB-C) is usually the best budget entry.
- If your iPad supports Apple Pencil (2nd generation) and you need pressure workflow with lower cost than Pencil Pro: Pencil 2 is a strong value tier.
- If your iPad does not support your chosen Pencil, stop and switch now before buying accessories.
The wrong Pencil is not a minor inconvenience. It is a full workflow break.
Step 2: buy one tip strategy and keep it simple
Tip wear changes line feel before most users notice it.
Budget buyers often waste money by purchasing random third-party nib packs in bulk. Some are fine, but the consistency gap can be large. The best low-risk move is one official tip pack first, then evaluate after real use.[3]
Tip policy that saves money
- Keep one official backup pack ready.
- Replace when you feel drag inconsistency, edge roughness, or visible wear.
- Avoid mixing multiple unknown tip types at once, because it confuses your hand-feel baseline.
You are not paying for novelty. You are paying to keep your line behavior predictable.
Step 3: skip these early purchases
The fastest way to blow a budget bundle is buying comfort extras too early.
Skip at day 0
- Multiple grip sleeves before you know your hand fatigue pattern.
- Duplicate Pencils for the same iPad workflow.
- Expensive stand systems if you mostly draw at one desk and your current angle is already stable.
- Niche accessories that solve a problem you have not hit in actual sessions.
Buy later only if the bottleneck repeats
Use a simple threshold: if the same friction appears for two straight weeks, then buy the cheapest product that solves only that friction.
Three bundle versions that actually work
Use these as decision templates, not rigid shopping lists.
1) Minimum viable bundle
- Apple Pencil (USB-C)
- Apple Pencil Tips (4-pack)
- one reliable USB-C cable you already own
Best for: first-time iPad drawing users with strict budget caps.
2) Value performance bundle
- Apple Pencil (2nd generation) if compatible
- Apple Pencil Tips (4-pack)
- one stable charging habit tied to your daily desk routine
Best for: buyers who want stronger brush control but still care about spend discipline.
3) Upgrade-safe bundle
- Apple Pencil (USB-C) now
- official tip pack now
- planned upgrade checkpoint after 60 to 90 days if pressure support becomes a real limit
Best for: unsure buyers who want to start immediately without committing to a premium tier.
30-day budget workflow plan
A budget bundle works only if you keep it boring and repeatable.
Week 1: establish baseline
Draw daily with default settings. Do not add accessories. Track only these two signals:
- do lines feel predictable,
- does charging ever interrupt your session.
Week 2: verify maintenance
Inspect tip condition and charging habit. If the Pencil is functioning and your hand adapts, keep setup unchanged.
Week 3: test one friction at a time
If your issue is grip fatigue, test one low-cost grip. If your issue is angle, test one stand change. Never test multiple new variables together.
Week 4: decide upgrade or stay
Upgrade only if a clear, repeated bottleneck remains. If not, keep the cheaper setup and reinvest your budget in classes, brushes, or time.
How to know you should upgrade from USB-C to Pencil 2 or Pro
A real upgrade case is specific and repeatable. Good signals include:
- You are doing brush-heavy painting where pressure control materially affects finished work.
- You can point to exact actions where your current Pencil slows you down.
- You already fixed maintenance and ergonomics, but quality still plateaus.
Bad upgrade reasons include hype, specs envy, or buying because a creator setup looked premium. Premium tools help only when they remove a specific limit.
Common budget mistakes and how to avoid them
Mistake 1: buying for future identity
People buy a future-pro setup before they have a present-day workflow. Buy for current weekly use, not idealized future use.
Mistake 2: confusing bundle size with bundle quality
A bigger cart is not a better setup. A better setup removes friction quickly and repeatedly.
Mistake 3: ignoring compatibility details
Generation mismatches destroy value instantly. Always confirm iPad model and Pencil support before checkout.[1][2]
Mistake 4: replacing accessories instead of fixing habits
Many charging and tip issues are routine issues, not hardware failures. Consistent charging windows and routine tip checks solve more than extra purchases.
Bottom line
The best Apple Pencil budget bundle is deliberately small.
Buy one compatible Pencil tier, keep one official tip pack, and delay everything else until your own usage data tells you what matters. That approach protects your budget and usually produces better drawing consistency than buying a large accessory stack on day one.
Product visuals
Sources
Recommended gear
Apple Pencil (USB-C)
amazon.comA practical low-cost Apple stylus with broad compatibility, but limited for advanced art control.
Pro: Lowest official Apple Pencil cost
Con: No pressure sensitivity for brush work
Compatible with many recent iPads. No pressure support.
Apple Pencil (2nd generation)
amazon.comStill a strong stylus on compatible iPads. Good pressure control, but compatibility is the main trap.
Pro: Pressure support without Pro pricing
Con: Not compatible with newest Pro-only iPads
Only for iPads that support 2nd generation pairing.
Apple Pencil Tips (4-pack)
apple.comPro: Official fit and consistent friction
Con: Costs more than many third-party nib packs
Fits Apple Pencil tips across current Apple Pencil generations.
Apple Pencil Pro
amazon.comThe best Apple stylus for serious digital art workflows. Expensive, but the control upgrades are real.
Pro: Best brush-control and hover workflow
Con: Highest price in the lineup
Works only with newer iPad models. Check compatibility.
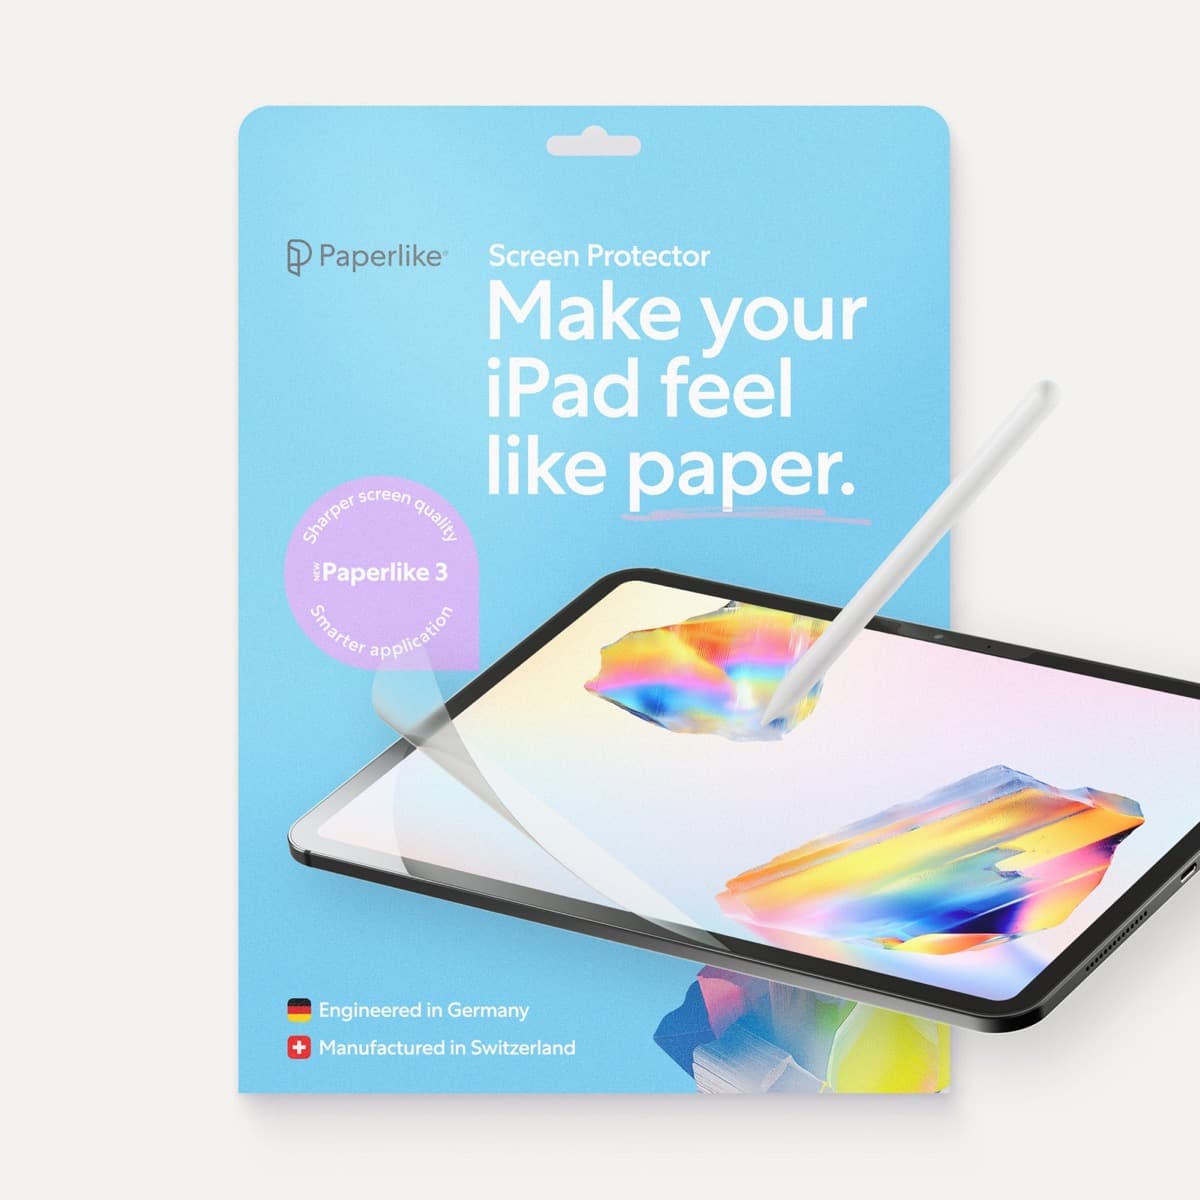
Paperlike 3 (11-inch, 2-pack)
amazon.comA strong surface-feel upgrade for drawing control. Clarity tradeoff is real and should be expected.
Pro: Adds controlled paper-feel friction
Con: Slightly reduces perceived display sharpness
11-inch fit only. Confirm generation before checkout.
Related buying picks
More in this collectionBuyer guide
Apple Pencil Compatibility Guide (2026): Which iPad Works With Which Pencil?
Compatibility decides the right Apple Pencil before features do. This guide maps current and older iPads to the Pencil models that actually work.
Comparison
Apple Pencil Pro vs Apple Pencil USB-C in 2026: Which Should You Buy?
Most artists should choose Apple Pencil Pro only when pressure control and hover are central to their workflow, not by default.
Buyer guide
Best Apple Pencil Alternatives (2026): Is Apple Pencil Worth It?
Apple Pencil is worth paying for when pressure, reliability, and workflow speed matter daily. Here is when cheaper stylus options are enough.
Comparison
Apple Pencil Pro vs Pencil 2 vs Pencil USB-C (2026 Buyer Guide)
The right Apple Pencil is a compatibility decision first, then a feature decision. This guide maps both without fluff.