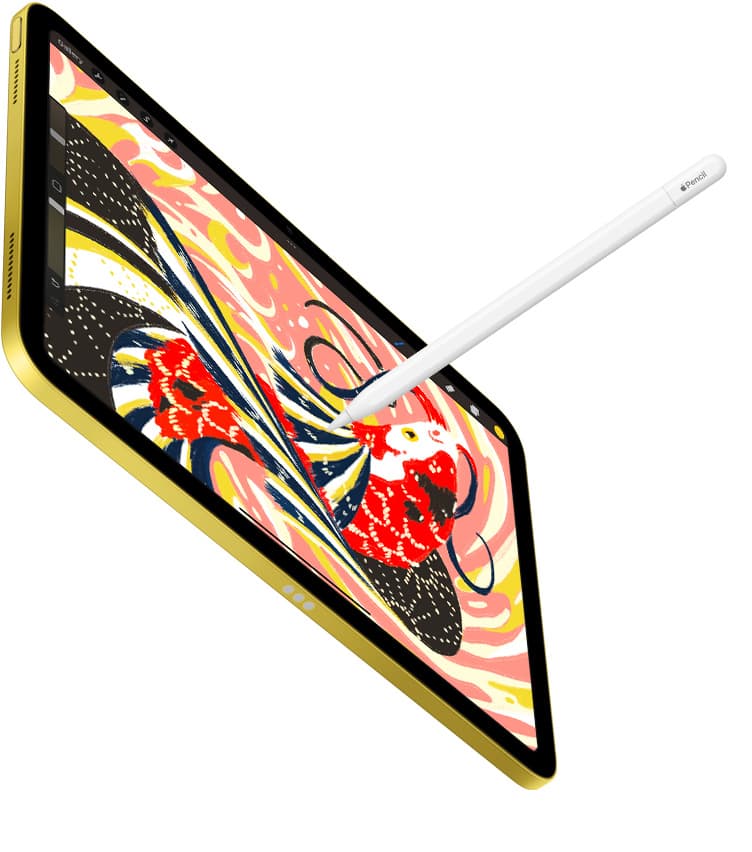
There’s a specific kind of digital-art annoyance that doesn’t happen on paper: your brain says “put the line there,” your hand agrees, but the stylus tip skates a millimeter past the landing zone, like it briefly forgot friction exists.
That tiny overshoot is why “paper-feel” matte protectors became the default iPad accessory for artists. The promise is clean: more control, less glare, better drawing. The backlash is also clean: worse screen quality, faster nib wear, and any improvement is placebo.
Both camps are right, just about different parts of the experience.
The honest answer is this: a screen protector can help you draw better if your bottleneck is the hand-to-screen feedback loop (drag + glare + confidence), not fundamentals like observation, form, or mileage. It’s a tuning knob, not a shortcut.
What “draw better” actually means (so we don’t argue in fog)
When people say a screen protector made them “draw better,” they usually mean one of these:
- Cleaner line placement: fewer overshoots and micro-corrections
- More consistent pressure: smoother shading, fewer accidental spikes
- Less fatigue: fewer cramps, less death-grip
- Better focus: fewer moments fighting reflections, smudges, or glare
A protector doesn’t give you taste, composition, anatomy, or storytelling. What it changes is the feedback loop between your hand and the pixels: the motor-control layer where confidence either compounds… or collapses into timid chicken-scratches.
Two surface families, one real trade-off
Most screen protectors for drawing live in two families:
1) Tempered glass protectors (usually glossy)
A thin sheet of glass on top of your screen. The goal is protection with minimal visual change, crisp text, sharp edges, strong contrast, and the least “grain.”
If you like your display the way it is, glossy glass protectors are the safe, boring, usually-correct choice.
2) Matte / “paper-feel” films
Typically plastic (often PET) with a micro-textured surface. The goal is more drag and less mirror-like reflection. If you primarily draw, write, or letter, this category is designed to feel “right,” even if the display takes a hit.
Here’s the core truth product pages dance around:
You can’t get something for nothing. Any surface that increases drag and reduces glare is doing it by changing how light (and your stylus tip) interacts with the top layer, so it will have side effects.
The physics, explained like a human
Matte is basically controlled roughness. Not “sandpaper” unless you bought a truly awful one, but enough micro-texture to change two things:
- Friction: the stylus tip has more resistance (more drag)
- Scattering: reflections stop being a crisp mirror and become a soft haze
Pen-display makers say this pretty bluntly. Huion explains that etched anti-glare glass adds grains/texture that increase friction and create a diffuse reflection effect to reduce glare. [1]
And Wacom literally sells replaceable texture sheets for Intuos Pro tablets, including a “rough” option specifically because a coarser surface provides more friction for your pen nib. [2]
That’s not marketing poetry. It’s an adjustable parameter.
Why matte can genuinely improve your marks
A bit more drag can do very specific things:
- Less overshoot. Extra resistance acts like a speed limiter on fast strokes. Great for handwriting, lettering, careful inking, and controlled hatching.
- Less death-grip. Many people grip harder on bare glass because it feels like skating. Texture can let your hand relax, if you don’t fight it.
- More deliberate strokes. Drag can encourage fewer “scrub” strokes and more confident lines.
This is why “paper-feel” reviews sound contradictory. They aren’t lying; they’re describing different bottlenecks.
The part marketing gets right (and the part it downplays)
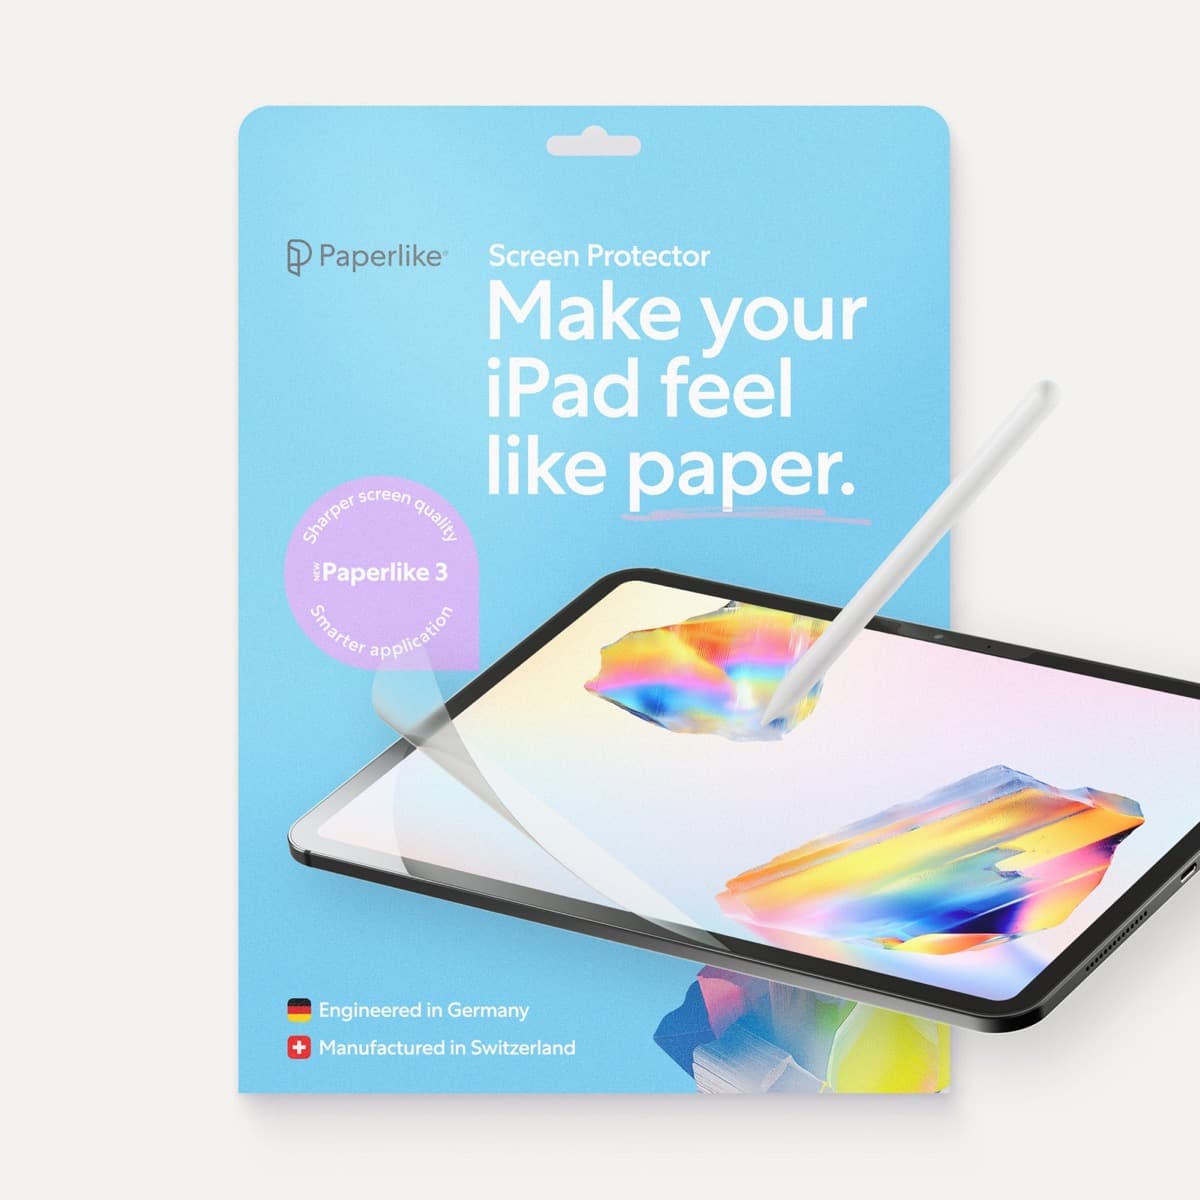
Paperlike is the brand most people name even when they didn’t buy Paperlike. Their current Paperlike 3 page claims a textured “Nanodots” surface meant to balance friction and glide for more control in writing and drawing, while minimizing distortions and tip wear as much as possible (while acknowledging wear is inevitable). [3]
The control part is real. A slightly higher-friction surface can make your hand more predictable.
But the optics part is where the bills come due.
Even Paperlike acknowledges that textured surfaces bend/scatter light and reduce brightness at least a little, while arguing their surface reduces distortion compared to conventional matte protectors. [3]
And this isn’t a “Paperlike vs everyone” thing. It’s just the physics of putting texture over pixels: if you scatter reflections, you also scatter some of the light coming from the display.
Sparkle, grain, and the “why does white look dusty?” moment
If you’ve ever installed a matte film and thought:
“Why do whites look… noisy?”
You’re not imagining it. Display researchers use a real term for one chunk of this: sparkle, a kind of visual noise where tiny specks appear and shift as your viewing angle changes.
A SID 2011 paper on scattering anti-glare layers describes sparkle on matted anti-glare cover glass and discusses how these layers can reduce image clarity; it also notes some users complain about focusing problems or eye strain. [4]
Normal-person translation: matte doesn’t just reduce reflections. It adds a micro-texture layer between your eyes and the pixels, which can look like grain, especially on bright canvases and UI areas.
If your workflow involves a lot of clean whites (comic pages, UI mockups, lettering on white, bright painting), matte’s “visual tax” becomes more noticeable.
Matte vs glossy in bright rooms: not a fair fight
Here’s why matte films can feel like a miracle on day one: they can rescue usability in bad lighting.
Rtings (which measures reflection handling systematically) summarizes the basic behavior: glossy screens show stronger mirror-like reflections; matte finishes reduce those reflections but can affect perceived contrast/clarity. [5]
Artists feel this harder than casual viewers because drawing is high-attention work. A reflection that’s tolerable while watching YouTube becomes maddening when you’re trying to place a line precisely.
But there’s a twist: diffusing reflections can create a broad haze across the screen depending on lighting and angle.
Parka Blogs describes this as a “white glaze” effect where diffused reflections cover more of the screen; sometimes it’s fine head-on, sometimes it’s frustrating, especially outdoors where light comes from everywhere. [6]
So matte is not automatically “better outdoors.” It’s more like: less mirror, more haze. Sometimes that’s exactly what you want. Sometimes it’s worse.
The invisible tax: nib wear (and why “physics” keeps showing up)
Here’s the part that separates “fun accessory” from “ongoing cost”: texture increases friction, friction increases wear.
Seven Pens (a drawing tablet maintenance guide) puts it plainly: nibs wear down due to friction against the surface; more textured surfaces make nib wear more likely, and drawing pressure and stroke habits matter a lot. [7]
Paperlike’s page essentially agrees in spirit: it says tip wear is inevitable with textured surfaces but claims its design is optimized to minimize wear compared with rougher protectors. [3]
Both can be true. One protector can be gentler than another. But you don’t get texture for free.
Practical translation:
- If you draw a lot (especially repetitive fast strokes like hatching), budget for replacement tips.
- If you press hard, consider adjusting your pressure curve (or consciously lightening your hand) so you’re not grinding the nib into texture. [7]
So where does glass win?
Tempered glass protectors are the boring option, and boring is often correct.
Glass usually wins if:
- you care about color/contrast (painting, photo work, client review)
- you hate grain on whites
- you don’t want to accelerate nib wear
- you mostly draw indoors with controllable lighting
Also: glossy glass tends to preserve the “screen looks expensive” feeling better than matte films. If your iPad is also your movie machine, glass makes that dual-use life easier.
The cost is feel. On bare glass (or glass protectors), you may need to build control through:
- technique (slower starts/stops, deliberate anchoring)
- grip comfort
- software stabilization settings (used carefully)
- plain old hours
That sounds unsexy. But it’s real.
The third path: removable overlays and built-in texture
If you want texture sometimes, not permanently, there are options:
Magnetic matte overlays
Removable sheets you slap on for drawing and peel off for media. The benefit is obvious: texture on demand. The downsides are also obvious: extra thickness, slightly different feel, and sometimes minor alignment quirks.
Matte tempered glass
A hybrid: glass hardness plus a matte surface. You still pay the optical matte tax (grain/haze), but you get better scratch resistance than plastic films.
Built-in textured glass (the expensive way)
Apple’s nano-texture glass option for certain iPad Pro configurations is explicitly positioned as an anti-reflective choice that further minimizes glare compared to standard glass with an anti-reflective coating, aimed at bright workspaces. [8]
And Apple’s cleaning guidance for nano-texture displays is notably specific: use the included polishing cloth; for rare stubborn smudges, you can moisten it with 70% isopropyl alcohol solution. [9]
That’s a hint: once texture is “in the glass,” you’re trading into a different maintenance regime.
The real question: what are you optimizing for?
Instead of “matte vs glass,” ask:
1) Are you missing strokes because the surface is too slippery?
If yes, matte is likely to help, especially for line art and handwriting.
2) Are you distracted by reflections more than you’re distracted by grain?
If yes, matte can help; nano-texture can help; better lighting can also help. [5]
3) Do you care about display fidelity (contrast, crispness, clean whites)?
If yes, glass is usually the better baseline.
4) Are you okay paying the “texture tax” in nib wear?
If no, avoid aggressive matte. [7]
This is the part where I’m going to be reasonably harsh:
If your lines are shaky because you lack mileage, a screen protector will feel like it helped for a week, because novelty makes you pay attention, then you’ll return to baseline. The permanent upgrade is practice. The surface should support your practice, not become your personality.
A decision cheat-sheet you can actually use
Pick matte if:
- you ink/letter/write a lot
- you overshoot and correct constantly
- you draw in environments with annoying reflections
- you prefer tactile feedback and don’t mind a slightly “grainier” screen
Pick glass if:
- you paint, color-grade, or care about crispness
- you hate grain on bright canvases
- you want the least ongoing nib wear
- you use the iPad as a media device as much as an art device
Pick magnetic matte overlay if:
- you want texture for drawing but a pristine display for everything else
Consider nano-texture (if available) if:
- you work in bright conditions and want glare reduction without sticking a film on top (with the understanding it’s a premium trade). [8]
The 20-minute test that beats internet opinions
Don’t buy based on vibes. Run a tiny experiment (in a store demo unit if you can, or borrow a friend’s):
- Draw the same page twice: straight lines, ellipses, tiny text, shaded sphere.
- Time yourself. Note where you slow down.
- Monitor grip pressure: are you squeezing harder on glass?
- Compare error patterns: overshoot vs wobble vs patchy shading.
- Test in your worst lighting (window/café). Matte’s value shows up there. [5]
If matte reduces overshoot and your hand relaxes, it’s doing real work. If matte makes strokes jitterier, or the grain annoys you every time you look at a white canvas, it’s the wrong tool.
Verdict
A screen protector won’t make you an artist. But it can make your stylus feel more predictable, reduce reflection-stress, and keep more of your attention on the drawing instead of the surface.
Matte is a control upgrade with an optical + nib-wear cost. Glass is a visual fidelity upgrade with a tactile cost.
If you choose based on the bottleneck you’re actually experiencing, you’ll feel like you “draw better” for the only reason that matters: you’re fighting your tool less often.
Sources
Recommended gear
Paperlike 3 (11-inch, 2-pack)
amazon.comA strong surface-feel upgrade for drawing control. Clarity tradeoff is real and should be expected.
Pro: Adds controlled paper-feel friction
Con: Slightly reduces perceived display sharpness
11-inch fit only. Confirm generation before checkout.
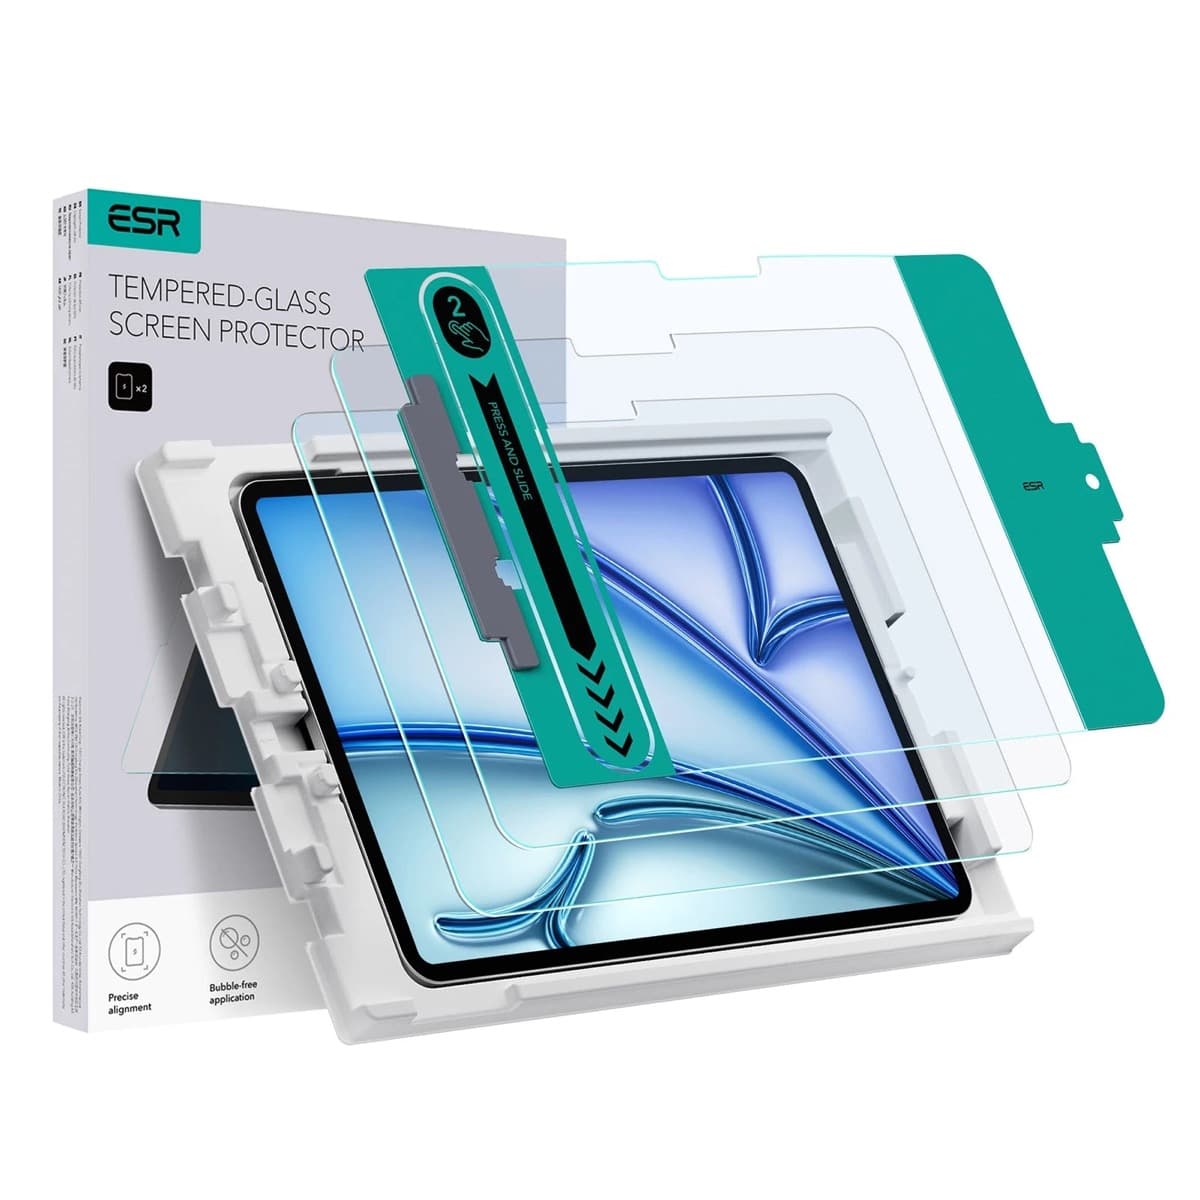
ESR Armorite Tempered Glass (11-inch)
amazon.comHigh-clarity protector with strong value. Great for visibility, less ideal for friction-seeking artists.
Pro: Very clear image with strong scratch resistance
Con: Minimal drawing friction compared with matte films
11-inch fit only. Verify exact iPad generation.
Apple Pencil Pro
amazon.comThe best Apple stylus for serious digital art workflows. Expensive, but the control upgrades are real.
Pro: Best brush-control and hover workflow
Con: Highest price in the lineup
Works only with newer iPad models. Check compatibility.
Apple Pencil (USB-C)
amazon.comA practical low-cost Apple stylus with broad compatibility, but limited for advanced art control.
Pro: Lowest official Apple Pencil cost
Con: No pressure sensitivity for brush work
Compatible with many recent iPads. No pressure support.
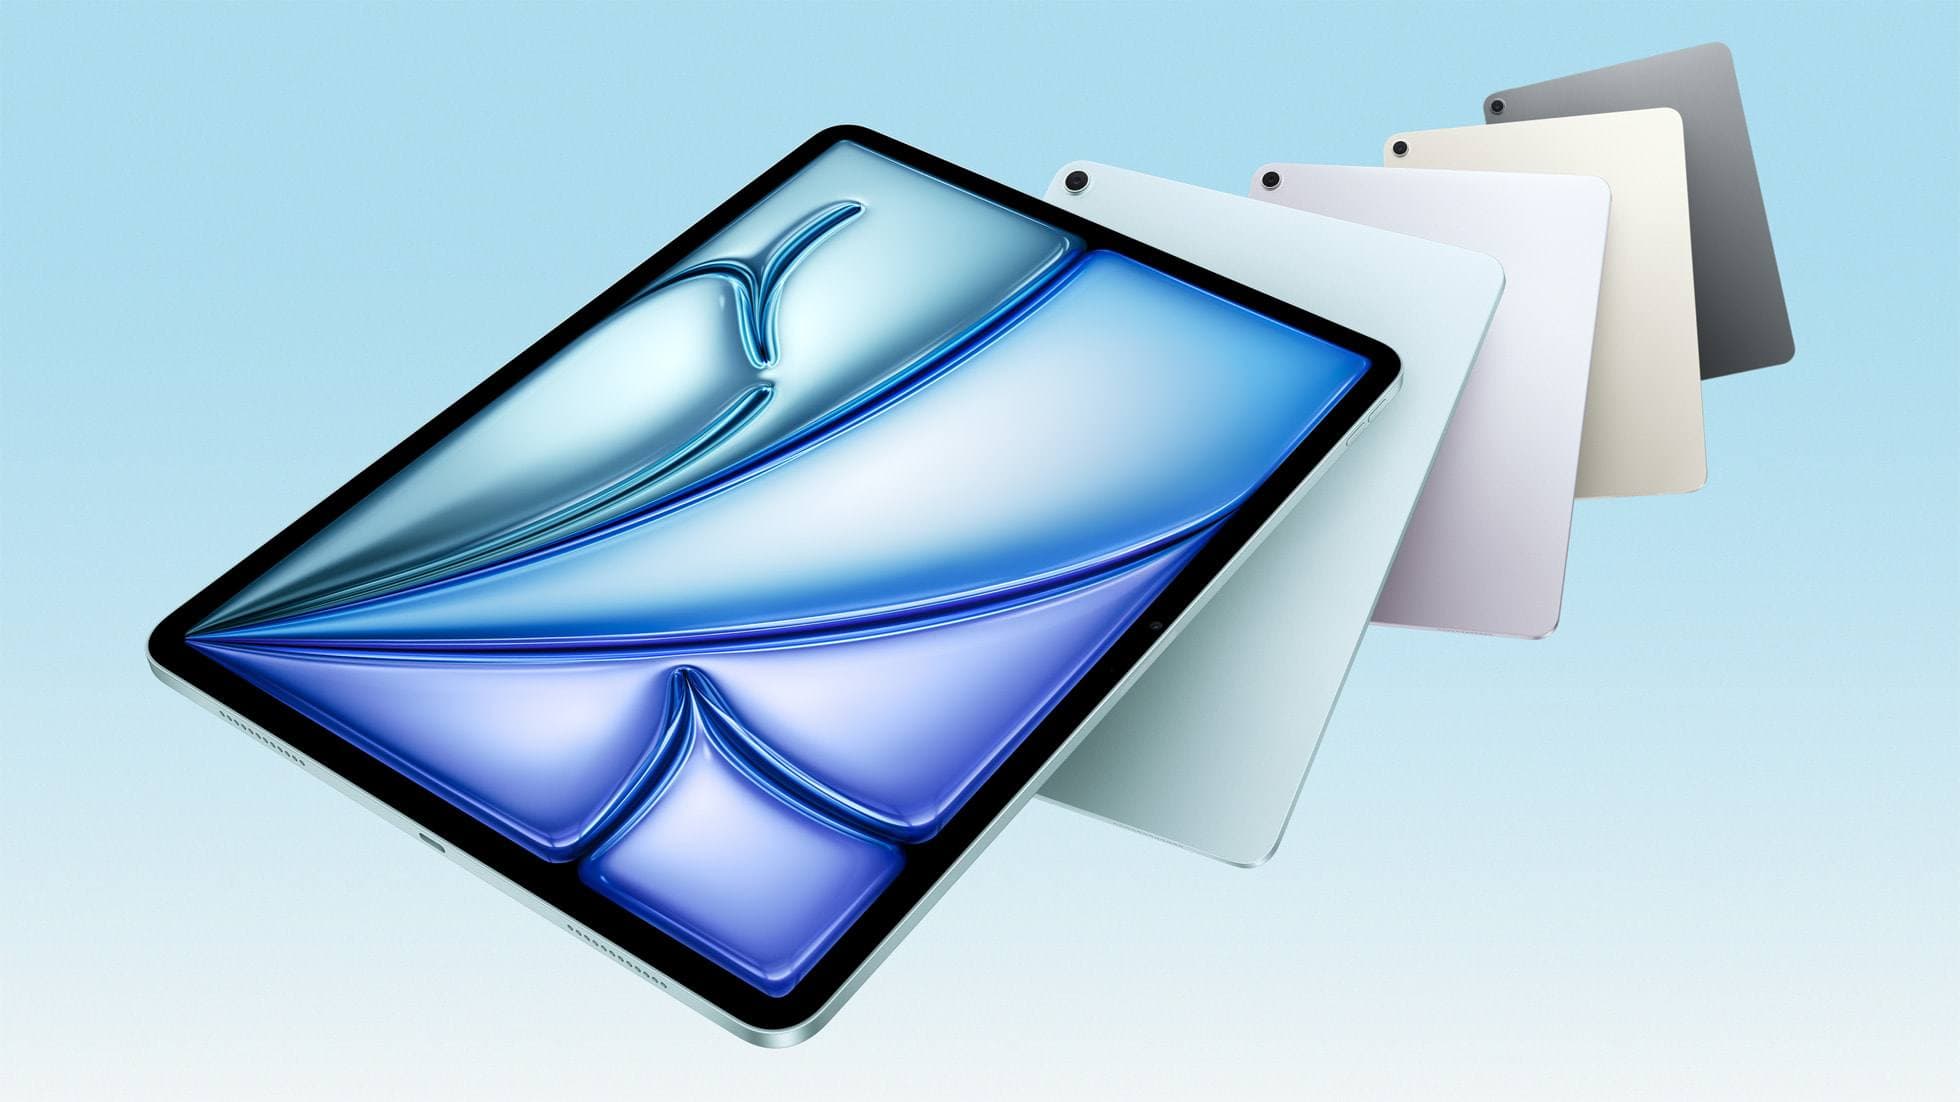
iPad Air (M4)
apple.comThe clean current Air recommendation for most serious hobby artists. Stronger buy logic than old-stock M3 when pricing is close.
Pro: Best current balance of price, headroom, and Pencil support
Con: Still 60Hz
Current Air lineup. Choose size, storage, and keyboard path before checkout.
Related buying picks
More in this collectionComparison
Matte vs. Glass Screen Protectors: Pros and Cons (and what you’re really buying)
Screen protectors are sold like armor, but you’re not buying armor. You’re buying a lens filter that lives on the most-touched, most-viewed object you own.
Comparison
Paperlike vs Tempered Glass for iPad Drawing (2026): Which Should You Buy?
This BOFU comparison is simple: matte texture improves control, glass keeps maximum clarity. Pick by your drawing style, not hype.