
Travel charging failures are predictable.
Most iPad artists do not lose power because they forgot to buy one more charger. They lose power because the same three mistakes repeat: the charger and bank have no clear jobs, cables get mixed randomly, and there is no routine for airports, flights, hotels, and cafes.
If you want the gear picks themselves, read Best Travel Power Kit for iPad Artists. This page is about the operating system around the kit: how to pack it, how to use it, and how to keep it from failing when travel gets messy.
The one-bag travel charging policy
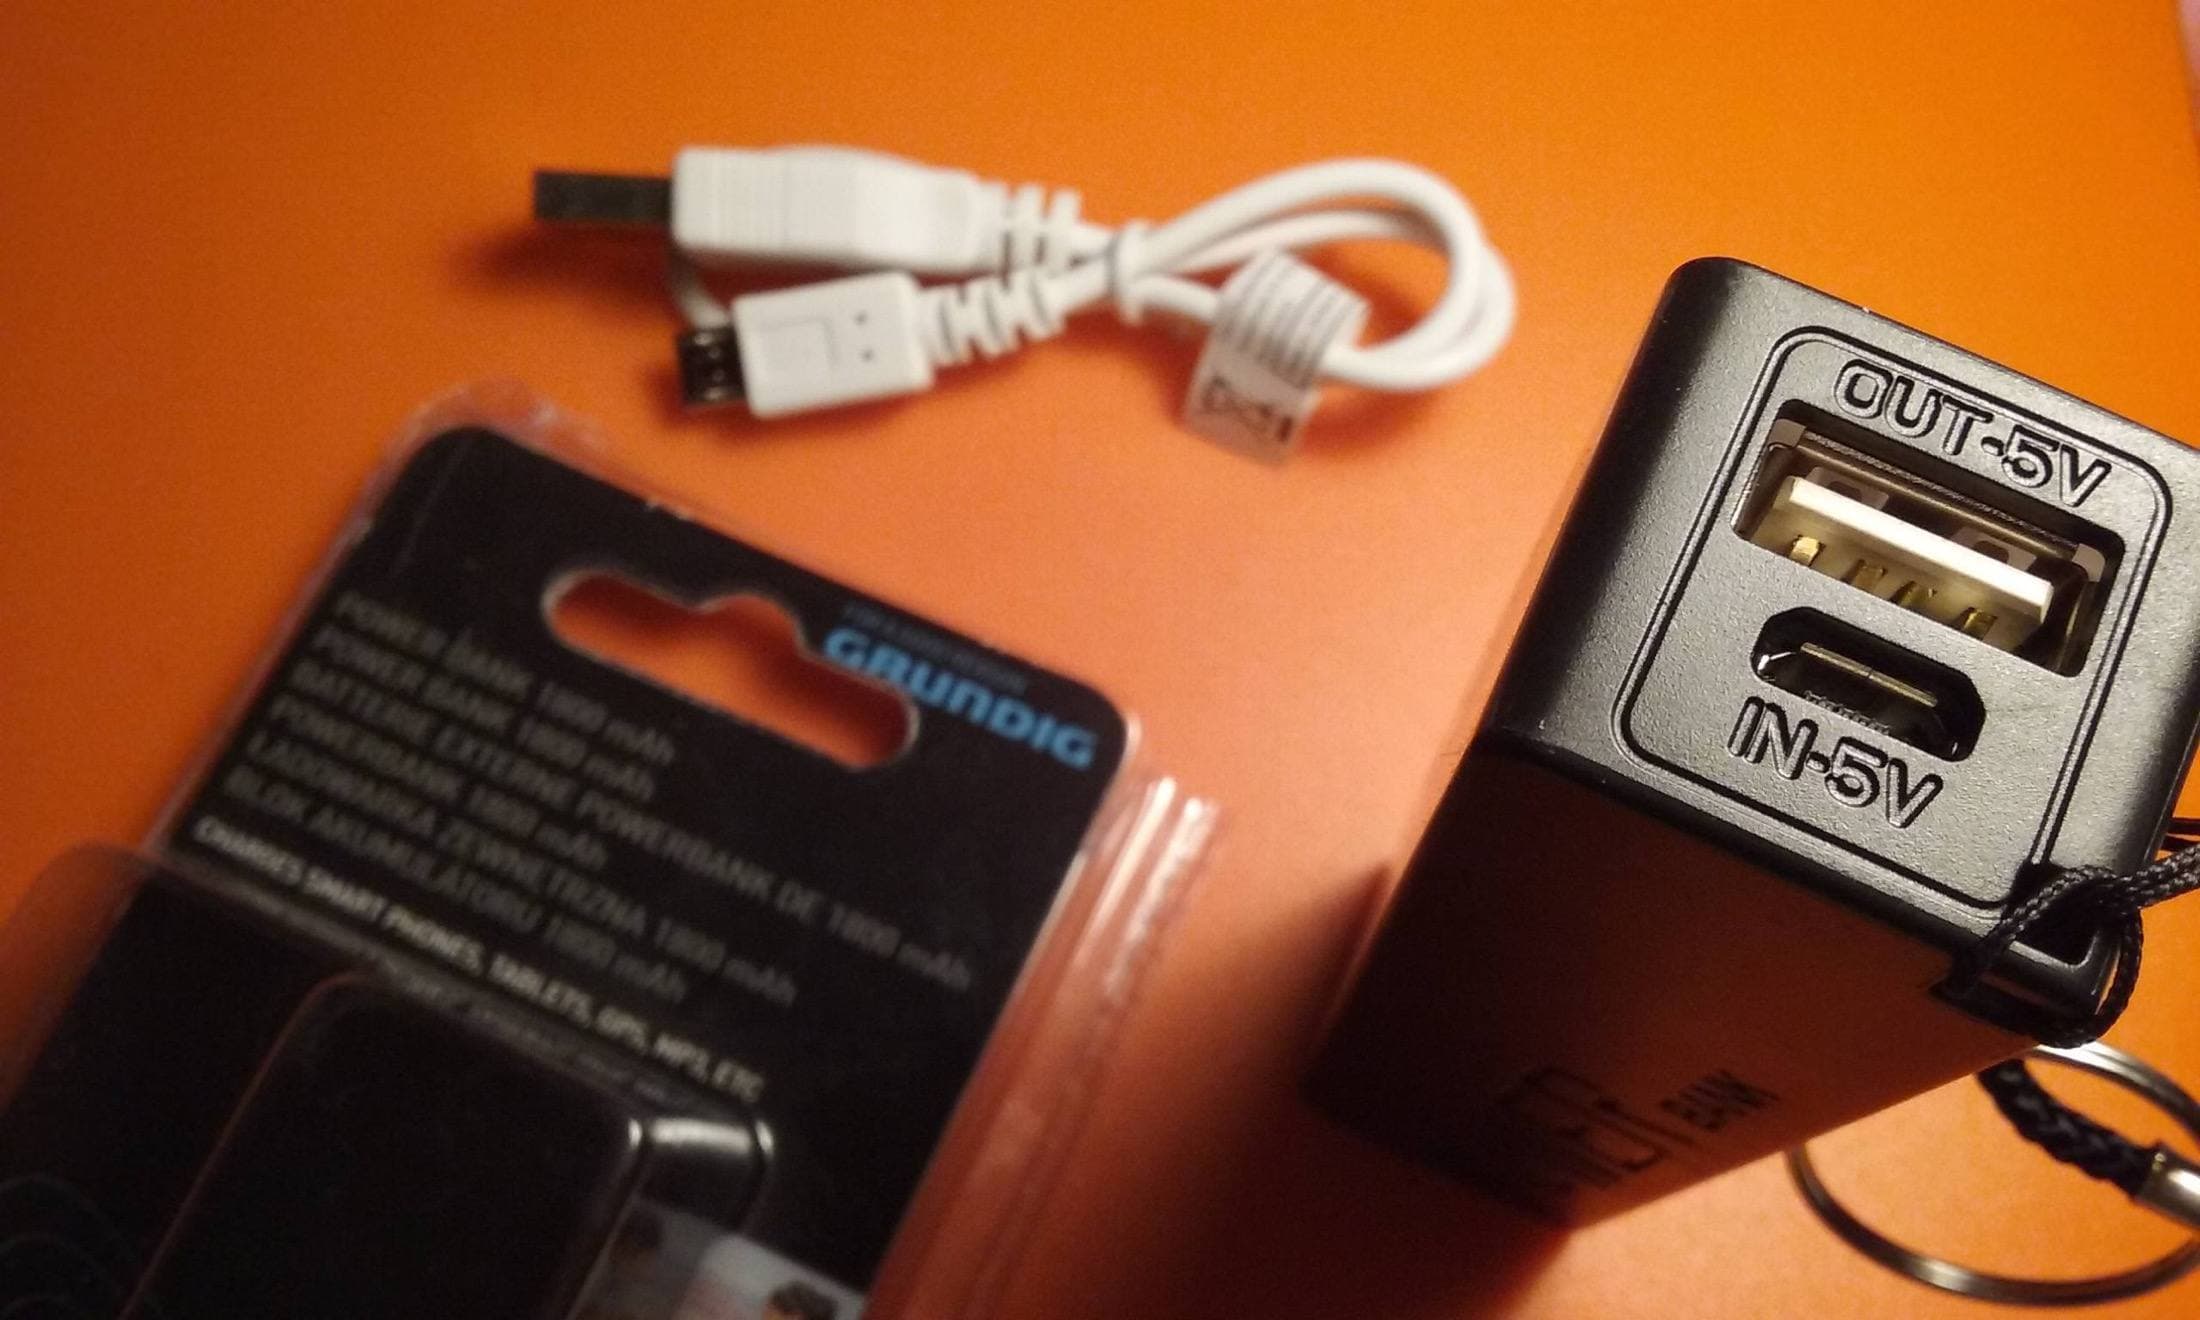
Your travel charging kit should have exactly three core components:
- one wall charger that resets everything overnight,
- one clearly labeled flight-safe power bank that protects continuity,
- two tested USB-C cables with fixed roles.
That is enough for most airport, train, hotel, and cafe workflows if you stop treating each item as interchangeable.
Assign fixed jobs before you travel
Wall charger job: reset the system
The wall charger is not just a generic adapter. Its job is to restore the full kit at the end of the day.
- use it for hotel, overnight, and long desk resets,
- trust it for stable plugged-in drawing when an outlet is available,
- do not demote it into "just one more spare" in a tangled pouch.
Power bank job: protect continuity
The power bank is not the main daily source. It is the continuity layer that protects you when outlet access disappears.
- use it at gates, on flights, in transit, and during seat changes,
- keep enough reserve to survive one missed outlet opportunity,
- avoid draining it casually when wall power is already available.
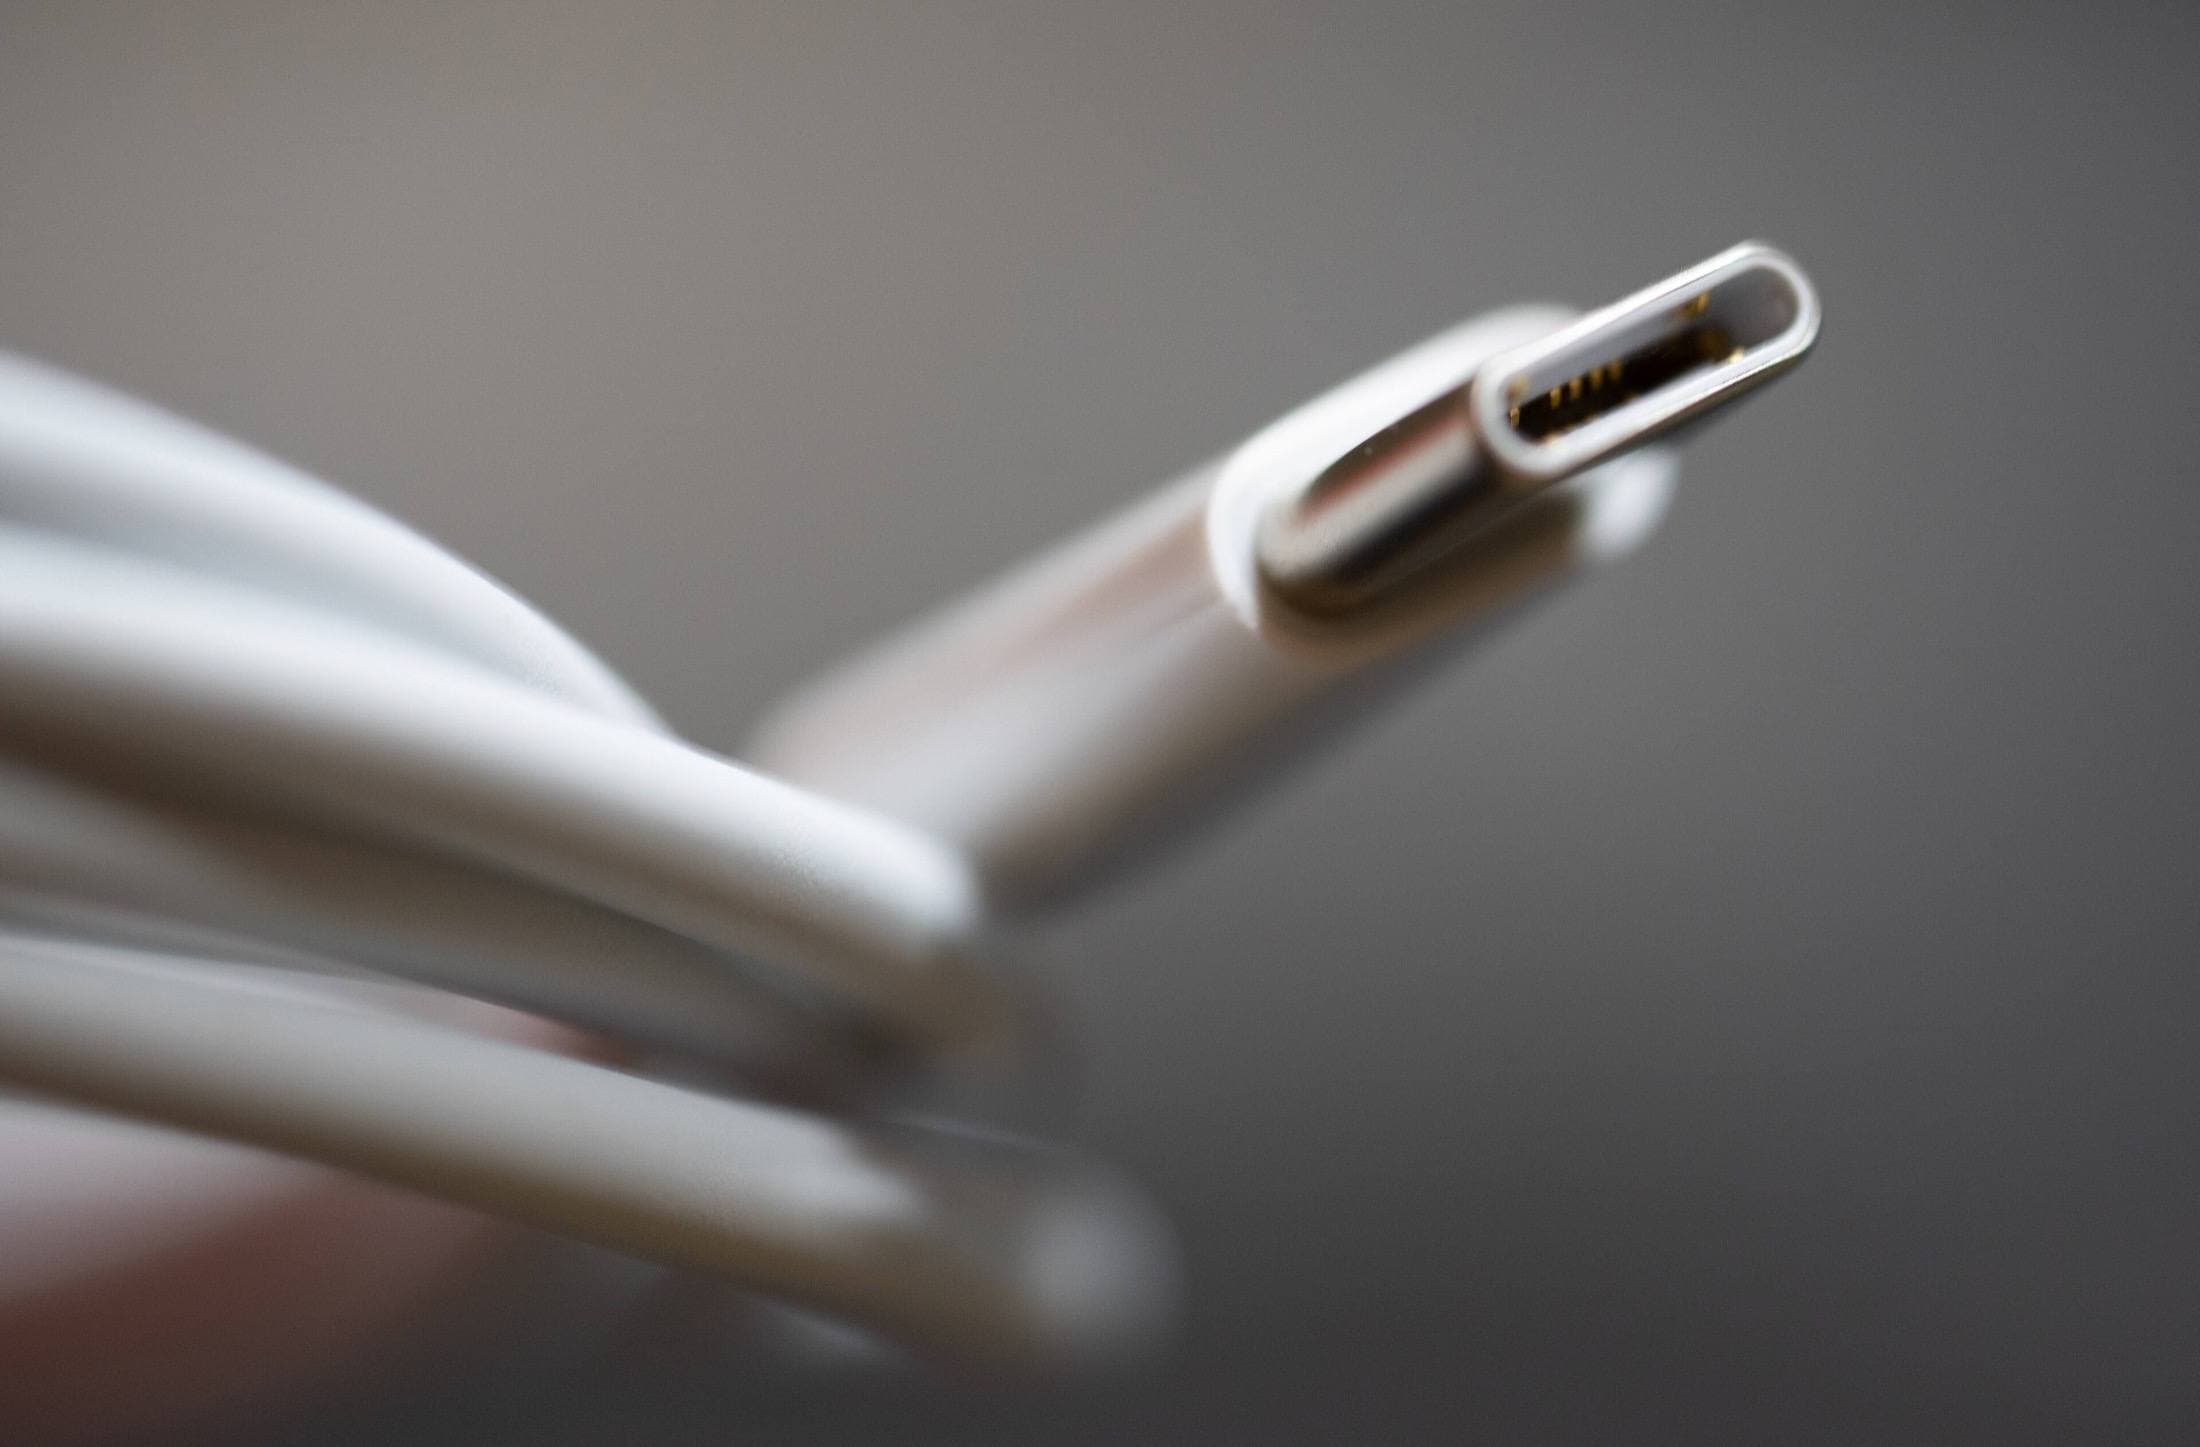
Cable jobs: eliminate confusion

Your two cables should not compete.
- one short cable for airports, transit, and compact setups,
- one long cable for hotels, cafes, and bad outlet placement.
When cables have fixed roles, you stop troubleshooting with the wrong tool.
Compliance rules that actually matter

For U.S. travel, FAA and TSA guidance cares about battery handling and capacity, not your intention to use the bank only "a little." [2][3]
Practical rules:
- power banks travel in carry-on, not checked baggage,
- common no-approval threshold is up to 100Wh per battery,
- higher capacities may require airline approval or may be restricted.
Always check the label in watt-hours, not just mAh, and verify airline-specific rules before international travel. The right battery on the wrong side of a baggage rule is still the wrong battery. [2][3]
The airport-to-hotel workflow that prevents dead sessions
Airport gate

- assume outlets may be occupied or unusable,
- top up the iPad only if the bank is already in safe shape,
- keep the short cable accessible so you do not build a floor-level spaghetti trap.
The mistake here is acting like the gate outlet is guaranteed. It is not.
Flight
- treat the power bank as continuity insurance,
- reduce screen brightness instead of pretending battery limits do not exist,
- avoid using your last healthy cable for a different device just because it is convenient.
The goal in flight is not perfect charge speed. It is arriving with enough runway to work after landing.
Hotel or overnight stop

- charger resets iPad first,
- charger resets power bank second,
- both cables return to the same pouch slots before sleep.
This is the moment where a disciplined kit saves the next day. If you sleep with a half-reset kit, tomorrow starts broken.
Cafe or shared workspace
- pick a seat based on honest outlet access, not wishful thinking,
- use the long cable only when outlet placement is truly bad,
- keep the bank ready so leaving the seat does not end the session.
The common failure here is building a fragile setup that collapses as soon as someone needs the socket or you have to move.
A pre-trip test that is actually worth doing
You do not need a lab. You need one realistic rehearsal.
Run this before travel day:
- charge the iPad from wall power while actively drawing,
- switch to power bank without changing cables if possible,
- verify the long cable reaches your least convenient outlet,
- confirm the short cable works cleanly at a table-edge or gate-style setup,
- repack the pouch in the exact order you will use on the trip.
This catches more real problems than reading another marketing page.
The mistakes that keep repeating
Mistake 1: packing redundant adapters instead of a routine
More gear does not create more reliability if none of it has a clear job.
Mistake 2: draining the bank when wall power is available
Use the bank to protect continuity, not to avoid using the charger you already packed.
Mistake 3: mixing travel cables with desk cables
Once cable roles collapse, every charging problem becomes slower to diagnose.
Mistake 4: ignoring the label on the battery
If you cannot confirm compliance quickly, you packed risk, not reliability.
Mistake 5: ending the day without resetting the pouch
Travel charging gets ugly when the morning starts with one missing cable and no one remembers which pocket it fell into.
What this page is really telling you to buy less of
The travel charging upgrade is usually not "more accessories." It is:
- fewer redundant adapters,
- fewer unknown cables,
- fewer random source changes,
- more disciplined resets.
That is why a boring, repeatable travel kit beats a bag full of spec-sheet optimism.
Bottom line
Travel charging should be boring and predictable.
Use one stable wall charger, one compliant power bank, and two role-based cables. Then use them the same way on every trip: charger for resets, bank for continuity, short cable for transit, long cable for awkward outlets. That operating discipline prevents more dead sessions than another round of accessory shopping ever will.
Sources
Recommended gear
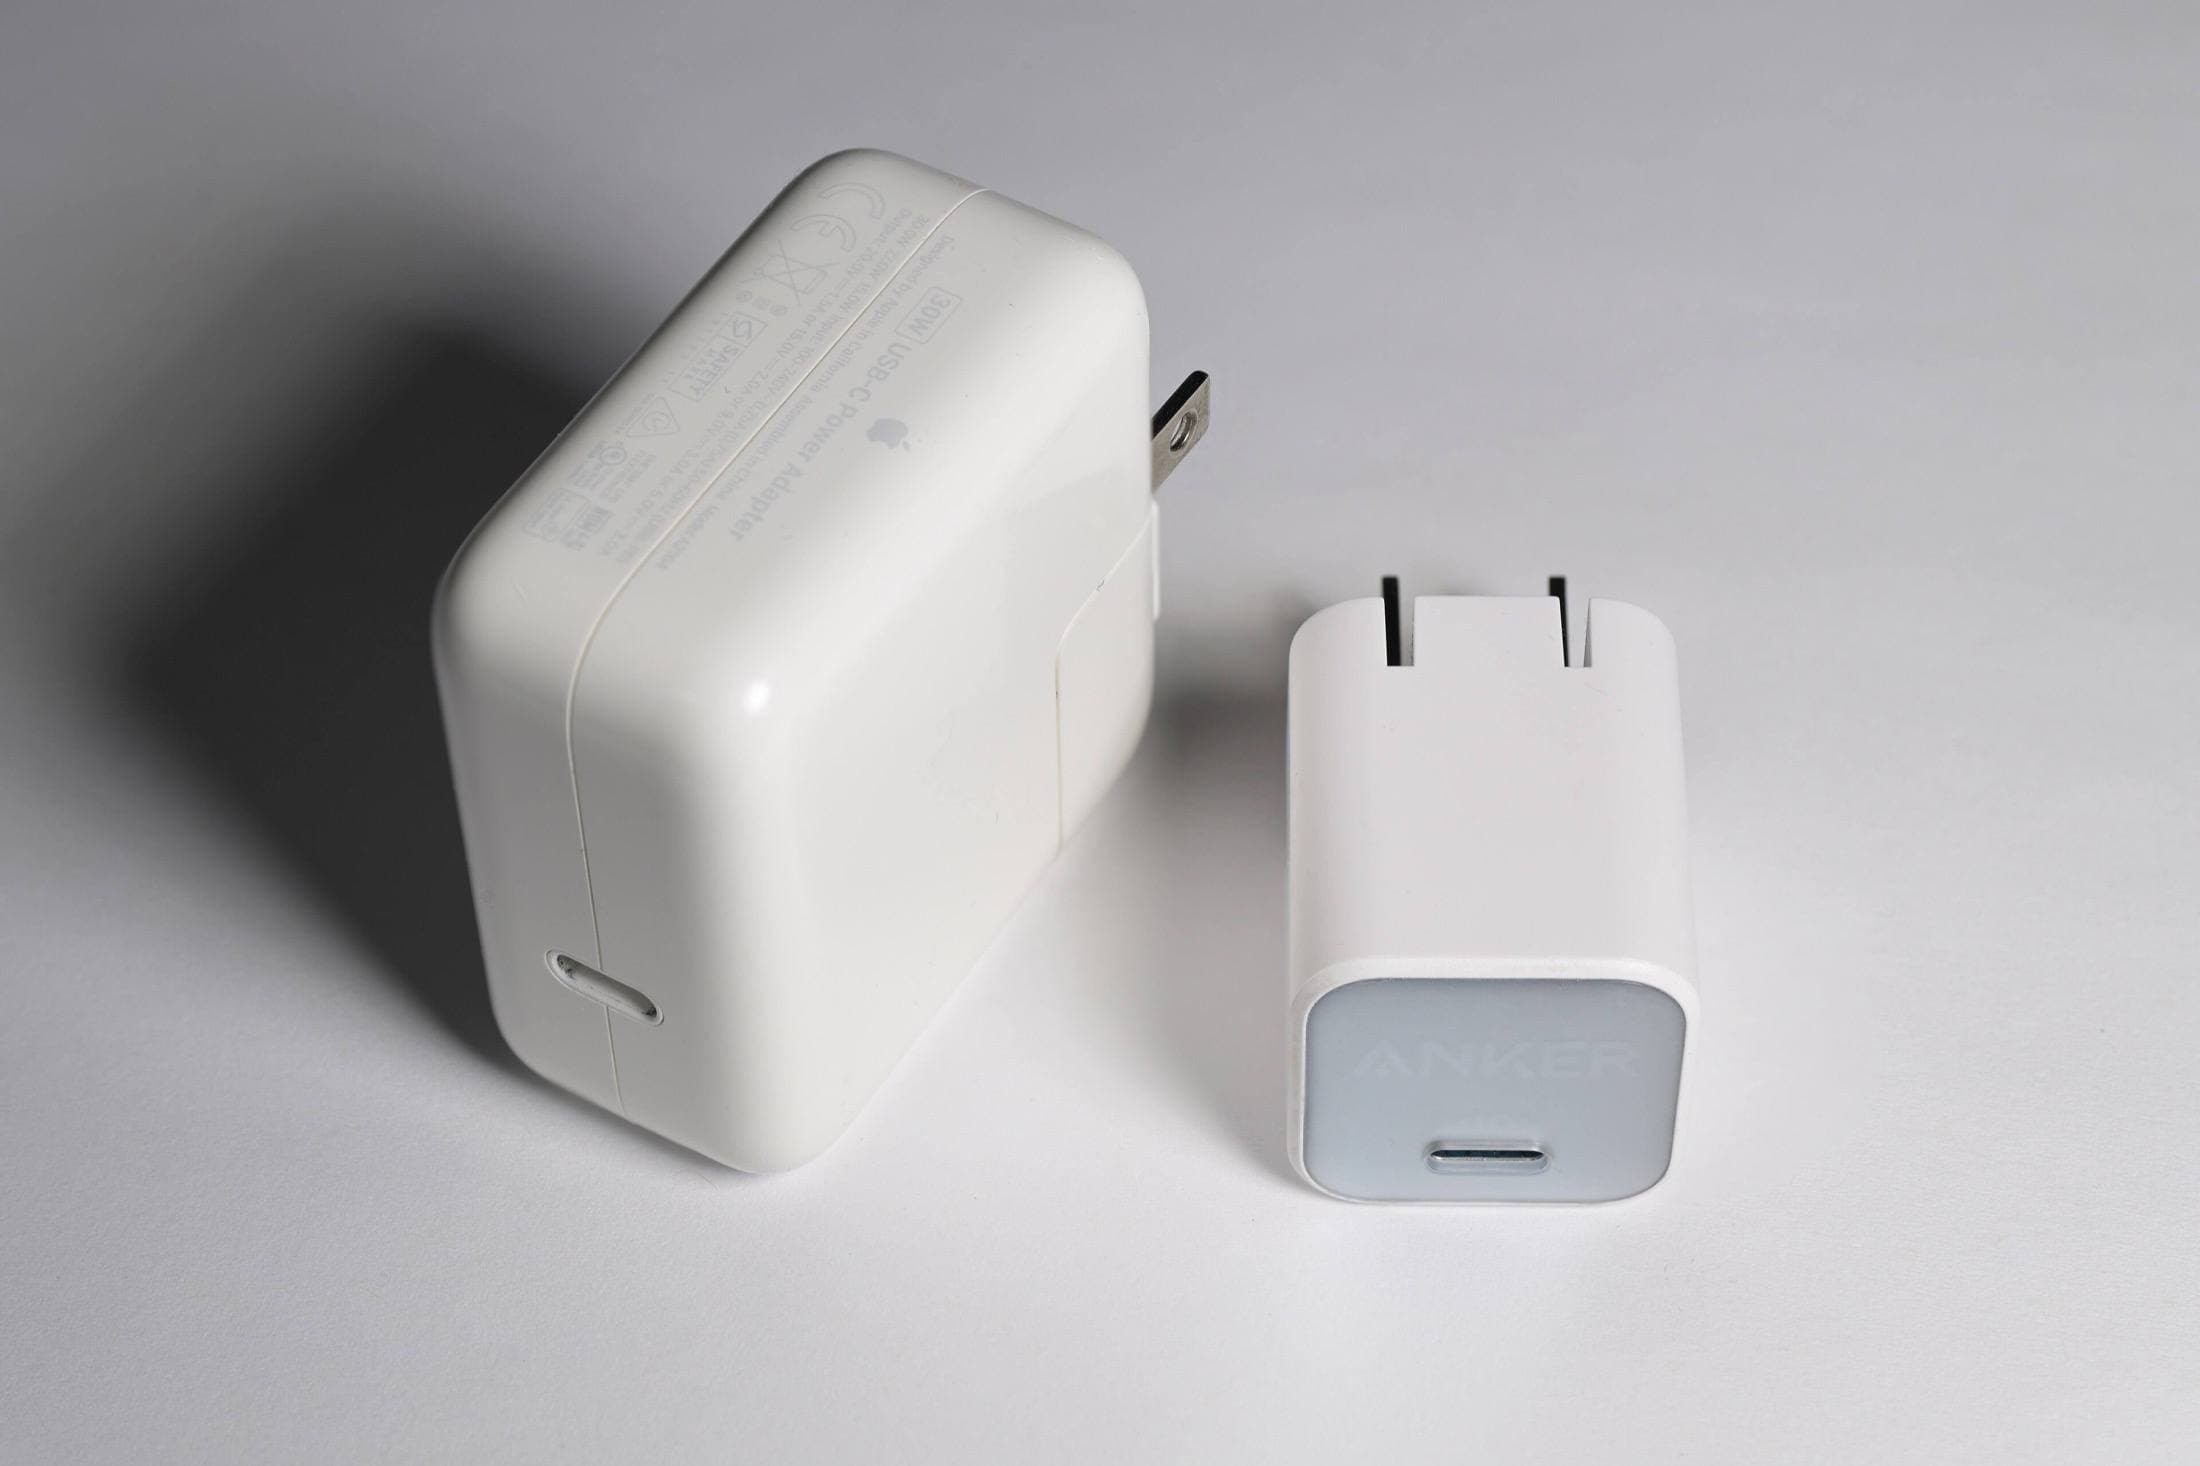
Anker 736 Charger (Nano II 100W)
amazon.comA practical multi-device charging brick for iPad workflows. Great utility, with expected port-sharing tradeoffs.
Pro: Strong multi-device travel charging profile
Con: Larger than compact 65W bricks
Check per-port split table before buying, not only max total wattage.
Anker 737 Power Bank (24K)
amazon.comPro: High output and enough capacity for iPad travel days
Con: Heavier than slim emergency banks
Confirm watt-hours remain airline-compliant for carry-on travel.
Anker USB-C to USB-C Cable (2m)
amazon.comPro: Practical length and solid durability
Con: Longer cable can be slower for high-speed data on some models
Carry one short cable and one 2m cable for travel flexibility.

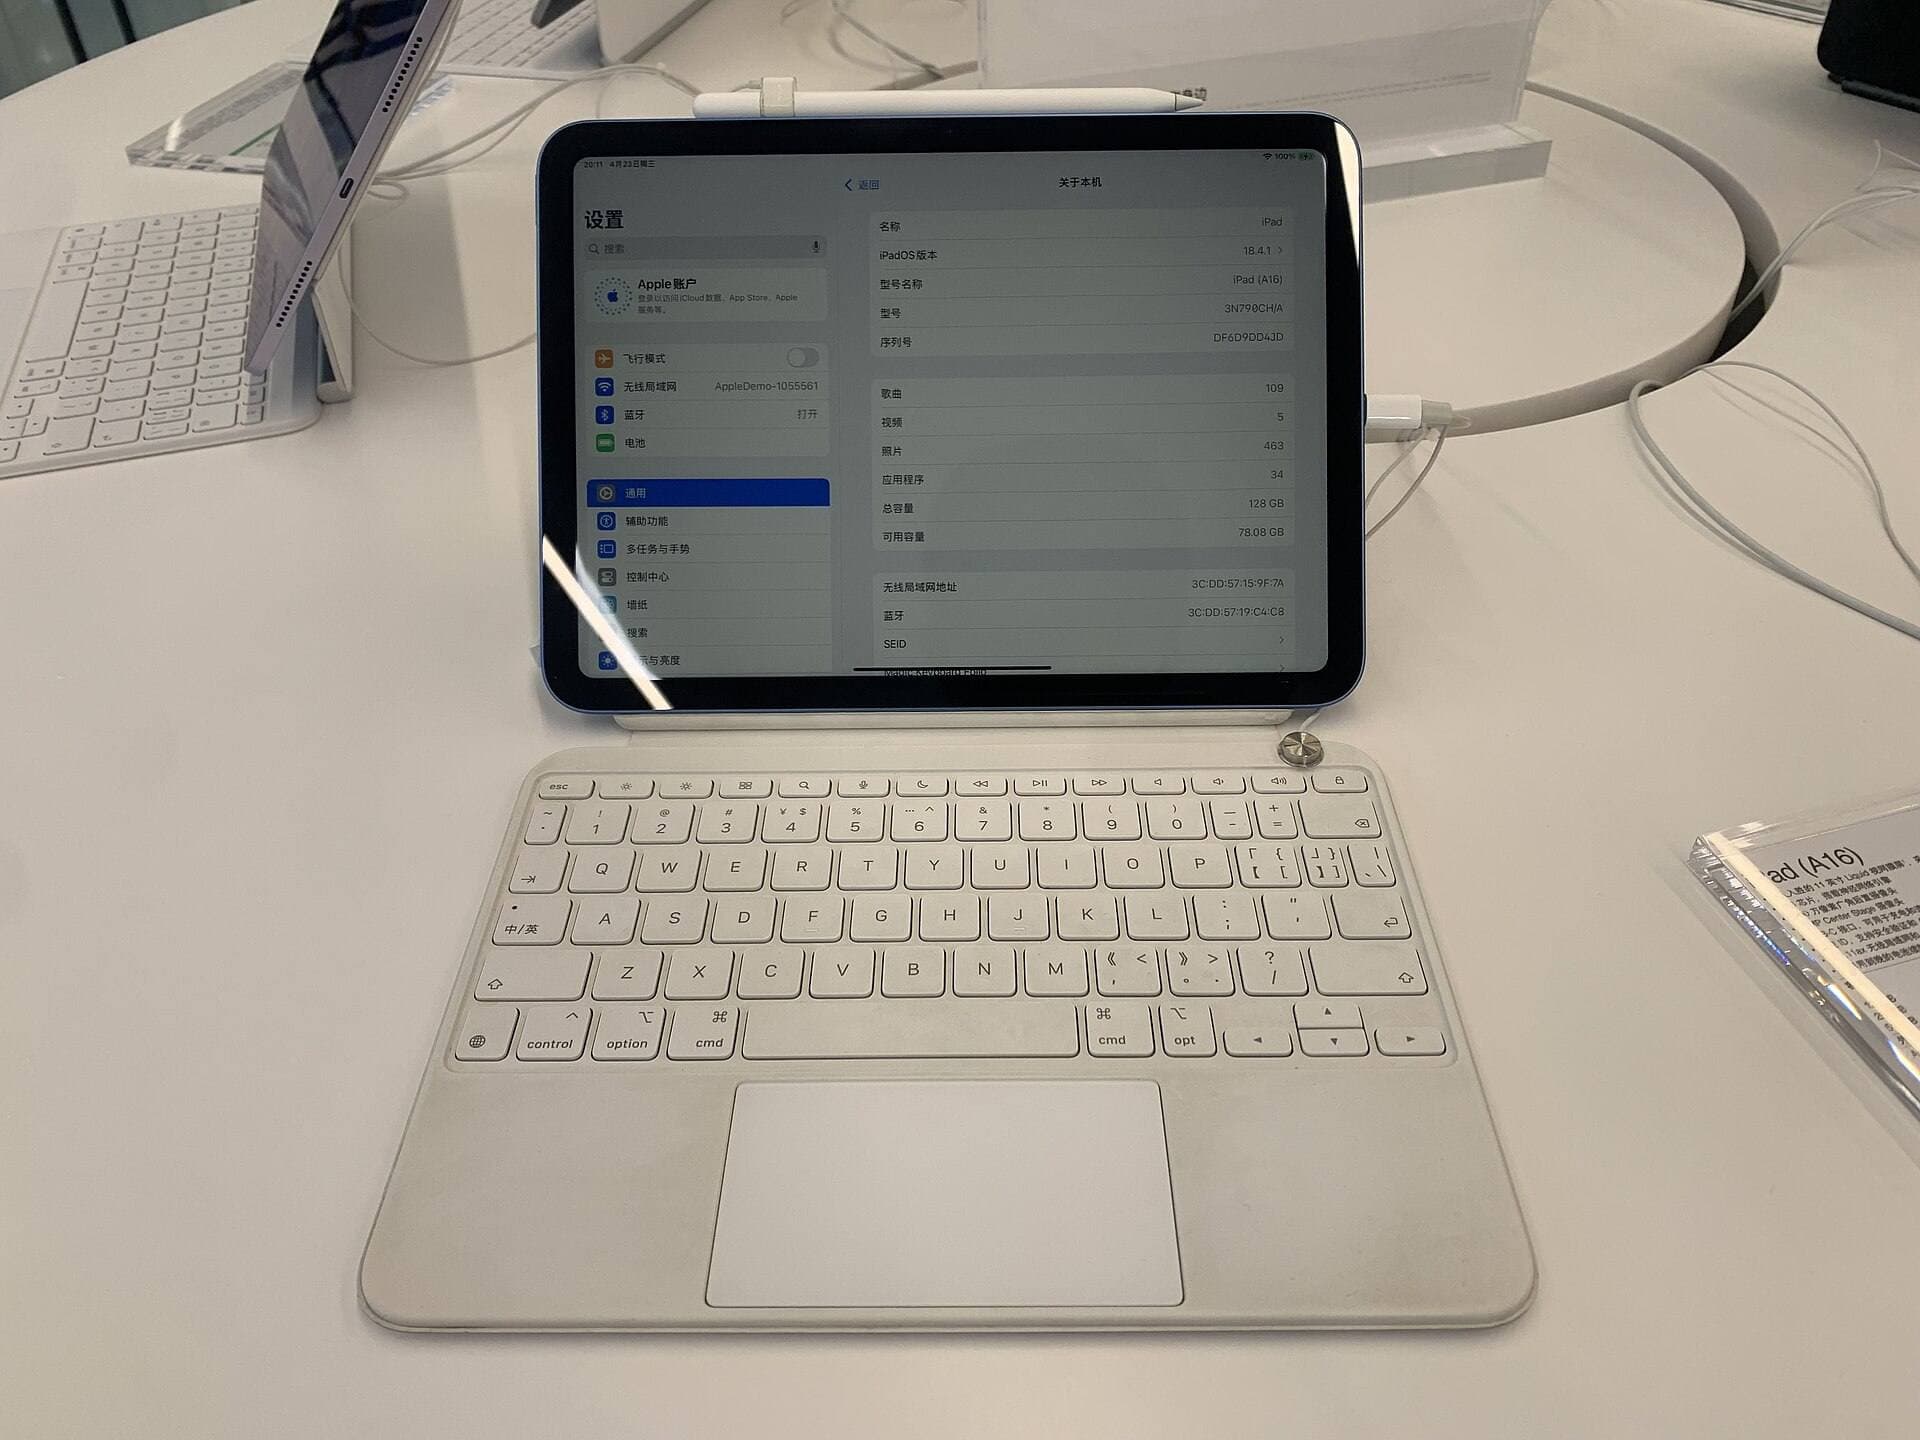
iPad (A16, 11th gen)
amazon.comThe best entry iPad for most artists on a budget. It is not premium, but it is very hard to beat on value.
Pro: Best value iPad right now
Con: No ProMotion display
Search opens with the exact model keywords. Verify size and storage before checkout.
iPad Air (M4)
apple.comThe clean current Air recommendation for most serious hobby artists. Stronger buy logic than old-stock M3 when pricing is close.
Pro: Best current balance of price, headroom, and Pencil support
Con: Still 60Hz
Current Air lineup. Choose size, storage, and keyboard path before checkout.
Related buying picks
More in this collectionBuyer guide
Portable iPad Keyboard Travel Kit (2026): Write, Sketch, Pack Fast
How to build a portable iPad writing and sketch kit for cafes and transit, including keyboard format choices, setup flow, and compatibility checks.
Buyer guide
Best SD and microSD Card Readers for iPad Creators (2026)
Card reader speed on iPad depends on card bus, reader bus, and iPad port limits. Buy for your actual ingest workflow, not label hype.
Buyer guide
Best USB-C Cables for iPad Artists (2026): Charging, Transfer Speed, and Durability
Most USB-C cable problems come from buying by connector shape instead of charging and data requirements.
Buyer guide
Best USB-C Hubs for iPad Artists (2026): Ports, Power, and Display Stability
The best USB-C hub for iPad art work is the one that keeps power and display stable while handling your real accessory stack.