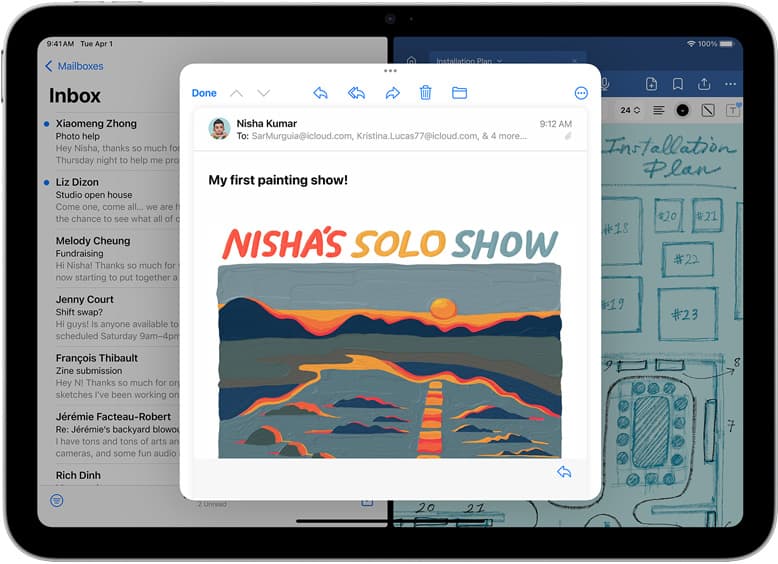
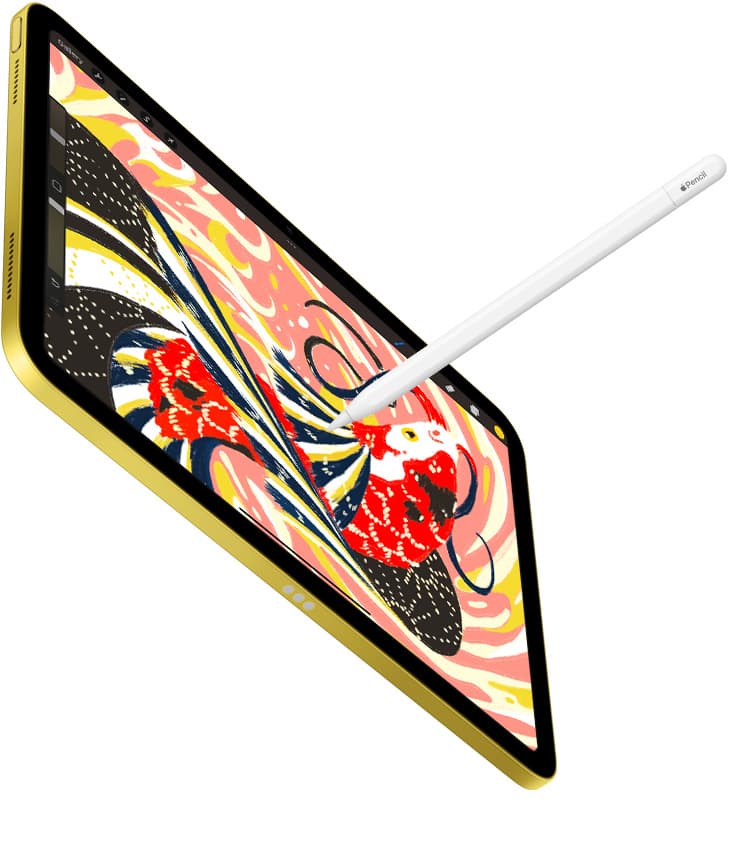
Buy the iPad Air if you plan to illustrate original sticker sheets and want Apple Pencil Pro support [1], [2]. Buy the baseline iPad if you primarily arrange existing graphics, create basic text decals, or prepare simple cut contours in Cricut Design Space. Cricut's official pages separate device requirements from the image-upload workflow, so judge the drawing stage and the cutting stage independently [5], [6]. The Air is the more flexible drawing choice; the baseline iPad is the cost-first choice when Apple Pencil Pro features are unnecessary [1], [2].
What Cricut sticker making actually demands
For original die-cut or kiss-cut stickers, treat illustration and cut-file preparation as separate buying questions. The artwork can be made in a drawing app, while Cricut documents the supported files and upload process for Design Space [4], [6]. That distinction prevents you from paying for drawing hardware based only on the lighter layout stage.
Cricut Design Space runs on iOS devices that meet Cricut minimum system requirements, including a compatible version of iOS, sufficient internal storage, and an active broadband internet connection [5]. Design Space accepts standard image formats including PNG, JPG, SVG, DXF, and BMP files [6]. For sticker production, PNG and SVG formats are the standard. PNG files preserve transparency around your custom sticker borders, while SVG files store mathematical vector outlines for crisp cut paths [6].
In Procreate, maximum canvas and layer limits vary with the device and canvas dimensions [3], [4]. A sticker sheet that keeps line art, color, shadows, lettering, and borders on separate layers needs more layer headroom than a flattened imported graphic. Check Procreate's current device table against a representative canvas before deciding that the baseline model is enough [3].
iPad Air vs baseline iPad for sticker artists
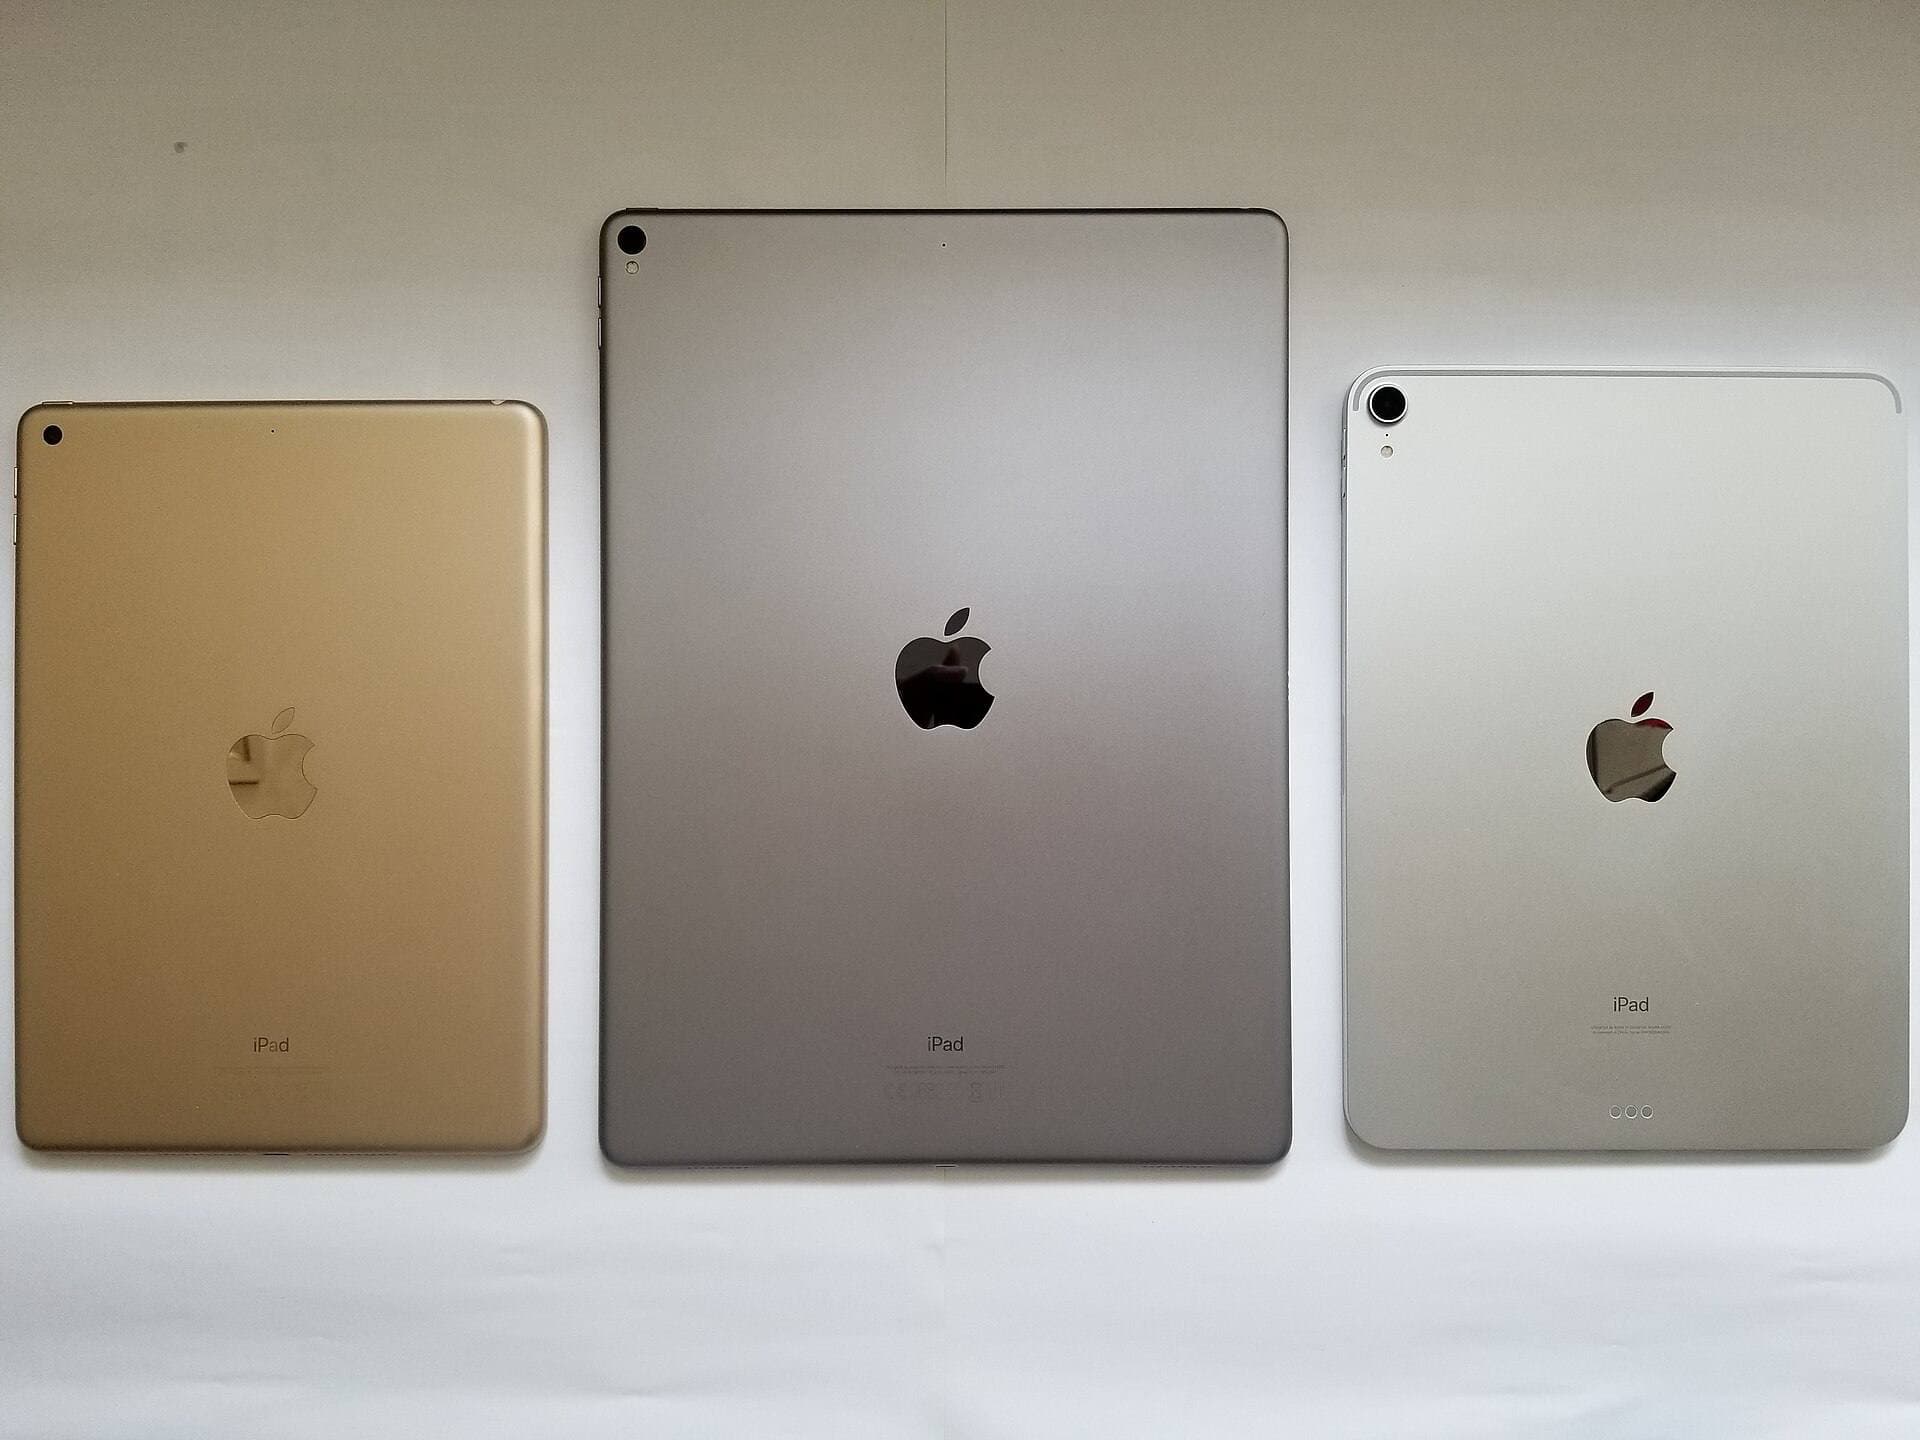
The iPad Air represents the practical sweet spot for creators who build sticker sheets from scratch. It supports Apple Pencil Pro, while Procreate publishes model-specific canvas information that you can check before buying [1], [2], [3]. Its value here is flexibility: you can select a screen size and storage tier for the drawing workload instead of buying solely for Design Space.
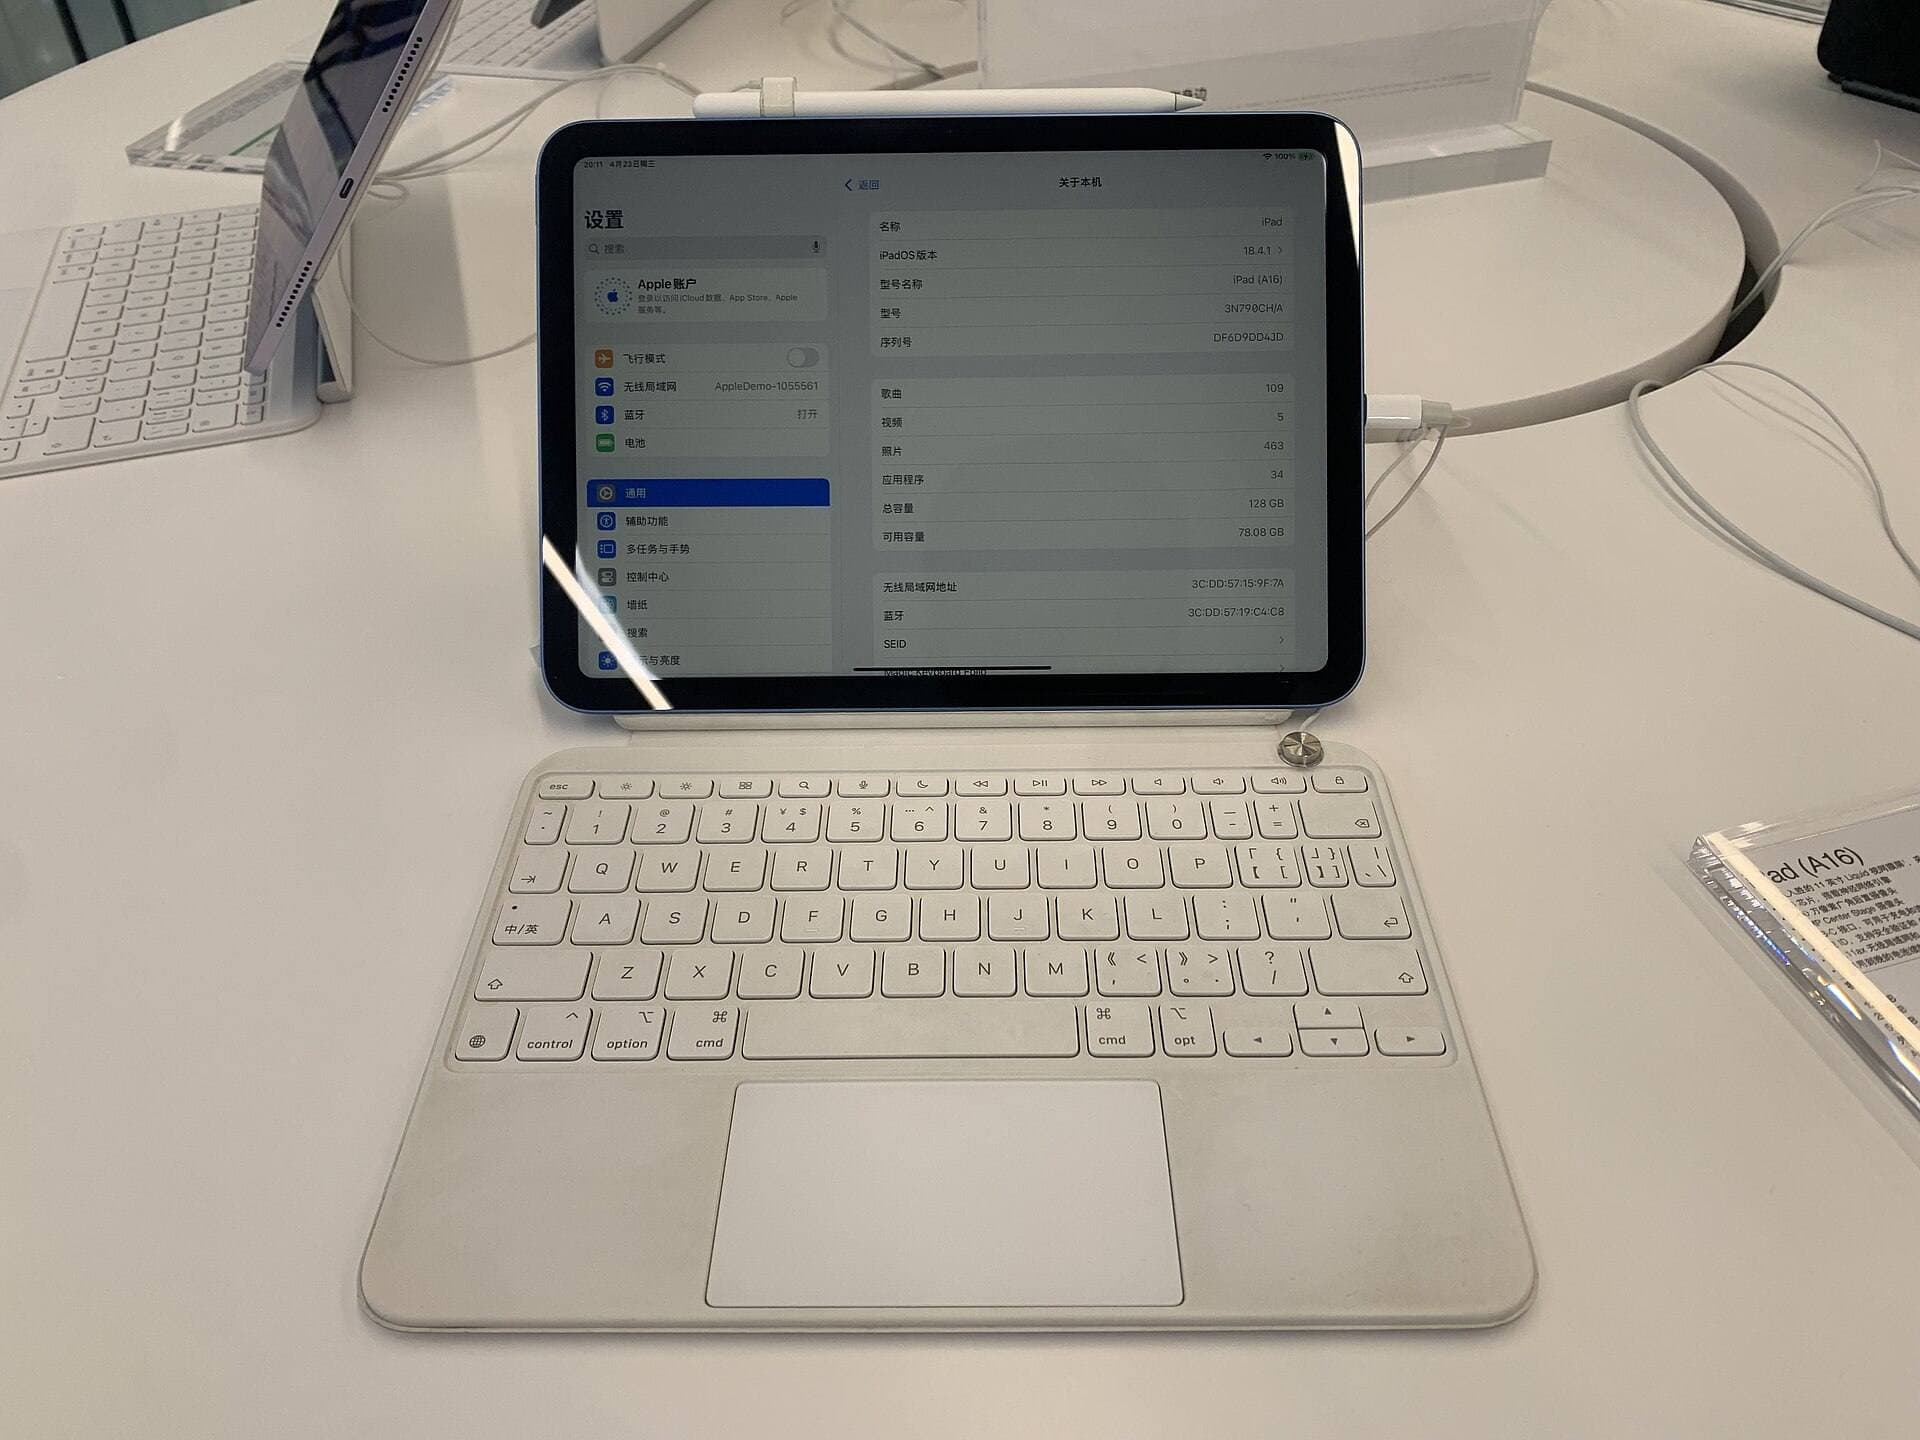
The baseline iPad is best suited to creators whose work focuses on assembling existing assets or simple lettering [1]. If you import supported files and mainly use Design Space for layout and cutting, advanced Pencil Pro features do not define the job [2], [5], [6]. It is the cost-first path in this comparison, subject to Cricut's current device requirements [5].
The tradeoff between the two models centers on the listed display and stylus differences. The baseline iPad does not support the Apple Pencil Pro controls available with the Air pairing [1], [2]. If those controls matter to your source-art app, choose the Air. If you mostly arrange existing artwork in Design Space, spending extra for them is unnecessary [5], [6].
Apple Pencil selection and precision inking
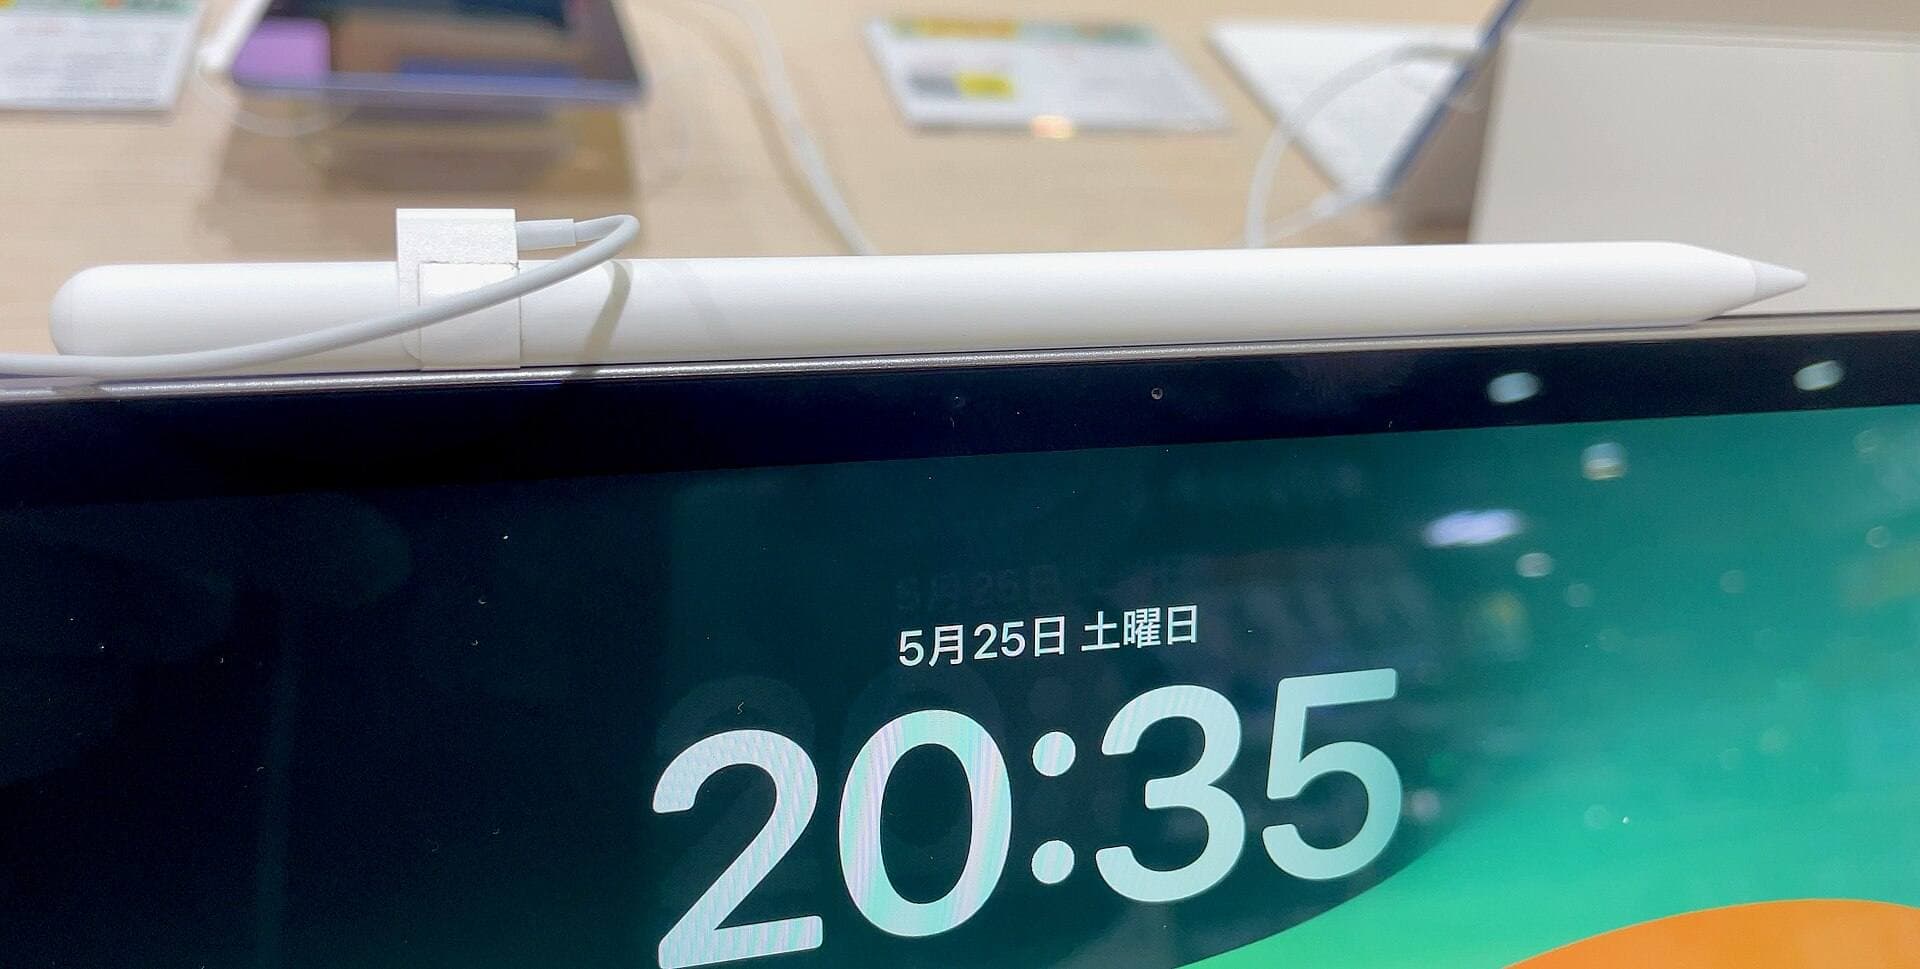
Apple Pencil Pro connects to compatible iPads and adds squeeze, barrel roll, and haptic feedback [1], [2]. Those controls can help only when the drawing app and chosen brush use them. Confirm that mapping in the source-art app before treating Pencil Pro as a requirement [2], [4].
The squeeze gesture on Apple Pencil Pro can expose app controls near the pencil, while hover behavior depends on compatible hardware and software [2]. These are drawing-app benefits, not reasons to expect different cutting behavior from Design Space. Confirm that your preferred illustration app uses the gesture you care about before paying for it [2], [4].
If you select the baseline iPad, choose from the Pencil models Apple lists as compatible with that exact device [1], [2]. The USB-C Pencil omits pressure sensitivity and the Pro controls [2]. If your sticker art relies on pressure-driven or rotating brush shapes, the Air and Pencil Pro pairing is the more suitable option; otherwise, do not pay for features outside the workflow [1], [2].
The drawing to cutting workflow in practice
An original-art sticker workflow can begin in Procreate, where you choose a canvas and keep editable elements on separate layers [3], [4]. Pick the canvas for your printer and material rather than copying an arbitrary template. Before committing to hardware, verify that the intended canvas leaves enough layers for your normal artwork [3].
Once the illustration is ready, export it in a format Cricut currently lists as supported, then follow Cricut's documented upload steps in Design Space [6]. Keep a separate editable source file in the drawing app because the uploaded cut asset is not a replacement for the layered original. Cricut's guide, rather than a guessed workflow, should be the authority for current upload options [6].
Keeping both apps on one iPad can reduce device handoffs, but do not assume that every file transfers cleanly or that either app will preserve every editable feature. Test one representative export and upload with Cricut's supported-format guidance before building a production routine around it [4], [5], [6].
Bottom line
Choose the iPad Air if you want to draw detailed sticker sheets from scratch and use Apple Pencil Pro controls [1], [2]. Check Procreate's current model and canvas guidance for the layer headroom your representative file needs [3].
Choose the baseline iPad if your priority is affordability and your work mainly involves assembling purchased SVG files, creating simple vinyl cuts, and operating Cricut Design Space [1][5]. It delivers the fundamental digital workspace you need for sticker assembly without the premium cost of dedicated illustration hardware.
Sources
[1] https://www.apple.com/ipad/compare/ [2] https://support.apple.com/en-us/108937 [3] https://help.procreate.com/articles/zlexav-ipad-compatibility [4] https://apps.apple.com/us/app/procreate/id425073498 [5] https://help.cricut.com/hc/en-us/articles/360009556033-System-Requirements-Design-Space [6] https://help.cricut.com/hc/en-us/articles/360009556313-How-to-upload-images-into-Design-Space
Recommended gear
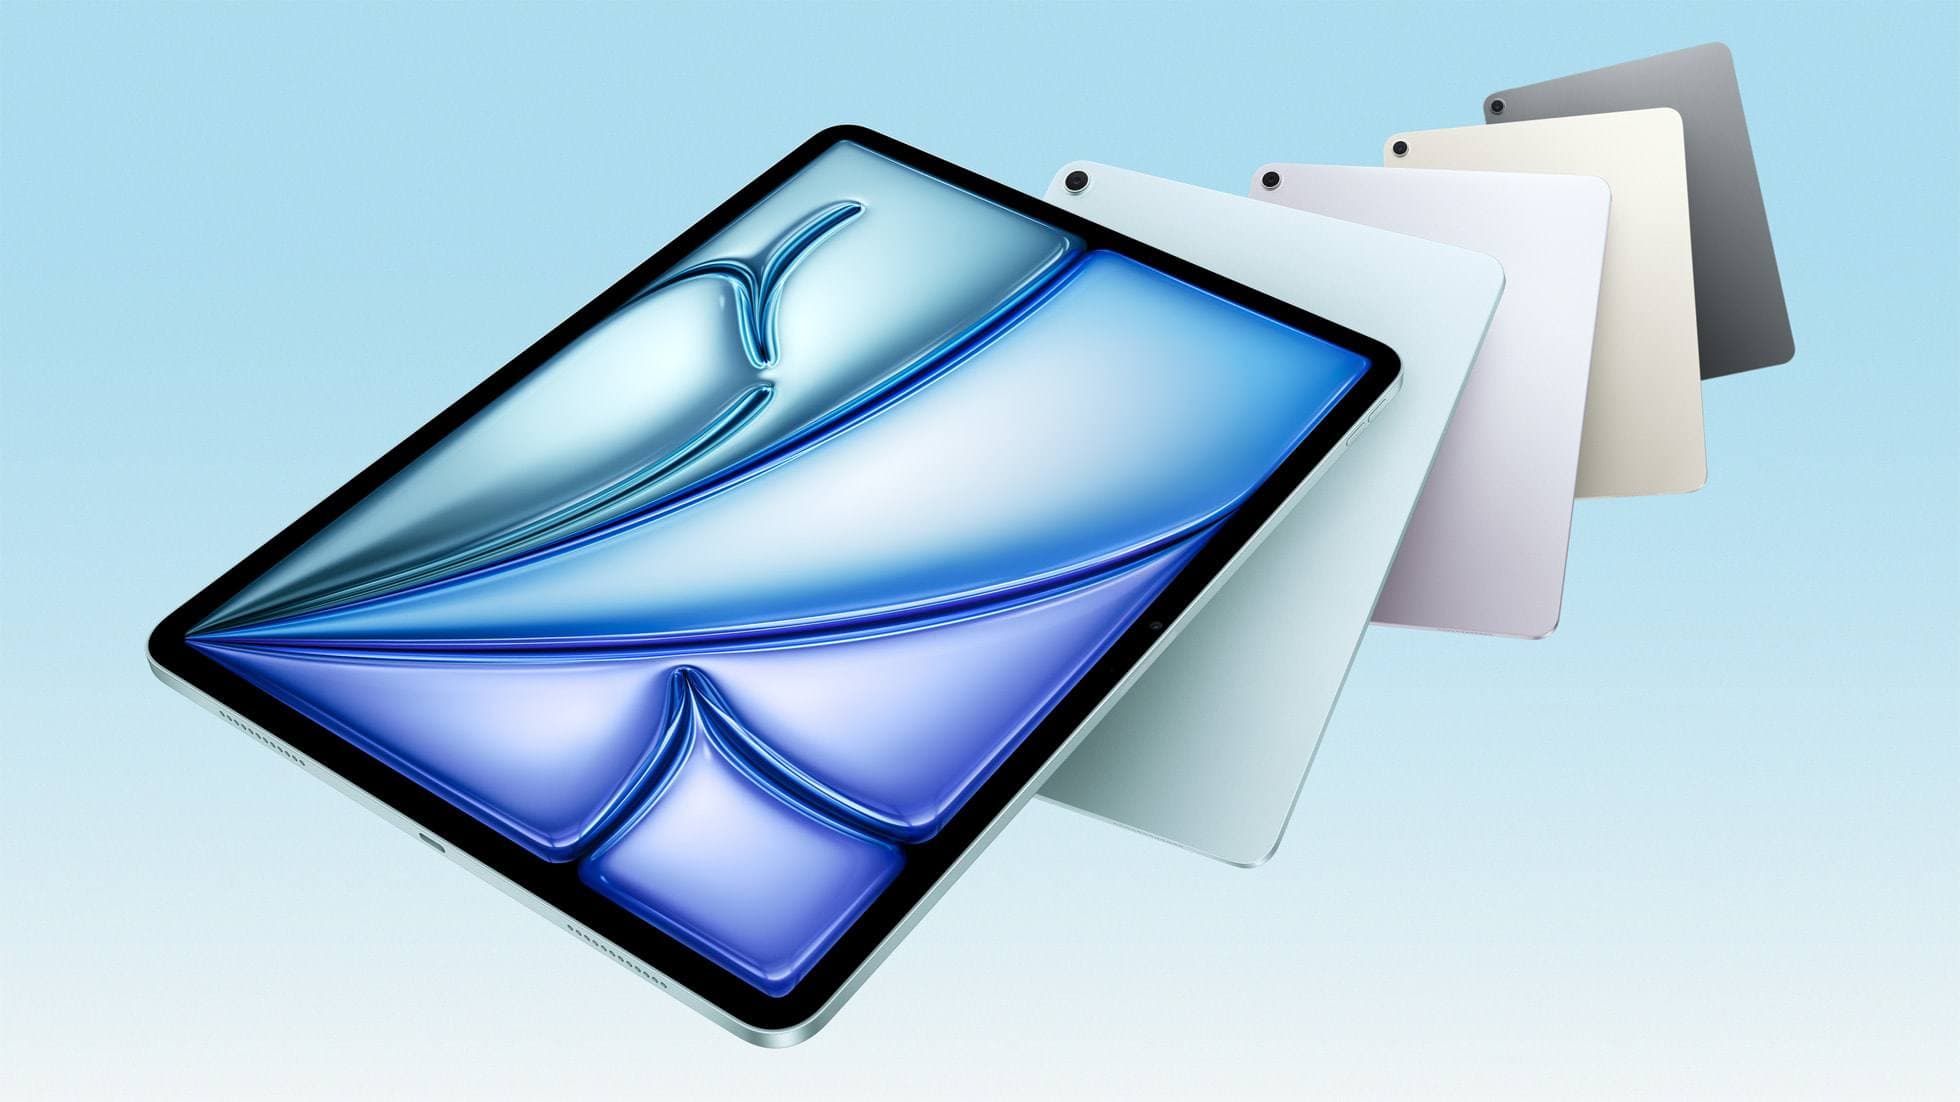
iPad Air (M4)
apple.comThe clean current Air recommendation for most serious hobby artists. Stronger buy logic than old-stock M3 when pricing is close.
Pro: Best current balance of price, headroom, and Pencil support
Con: Still 60Hz
Current Air lineup. Choose size, storage, and keyboard path before checkout.
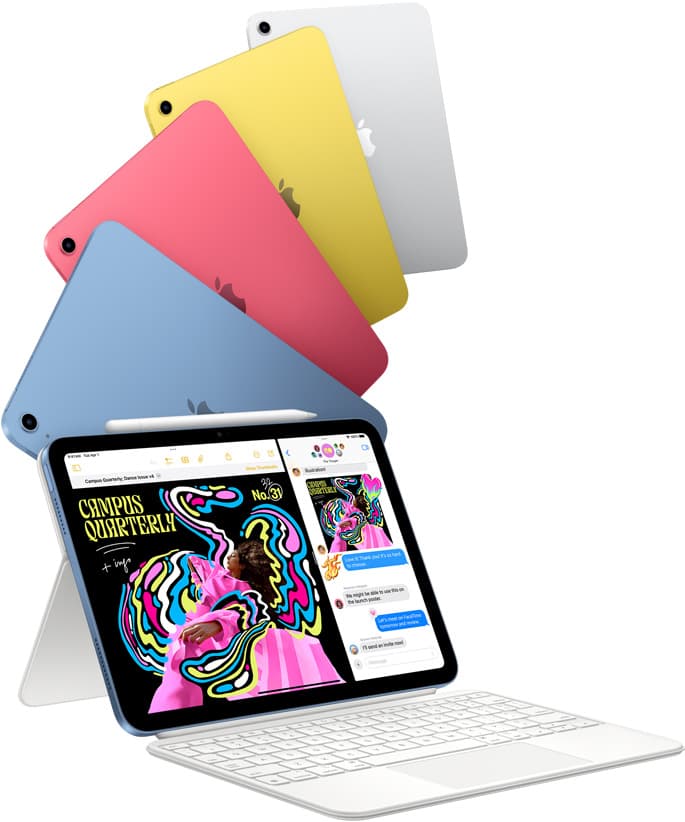
iPad (A16, 11th gen)
amazon.comThe best entry iPad for most artists on a budget. It is not premium, but it is very hard to beat on value.
Pro: Best value iPad right now
Con: No ProMotion display
Search opens with the exact model keywords. Verify size and storage before checkout.
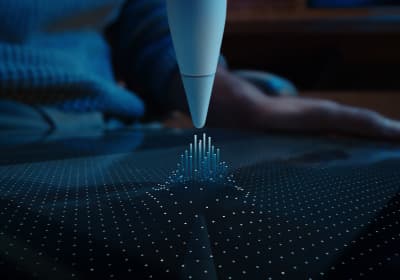
Apple Pencil Pro
amazon.comThe best Apple stylus for serious digital art workflows. Expensive, but the control upgrades are real.
Pro: Best brush-control and hover workflow
Con: Highest price in the lineup
Works only with newer iPad models. Check compatibility.
Procreate
apps.apple.comPro: One-time purchase
Con: iPad-only
Related buying picks
More in this collectionBuyer guide
Best iPad for Sticker Making in 2026
The best iPad for sticker making is usually the 11-inch iPad Air with Apple Pencil Pro, because it balances Procreate drawing, Cricut workflow checks, storage, and craft-table space without Pro pricing.
Buyer guide
Is a 64GB iPad enough for Procreate?
A 64GB iPad can run Procreate; decide whether it is enough by measuring your active canvases and the device storage already in use.
Buyer guide
Best iPad for lettering and calligraphy
Choose the iPad Air for barrel roll calligraphy tools without paying Pro prices, or pick the iPad Pro if you need 120Hz ProMotion for fast flourishing.
Buyer guide
Best iPad for fashion design: Which model fits your sketching workflow?
Choose the best iPad for fashion illustration, technical flats, and digital fabric rendering based on Apple Pencil support and canvas size.