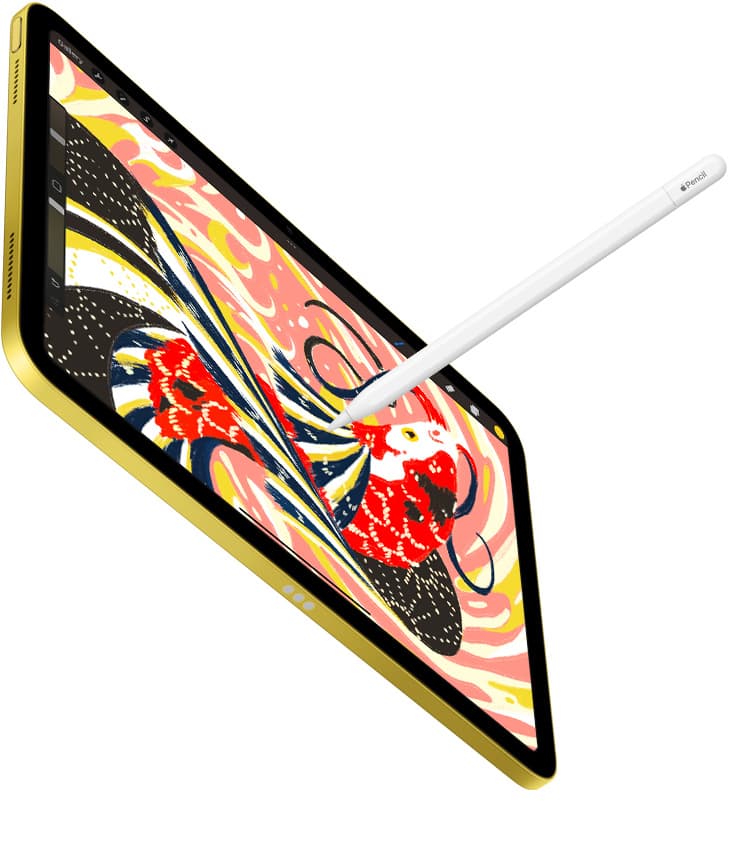
If you edit photos on an iPad, your hardware dictates your stylus options [1], [3]. If you own a tablet that works with the Apple Pencil Pro, buy the Apple Pencil Pro [1], [2]. It gives you pressure sensitivity, barrel roll, squeeze gestures, and Apple Pencil hover [2], [6]. If your iPad only supports the Apple Pencil (2nd generation), buy that model instead so you keep pressure sensitivity for selective masking and healing brushes [2], [3]. Skip the Apple Pencil (USB-C) if you do nuanced dodging, burning, or frequency separation, because it completely lacks pressure sensitivity [2].
Retouching photos demands fine control over tool opacity, flow, and radius. Because Apple ties each stylus strictly to specific tablet hardware, picking the right model starts with checking your exact iPad [1], [3].
Why pressure sensitivity dictates your retouching workflow
Photo editing relies on variable brush weights when you paint masks or blend skin tones. The Apple Pencil Pro and Apple Pencil (2nd generation) include pressure sensitivity, while the Apple Pencil (USB-C) does not [2].
When you work in creative apps on iPadOS, pressure data lets you alter the flow or stroke size of a brush simply by pressing harder against the glass [2], [6]. In an app like Procreate, brush size and opacity can map directly to how firmly you press the tip [7]. You can touch the screen lightly to fade a mask gently around hair, or press down firmly to apply complete exposure adjustments across a background [2], [7].
Without pressure sensitivity, the Apple Pencil (USB-C) acts like a digital mouse with a fine tip [2]. If you want to change stroke opacity or clone radius, you have to adjust manual sliders on screen [7]. That extra step breaks your rhythm during detailed portrait cleanup. For simple global color grading or moving light sliders in Lightroom, the lack of pressure won't matter [2]. But if you spend hours painting localized adjustments, you should skip the USB-C version [2].
Apple Pencil Pro: advanced inputs for newer tablets
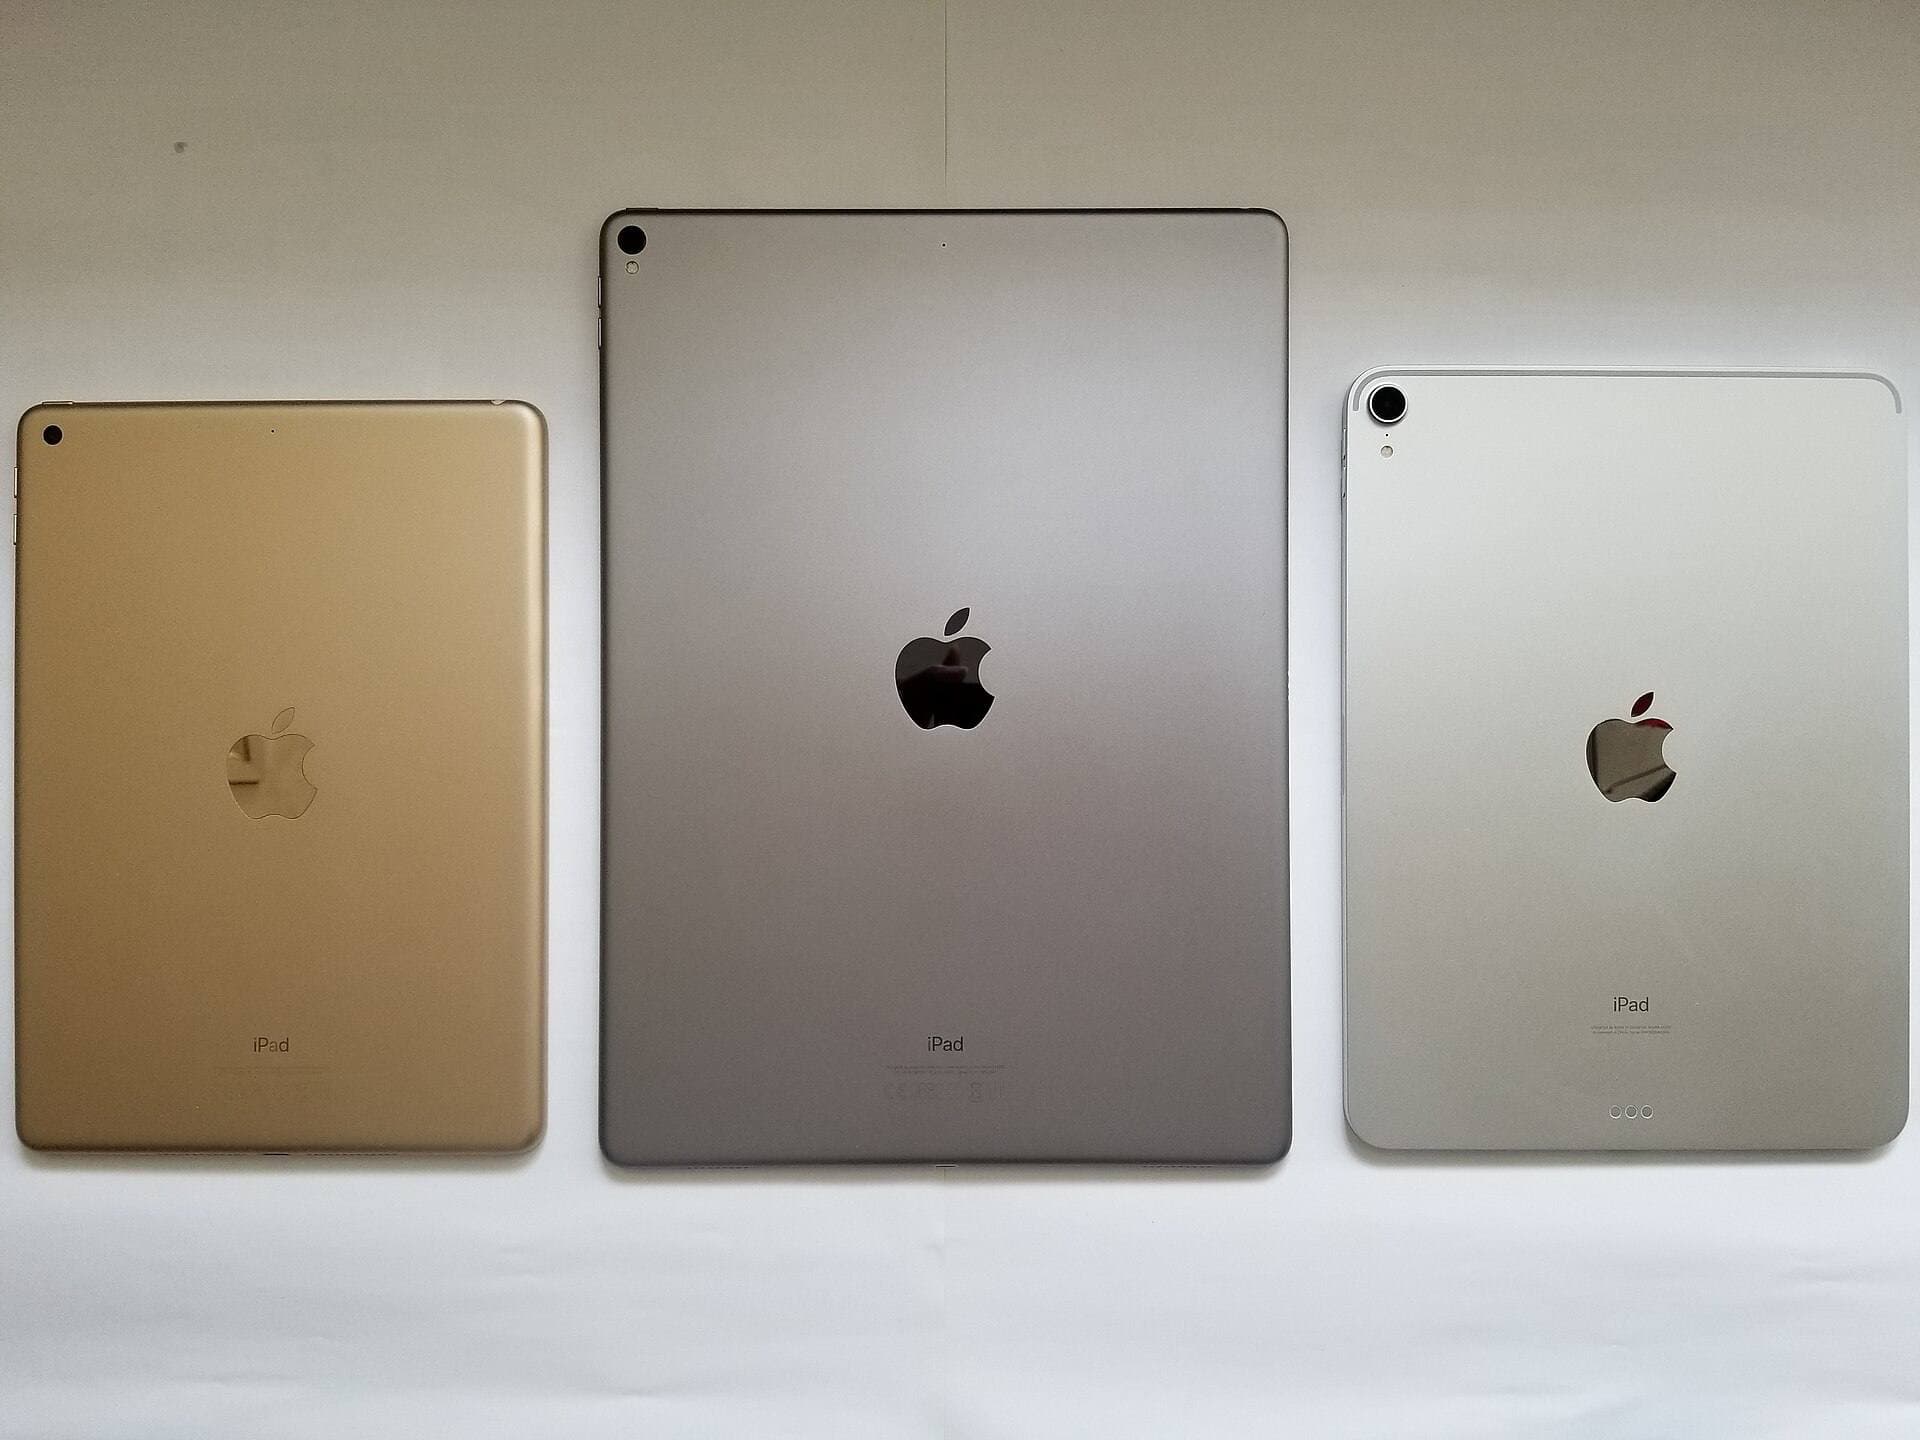
Apple Pencil Pro introduces several input sensors that streamline high-volume image editing [2], [6]. However, it only works with newer iPad models, such as recent iPad Pro and iPad Air releases [1], [3].
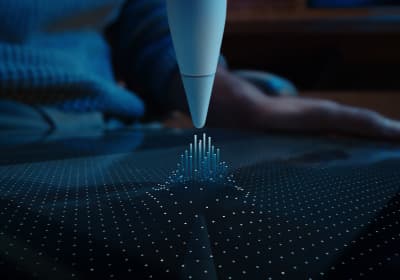
Along with pressure and tilt sensitivity, the Apple Pencil Pro adds barrel roll, haptic feedback, and a squeeze sensor [2]. Barrel roll uses an internal gyroscope to detect rotational movement as you twist the stylus barrel between your fingers [2], [6]. If you use shaped retouching brushes, rotating the stylus changes the stamp angle on the fly [2], [6]. This helps when following specific facial contours or aligning texture stamps along natural edges [6].
Squeeze adds a physical shortcut right at your fingertips [2], [6]. Squeezing the lower barrel brings up on-screen tool options, contextual palettes, or brush adjustments without having to tap toolbars [2], [6]. A built-in haptic engine produces a small pulse against your fingers to confirm the squeeze or a snap to an alignment point [2], [6]. Apple Pencil hover also lets you preview your brush cursor, radius, and shape before the nib touches the display [2], [6]. If your iPad supports the Apple Pencil Pro, it is the most capable tool for image work [1], [2].
Apple Pencil (2nd generation): the standard for older iPads
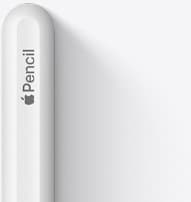
If your iPad doesn't work with the Pro stylus, the Apple Pencil (2nd generation) remains the primary option for dedicated retouching [2], [3]. It pairs magnetically with compatible iPads, charges wirelessly on the side edge, and includes pressure and tilt sensitivity [2], [3].
Retouchers who use the 2nd-generation stylus still get smooth opacity and radius modulation [2], [7]. You also get the double-tap gesture on the flat surface of the pencil barrel [2], [6]. In drawing and editing software, you can set double tap to switch between your current brush and an eraser, or trigger custom actions configured in the app settings [6], [7].
On supported iPad Pro hardware, the Apple Pencil (2nd generation) also supports hover, showing your brush footprint before you lay down strokes [2], [6]. It lacks barrel roll, squeeze gestures, and haptic feedback, but it covers the core mechanics necessary for accurate skin cleanup and local tone painting [2]. Do not replace a working 2nd-generation setup unless you are already upgrading your iPad to a model that demands the newer stylus [1], [3].
Apple Pencil (USB-C): where budget limits your editing
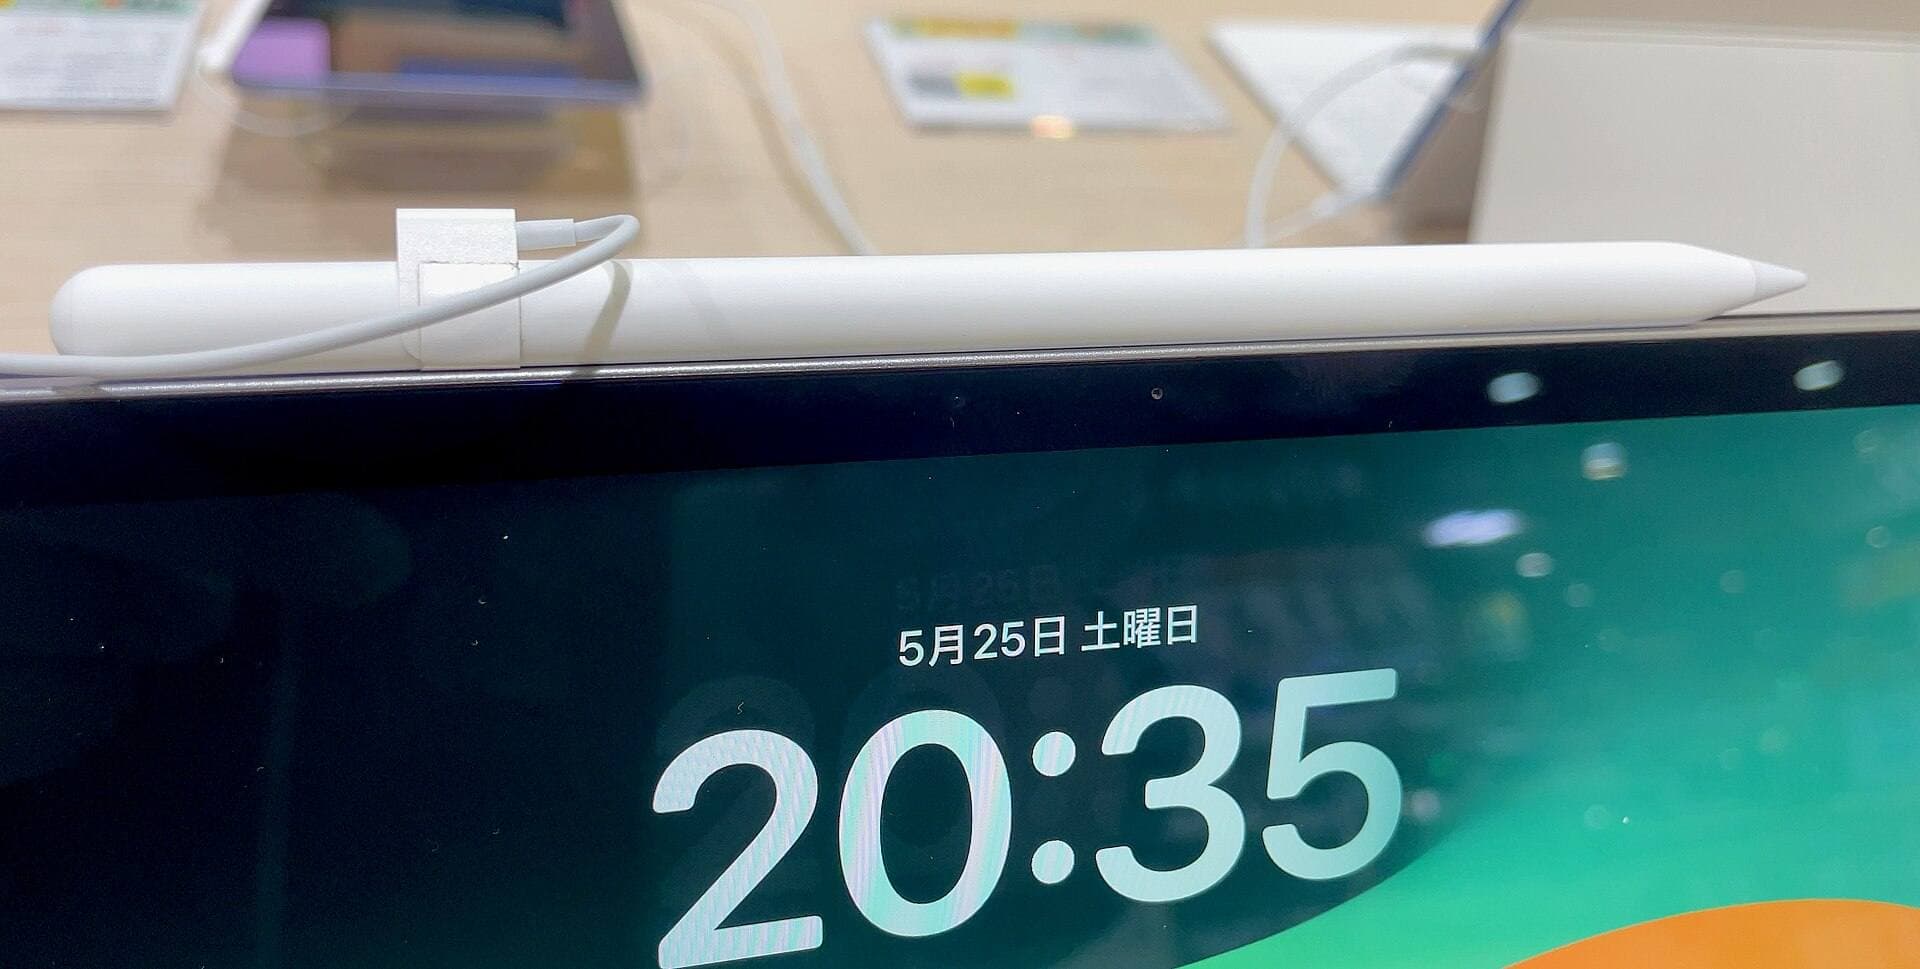
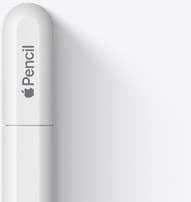
Apple Pencil (USB-C) is the lowest-priced official stylus in the lineup [2]. It pairs and charges via a sliding USB-C port and clings magnetically to the side of compatible tablets for storage [2], [3].
This model includes tilt sensitivity and supports Apple Pencil hover on compatible iPad models [2]. For photo cropping, pulling tonal curves, tapping menu buttons, and adjusting exposure sliders, it performs reliably [2], [6]. It also handles basic note taking and sketch notes cleanly [2], [6].
However, Apple removed pressure sensitivity from this model [2]. When you paint with a mask brush, the stylus delivers a uniform 100 percent signal based on your current brush settings [2]. You cannot vary edge feathering or density with hand pressure alone [2]. If you only balance exposure, crop images, and organize catalogs on your iPad, you can save money here [2]. But retouchers working on detailed beauty work, object removal, or composite art will quickly feel limited by the lack of pressure response [2].
Surface friction and screen protectors for photo work
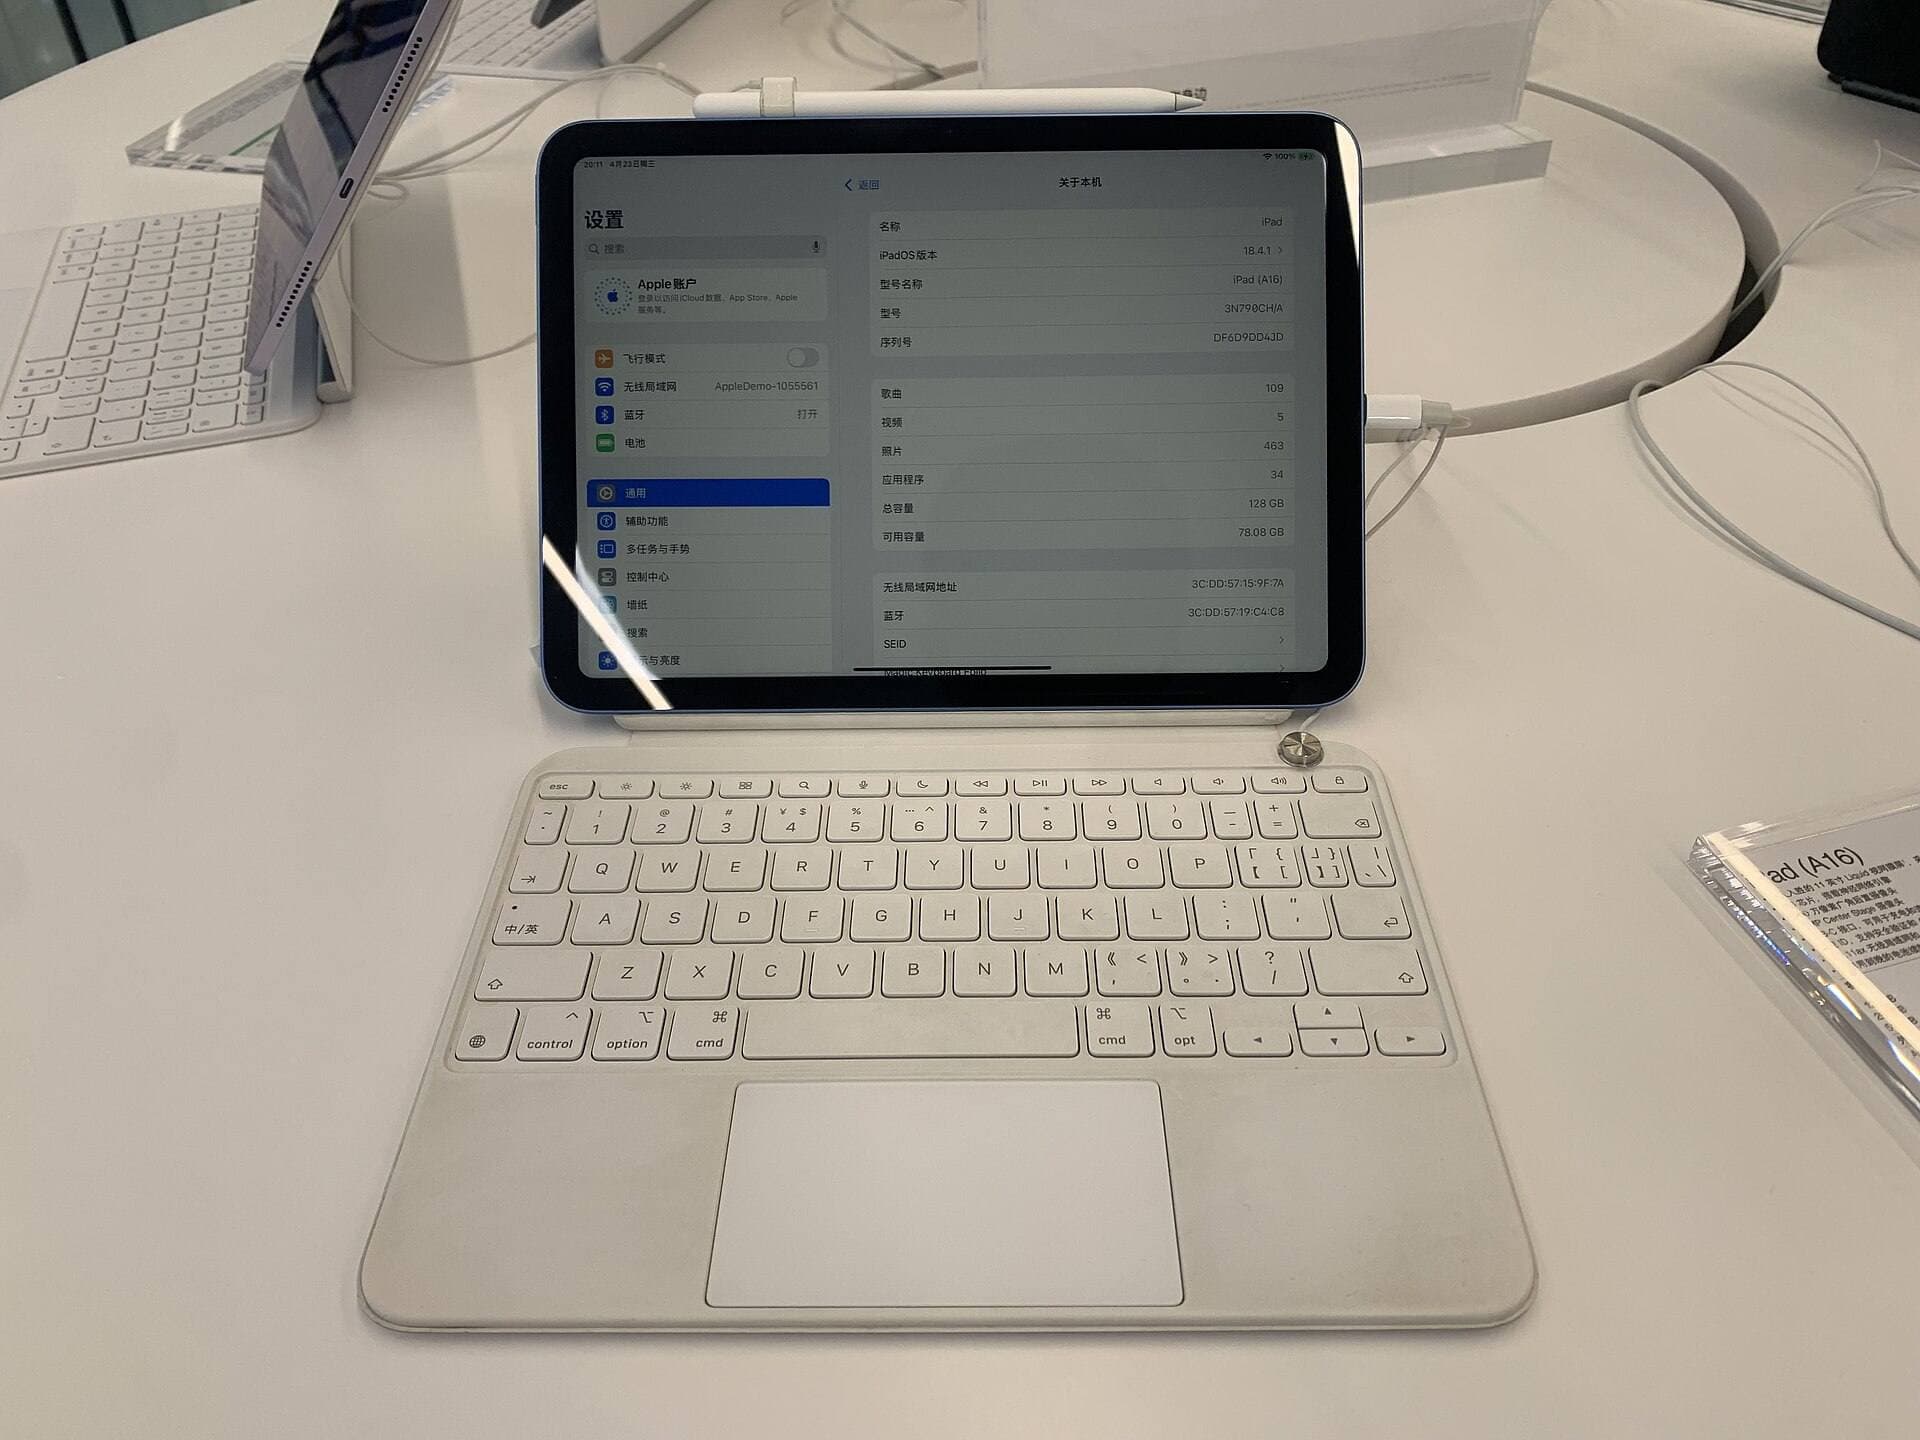
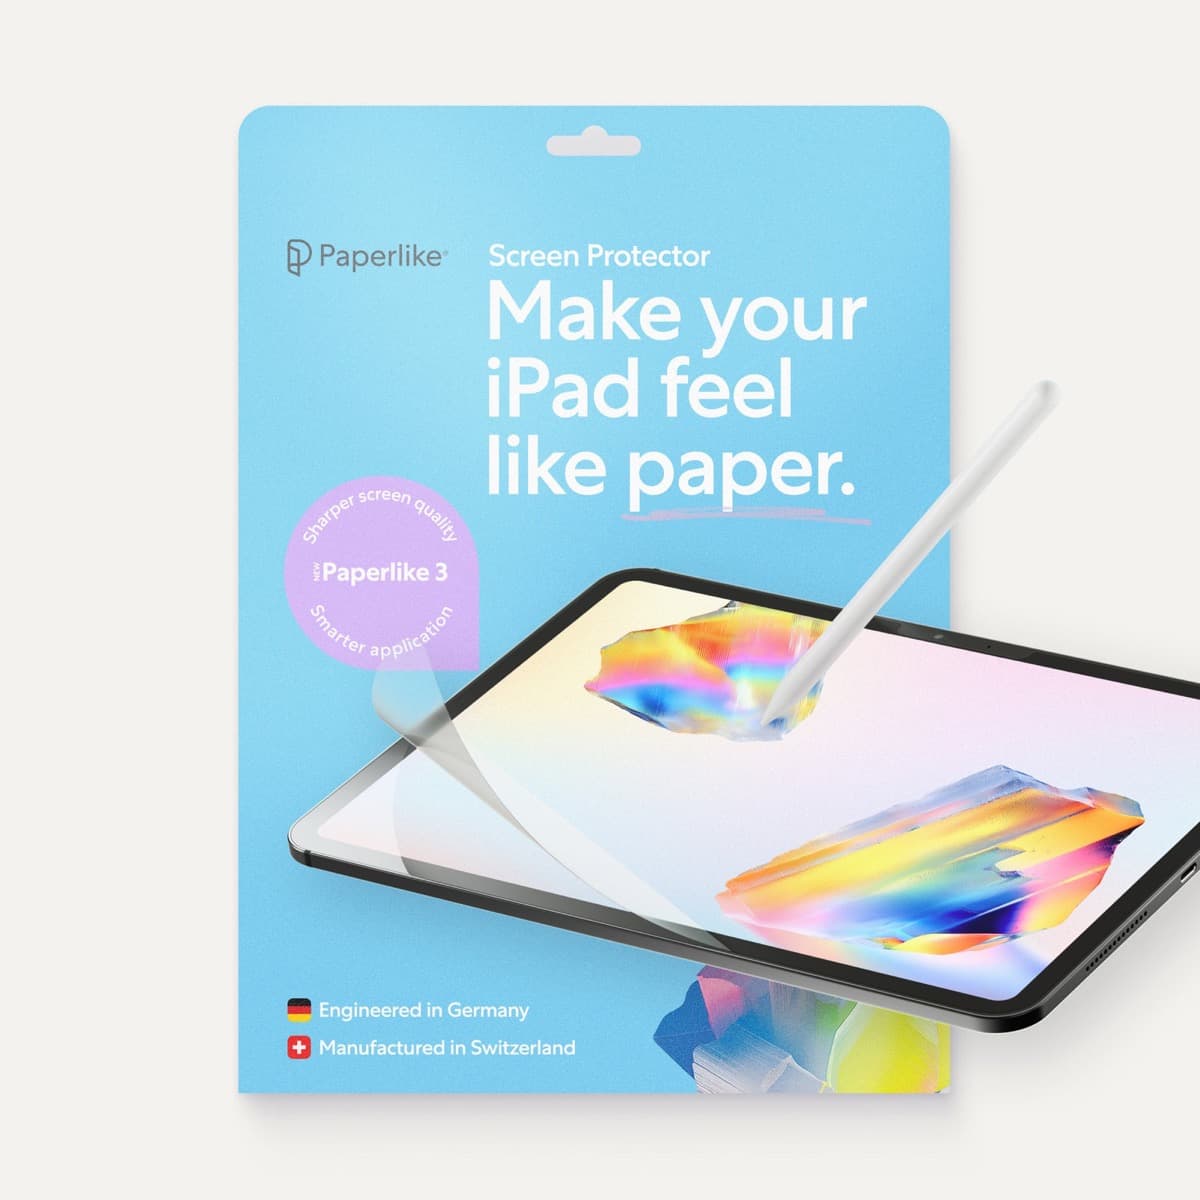
The slick surface of iPad glass can feel difficult to control when you make tiny clone-stamp moves. Accessories like the Paperlike screen protector add tactile friction to mimic the feel of paper under a pencil tip [8].
While extra resistance helps steady your hand during delicate masking, matte screen covers scatter light across the panel [8]. That diffusion can soften fine details and reduce the visual contrast you see while judging sharpness [8]. This trade-off is critical when balancing image sharpness, noise levels, and accurate contrast on high-resolution displays [1], [8].
App limits also depend on underlying hardware constraints [4]. Memory capacity dictates canvas dimensions and layer caps in editing software like Procreate [4], [5]. A textured screen protector won't fix software limitations or hardware pairing rules [3], [4], [8]. If color accuracy and sharpness checking are your top priorities, test editing on bare glass before applying a matte sheet [1], [8].
Bottom line
Your iPad model limits your choices immediately, so confirm your tablet's compatibility before buying [1], [3]. If you own a newer iPad that pairs with the Apple Pencil Pro, buy it to get pressure sensitivity, hover, squeeze, and barrel roll for your image editing [1], [2], [6]. If your tablet pairs with the Apple Pencil (2nd generation), stick with that model; it provides the pressure control you need for high-end masking [2], [3]. Skip the Apple Pencil (USB-C) if you plan to do brush-based retouching, as its missing pressure hardware will hold back your workflow [2].
Sources
[1] https://www.apple.com/ipad/compare/ [2] https://www.apple.com/apple-pencil/ [3] https://support.apple.com/en-us/108937 [4] https://help.procreate.com/articles/zlexav-ipad-compatibility [5] https://apps.apple.com/us/app/procreate/id425073498 [6] https://support.apple.com/guide/ipad/draw-with-apple-pencil-ipadc55b6c7a/ipados [7] https://help.procreate.com/procreate/handbook/5.2/interface-gestures/pencil [8] https://paperlike.com/products/paperlike-for-ipad
Recommended gear
Apple Pencil Pro
amazon.comThe best Apple stylus for serious digital art workflows. Expensive, but the control upgrades are real.
Pro: Best brush-control and hover workflow
Con: Highest price in the lineup
Works only with newer iPad models. Check compatibility.
Apple Pencil (2nd generation)
amazon.comStill a strong stylus on compatible iPads. Good pressure control, but compatibility is the main trap.
Pro: Pressure support without Pro pricing
Con: Not compatible with newest Pro-only iPads
Only for iPads that support 2nd generation pairing.
Apple Pencil (USB-C)
amazon.comA practical low-cost Apple stylus with broad compatibility, but limited for advanced art control.
Pro: Lowest official Apple Pencil cost
Con: No pressure sensitivity for brush work
Compatible with many recent iPads. No pressure support.
Paperlike 3 (11-inch, 2-pack)
amazon.comA strong surface-feel upgrade for drawing control. Clarity tradeoff is real and should be expected.
Pro: Adds controlled paper-feel friction
Con: Slightly reduces perceived display sharpness
11-inch fit only. Confirm generation before checkout.
Related buying picks
More in this collectionBuyer guide
Choosing an Apple Pencil for photo retouching on iPad
Buy the Apple Pencil Pro or 2nd generation for pressure sensitivity, and skip the USB-C model for detailed photo editing.
Buyer guide
Best Apple Pencil for UI design: wireframing, markup, and layout on iPad
Choose the Apple Pencil (USB-C) for wireframing and interface sketches, or pick the Apple Pencil Pro if your iPad supports its squeeze and haptic shortcuts.
Buyer guide
Apple Pencil for 3D sculpting: Which model should you buy?
Choose Apple Pencil Pro if your iPad supports it, keep Apple Pencil 2nd generation on older models, and skip Apple Pencil USB-C due to its lack of pressure sensitivity.
Buyer guide
Best Apple Pencil for pixel art: Which stylus fits your grid?
Pixel art relies on exact placement rather than pen pressure, making Apple Pencil compatibility and budget your main buying factors.